Easy Home Update Full Downloadable Printable

Hey Mama

 Welcome To The Mama Guide. Thank you so much for listening to the Podcast! Don’t forget to leave a review on Itunes & Spotify so other Moms just like you can find the podcast too!

Enter Your email below to receive your free Easy Home Updates downloadable E-Book right to your Inbox!  

Don’t forget to check out more articles and see what you’ve missed. 


Grab Your Free Easy Home Updates Printable E-Book

Get My Free Downloadable Easy Home Updates Printable E-Book

* indicates required

Ultimate Fall Tablescapes Guide + Decocrated First Look Fall 2019

Ultimate Fall Tablescapes Guide + Decocrated First Look Fall 2019

All About The Tablescape

Fall decor is the staple season for a reason, it’s warm and cozy. Comfort is our general favorite across the board, you see fall spike across Pinterest and magazines galore! But how do you bring that beautiful elegance and warmth into your home? The first place you need to begin is your tablescape, settings, linenes, and more. The biggest questions I get for home decor are how do I place items without looking cluttered? What pieces do I use for a cohesive flow? How do I even get that magazine worthy look on a budget?  

Before we begin, I am excited to share with you that this season’s fall decor is brought to you by Decocrated, an amazing home decor subscription box that I love. Each season you receive hand crafted pieces right to your door that refresh your home through the your home. I love Decocrated because they take the guess work out of home decor, and save you a budget-load that you couldn’t replicate in stores. 

Don’t miss the full unboxing of this Fall’s Decocrated box & Coupon Code below!

Top Tablescape Rules-Ish

They always say there aren’t any rules to decor, but what about something to guide you along the way? Especially with tablescapes, it can be hard to find a good balance of functional decor and knowing where to place items. I stick to the same general decor rules for my placement that will help your create the same beauty in your home. You’ll hear me say these time and time again, but they really do help for even the most seasoned decorators. First, MIX ELEMENTS. Make sure you have a variance of metals, woods, glass, greenery, and linens. Add warmth, tables that are too pristine, sterile, or perfect don’t scream cozy or fall. Use napkins, table runners, candles, and even a few pillows for your seating to make your table inviting. Heights should always vary, and keep items to odd numbers. Ok, now to the pretty details. But first!

Can you spot this season’s Fall Decocrated items? Take a guess and see if you’re right in the unboxing below. 


Cohesive Not Cluttered

Ever wonder if your placement looks cluttered? There’s usually one culprit to that, using too many small pieces. Luckily, tablescapes are easier because you focus on a centerpiece, and work your way out. Don’t be afraid to go larger with items on the table so long as you can still functionally serve a meal. To start, I always lay a table runner, and then my place mats. This will give you your first indicator for what room you have left for decor. Then, add your centerpiece. This doesn’t always have to be in the middle! This season I made use of the empty end of our table to draw the eye into the end of the room and make the space look larger.

Another tip, think of your items like a mountain’s peak. Place the largest items first, then add the remaining pieces around scaling downward in size. This gives the eye a chance to see each item, and filling the space without clutter. It will also help you indicate whether you need an additional larger or mid sized piece to balance your table. 

Signage & Trays

Using signs and trays are the perfect way to add an anchor, or to act as a centerpiece for your tablescape. These are especially great for smaller tables because they condense decor, while filling the space. This tray is from the 2018 Fall Decocrated box, which can be found for a limited time (watch the unboxing video for this secret tip) and the reversible sign is exclusively in this year’s fall box. 

Budget Friendly Tips

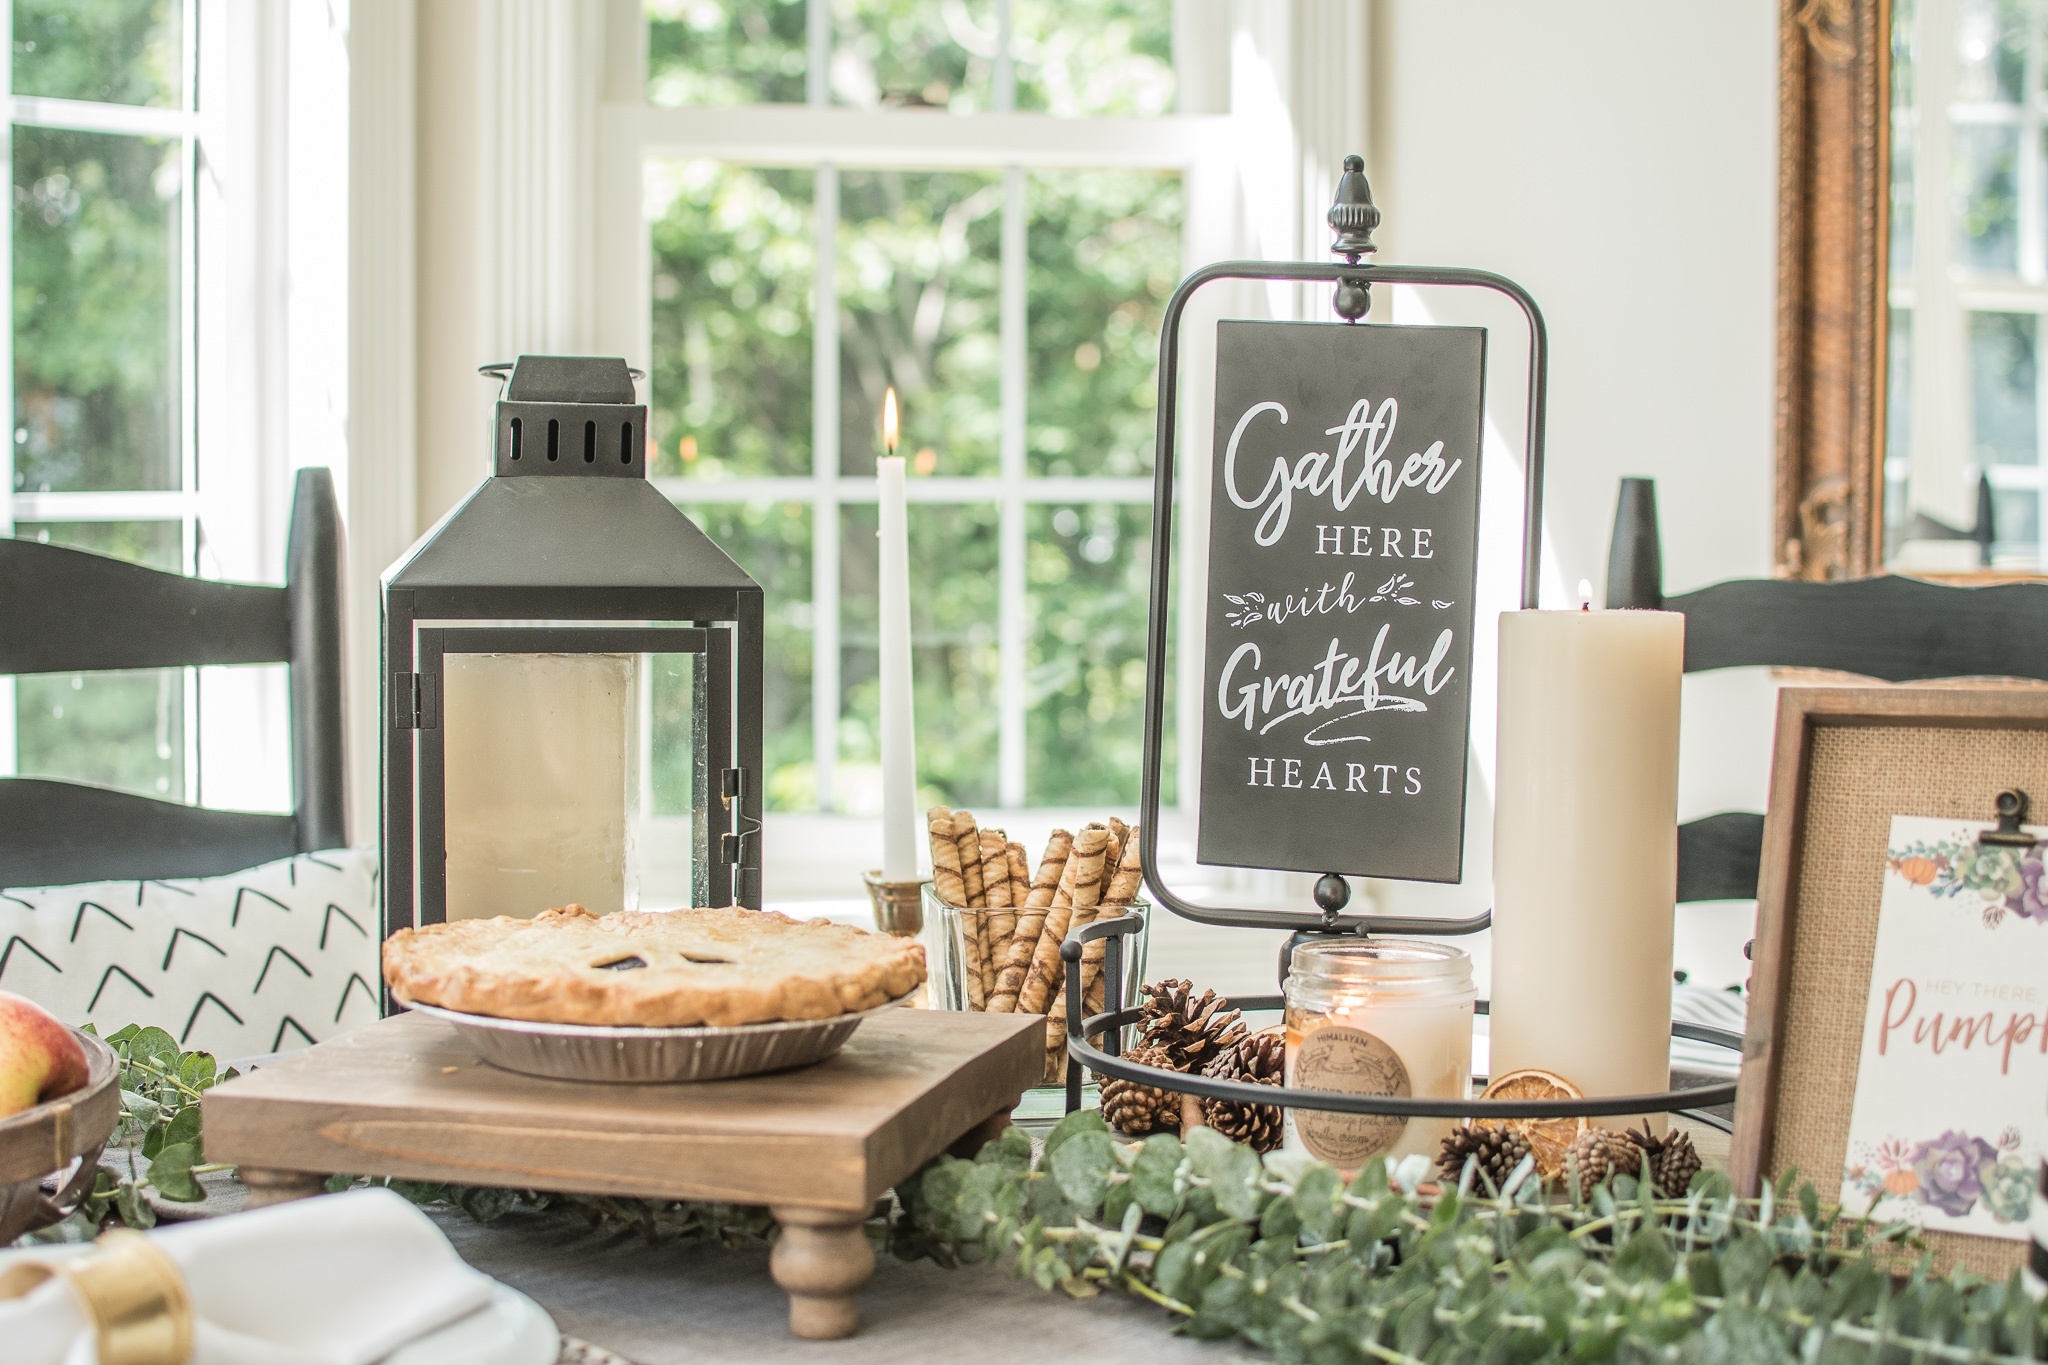
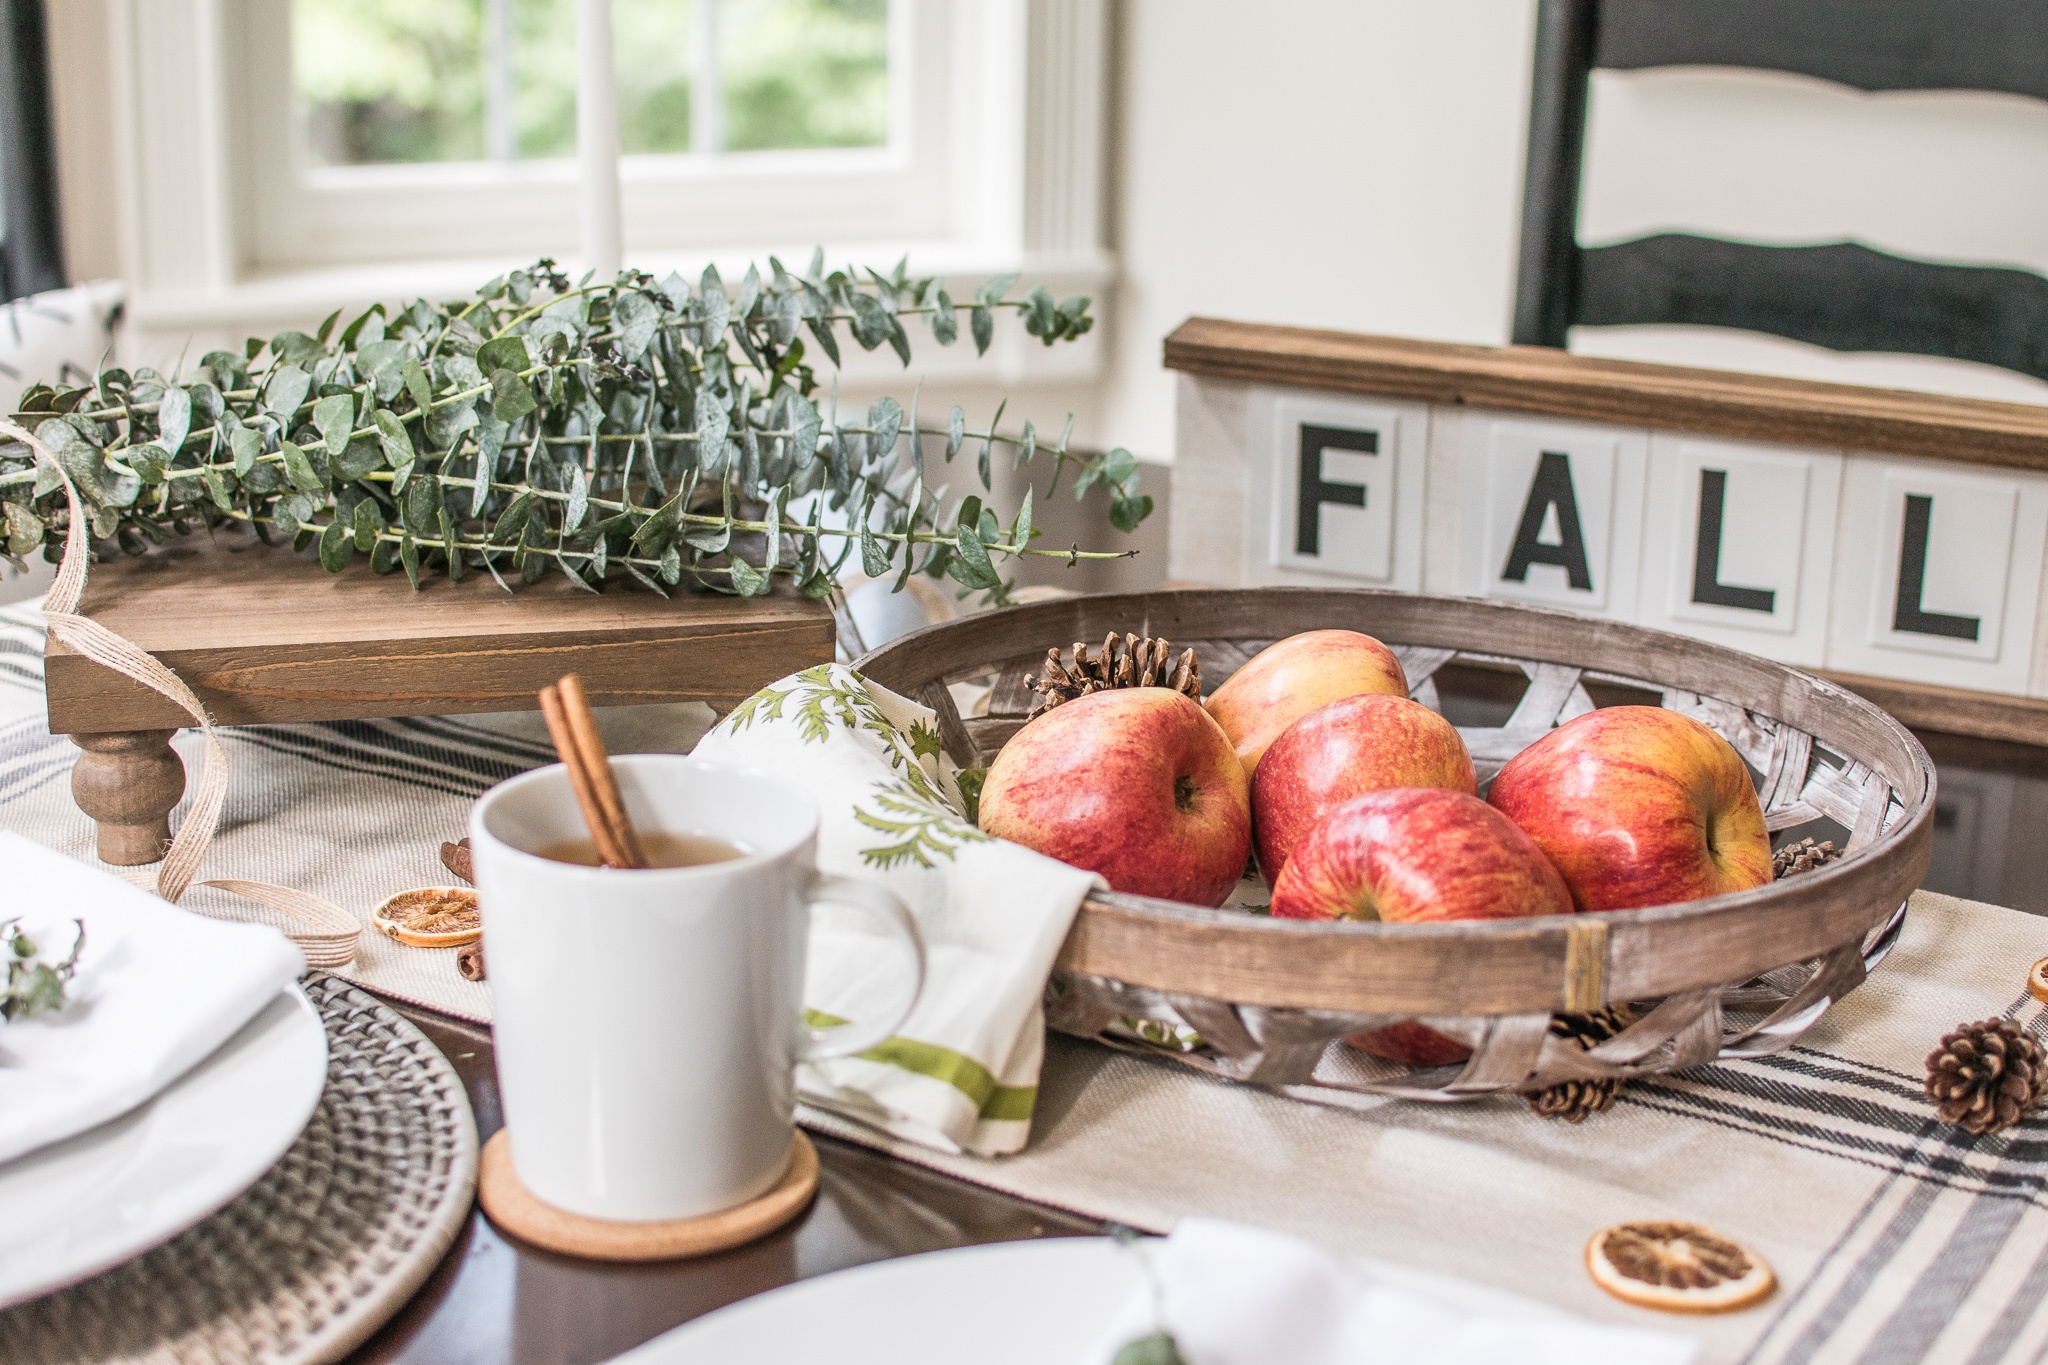
The second biggest question I get asked is how to decorate for the season on a budget. I’ll let you in on a few of my secrets to keeping my home beautiful all year long, without it taking a dent from my budget. 

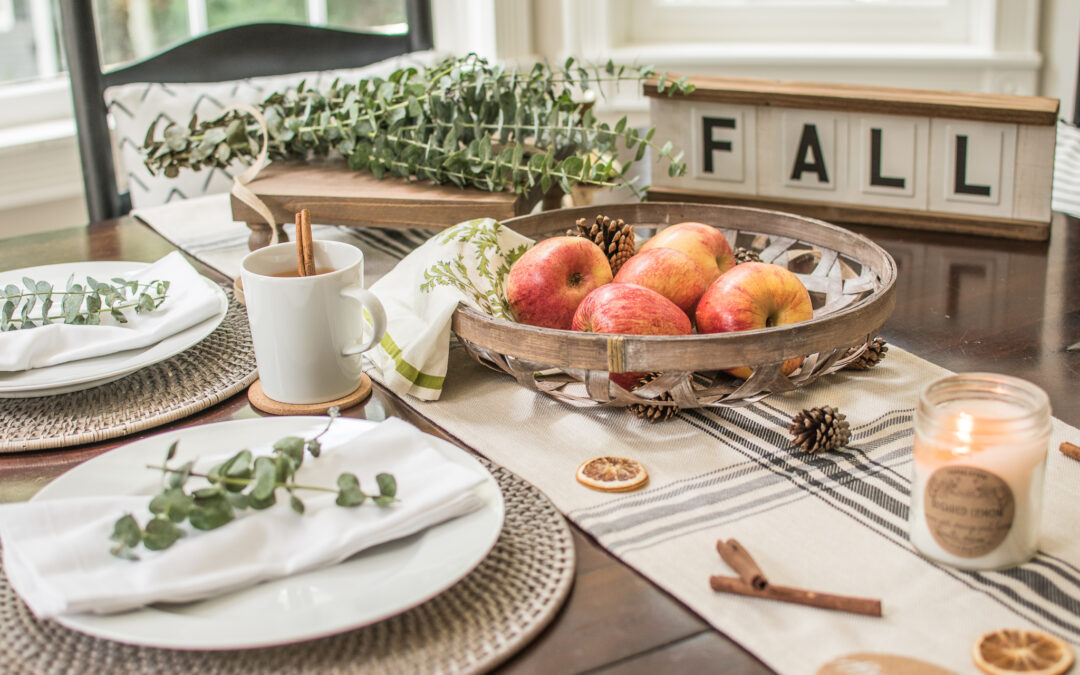
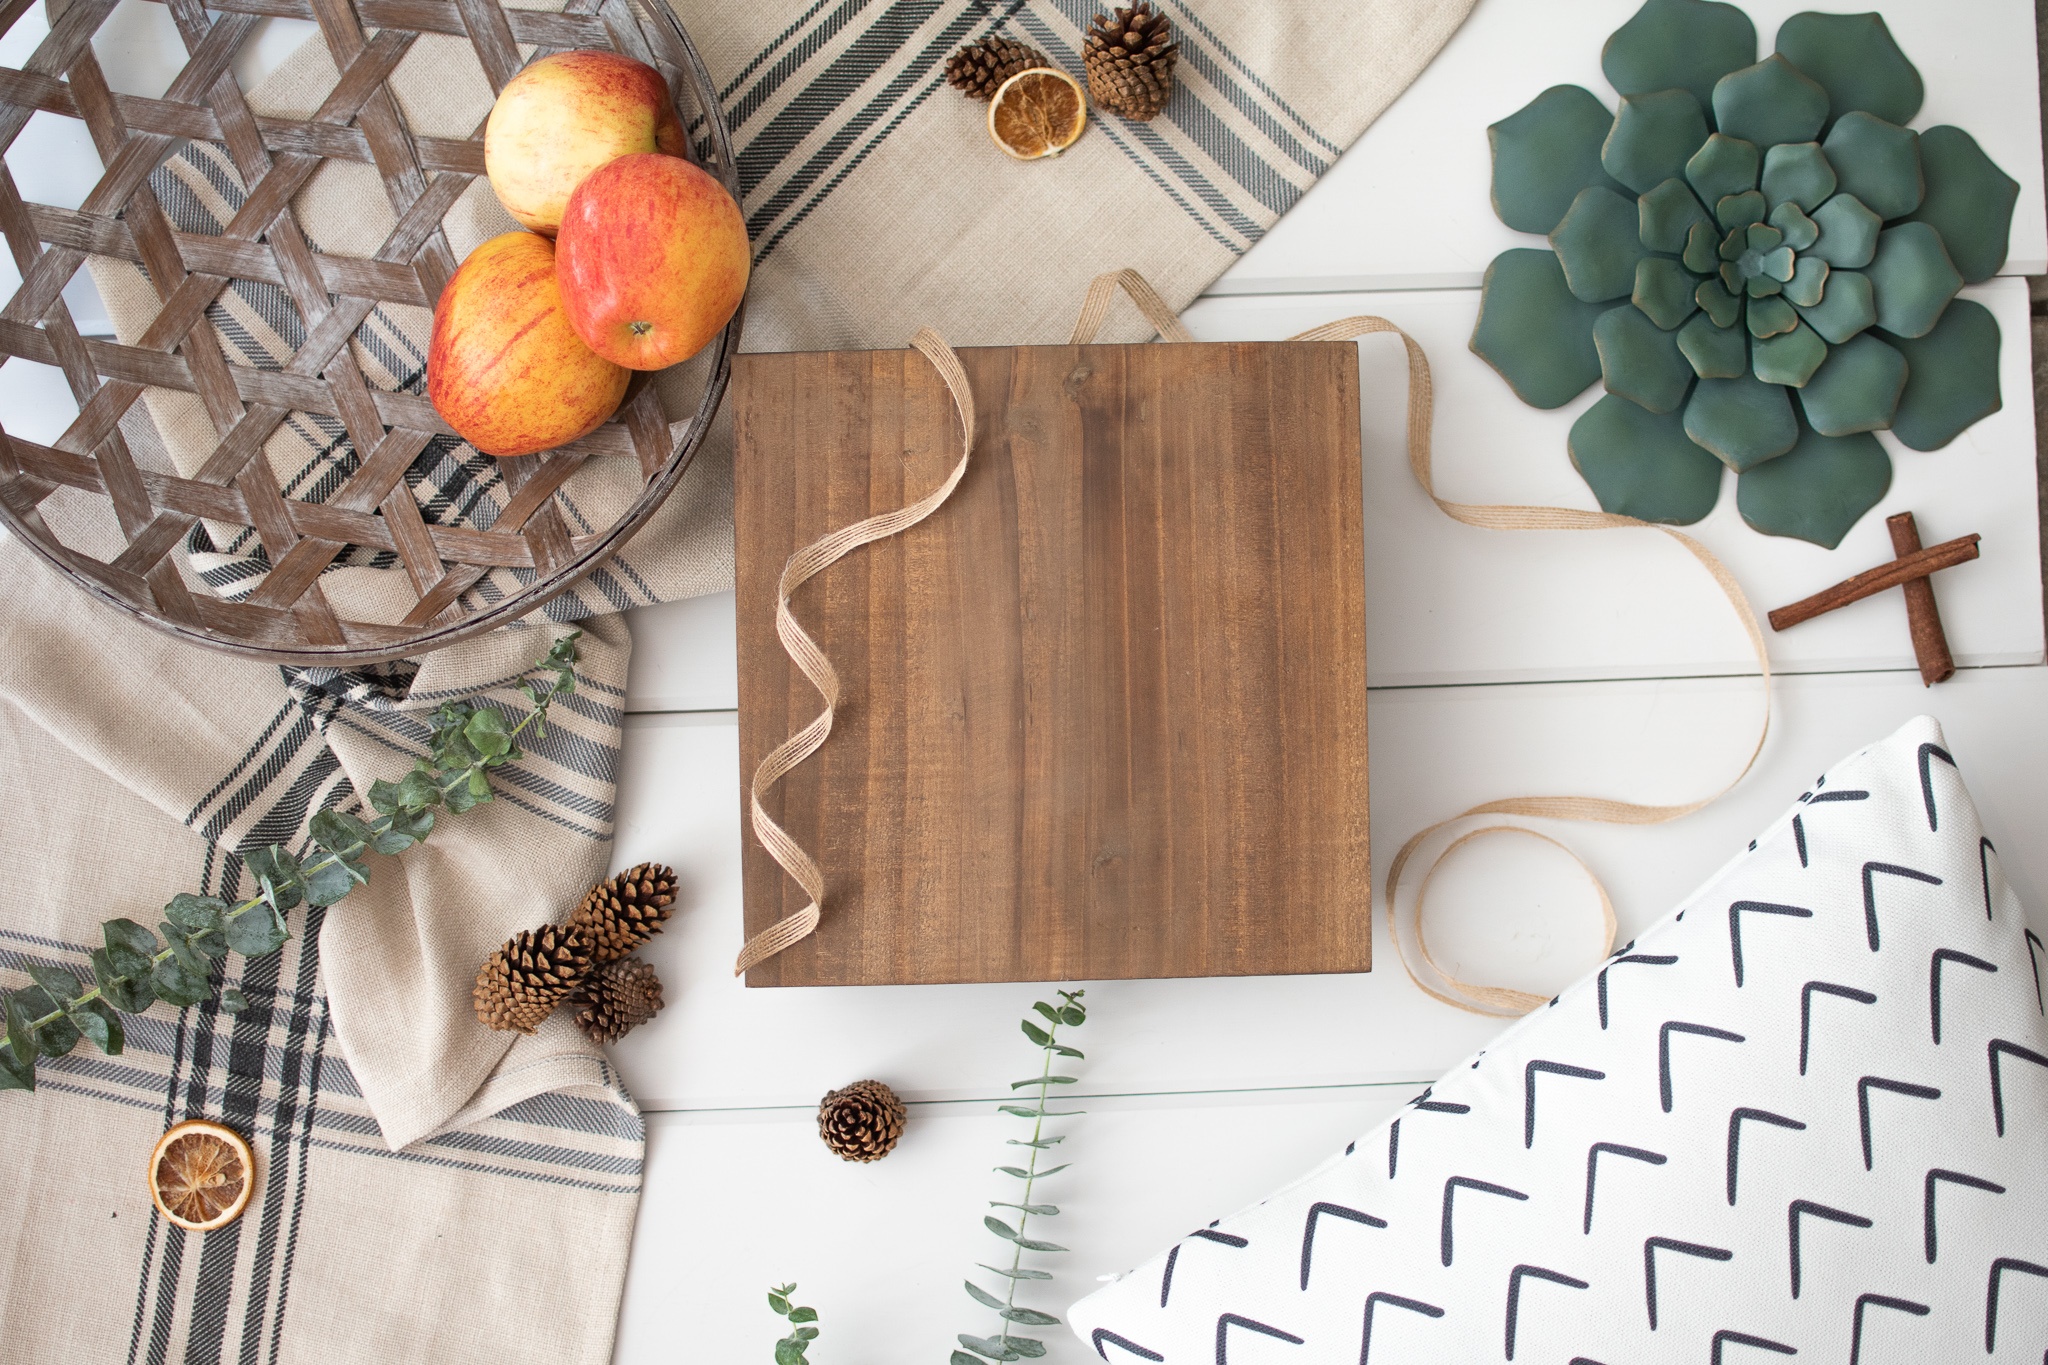
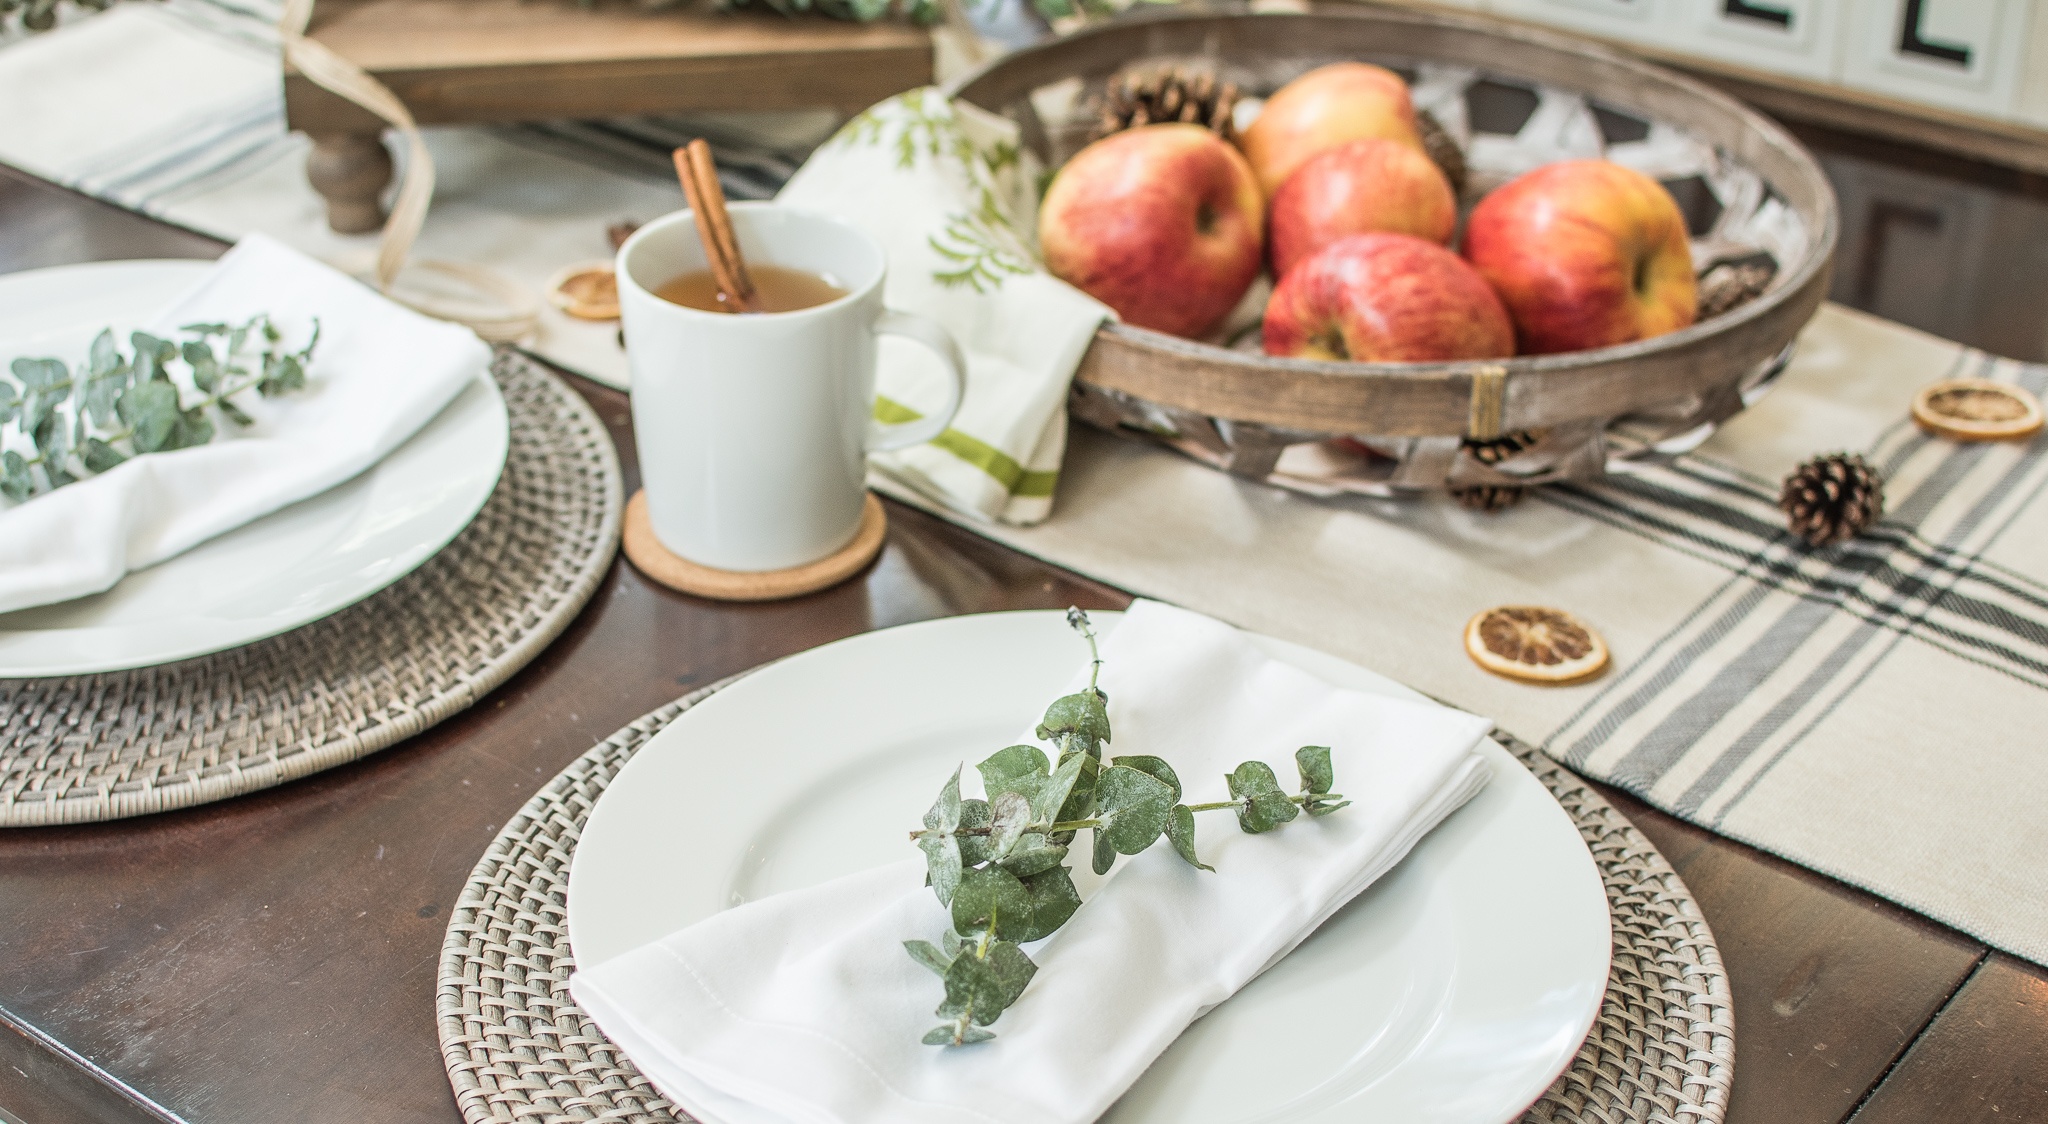
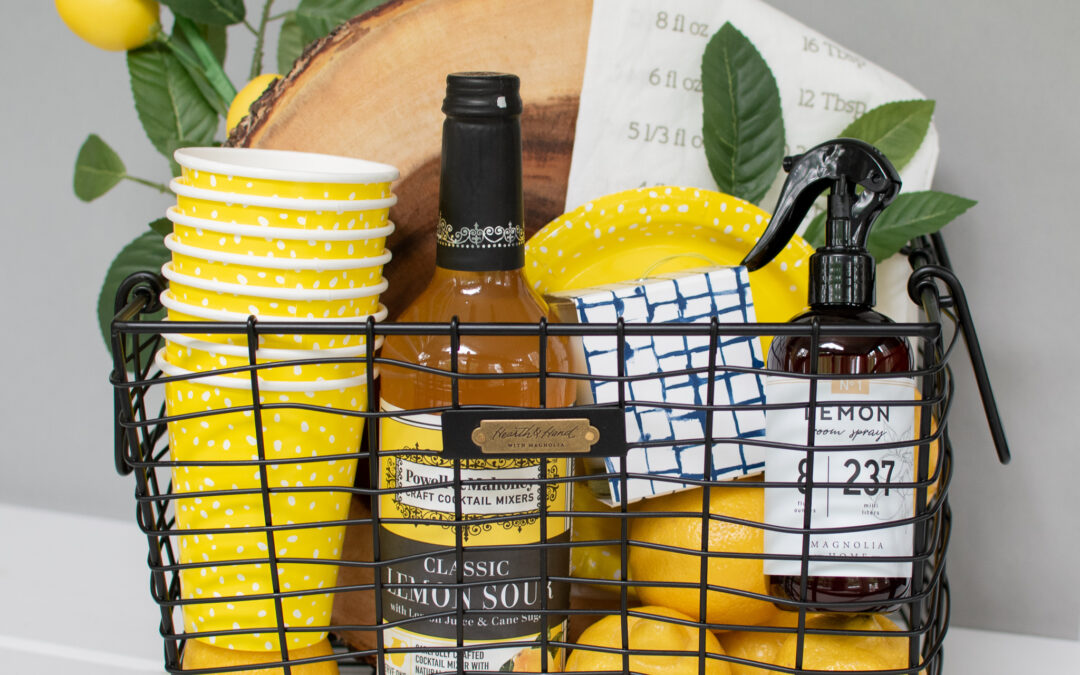
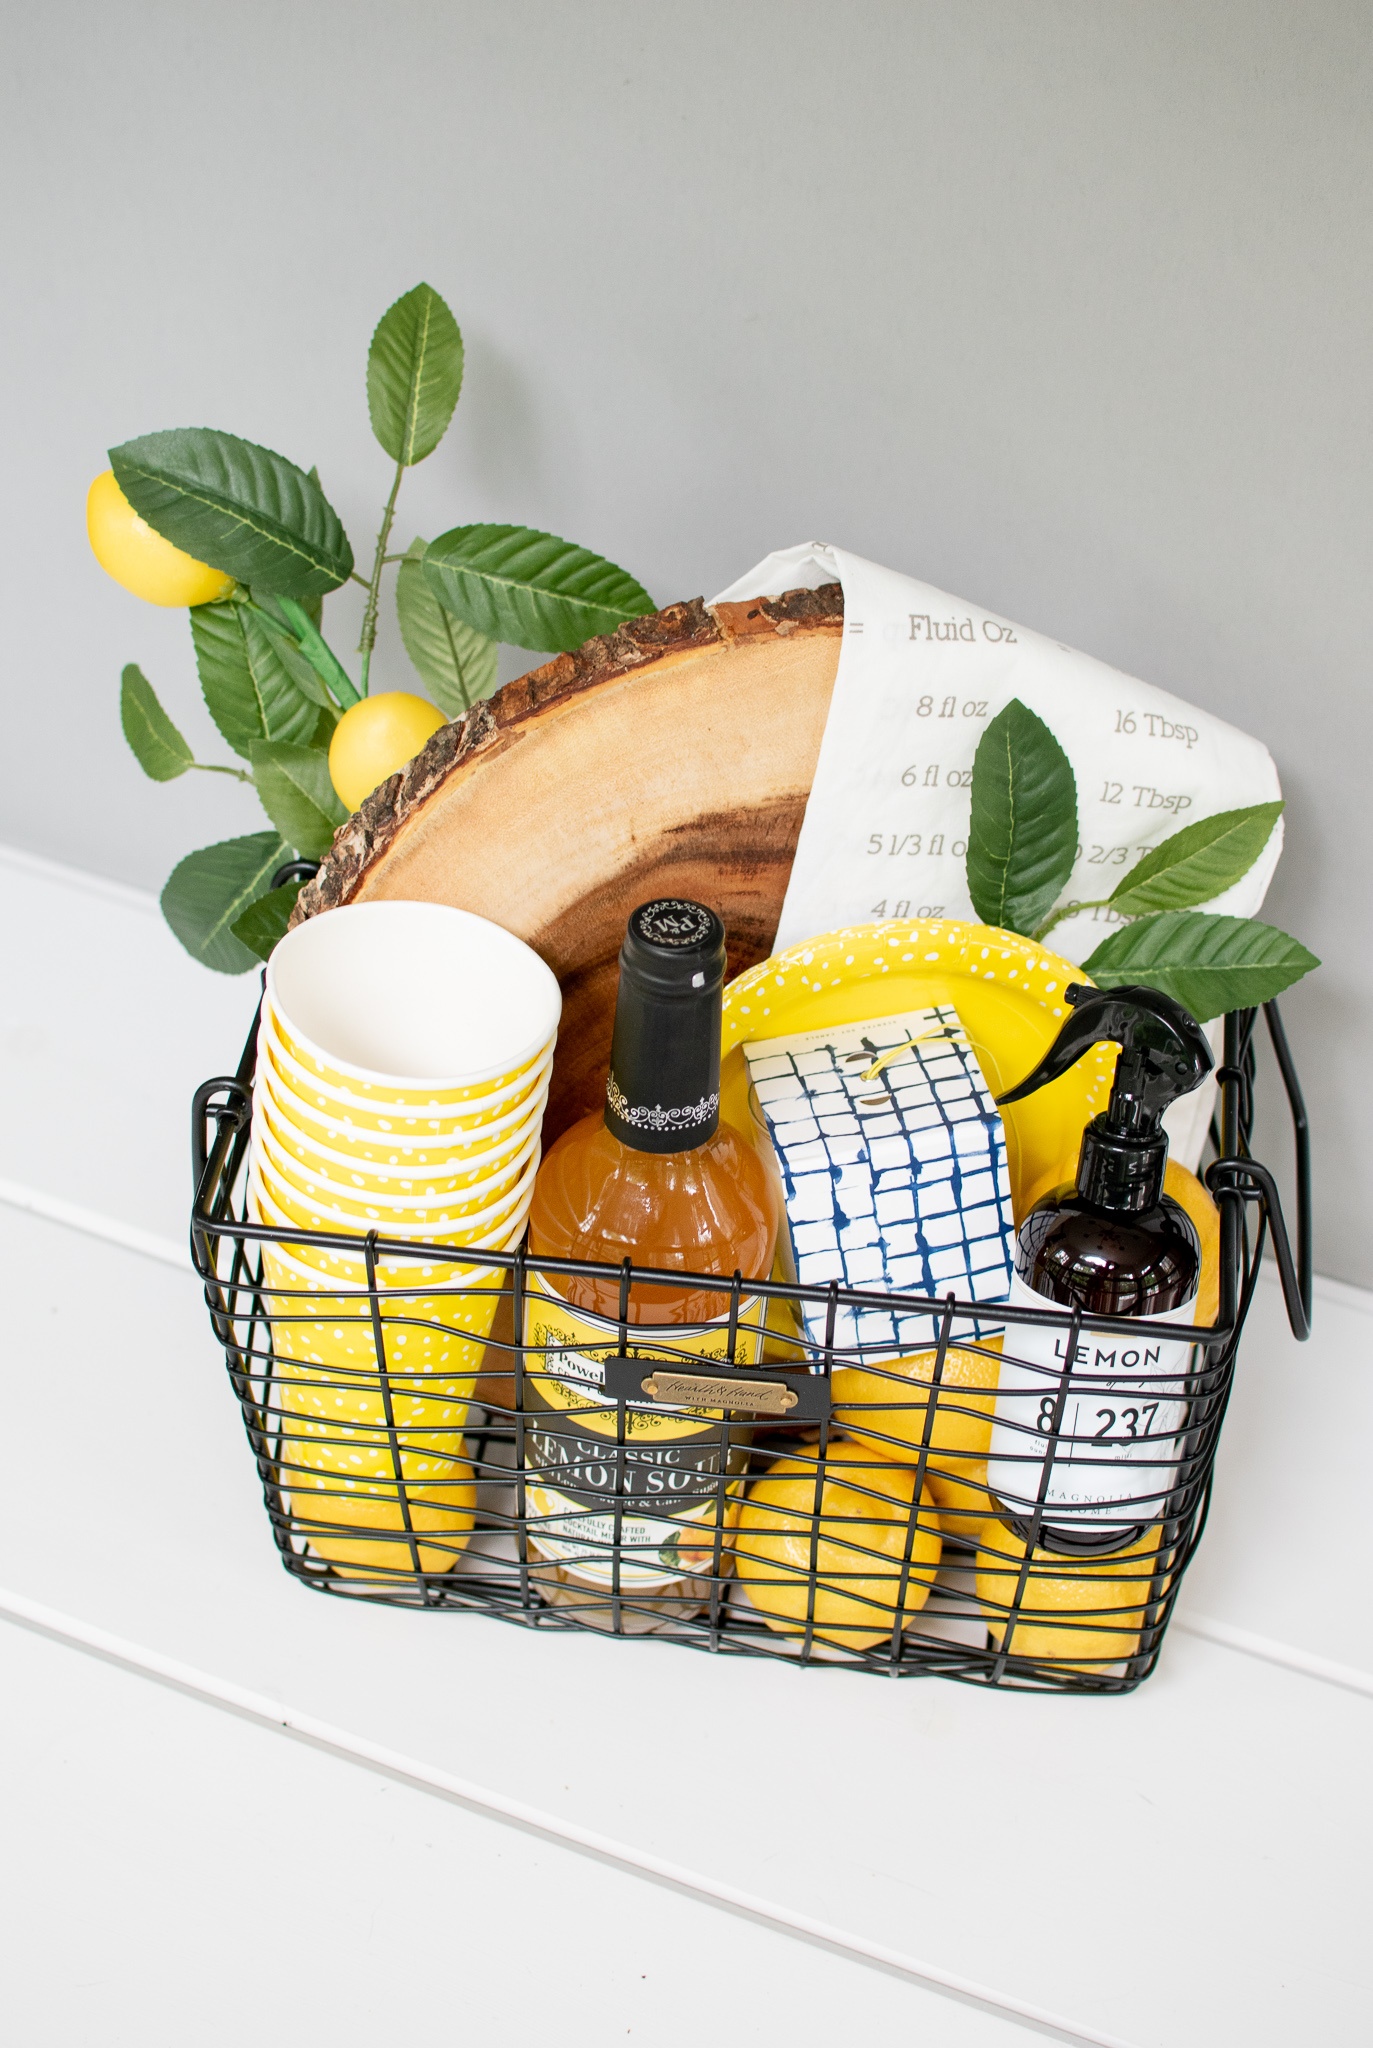
1. Invest in neutral colored staples such as plates, napkins, runners, and place mats. White plates are a perfect choice because they can be dressed up, or down. They compliment any setting or room, and of course they also make your food POP! This gives way for your interchanging pieces to shine as well, without replacing the entirety of your table decor. 

2. Linens can be found at the best stores, for less. I frequently check sale and clearance sections of my favorite stores such as Crate & Barrel and Pottery Barn. Filter for the lowest priced items first, and you’ll find staples for your tablescape at amazing prices. 

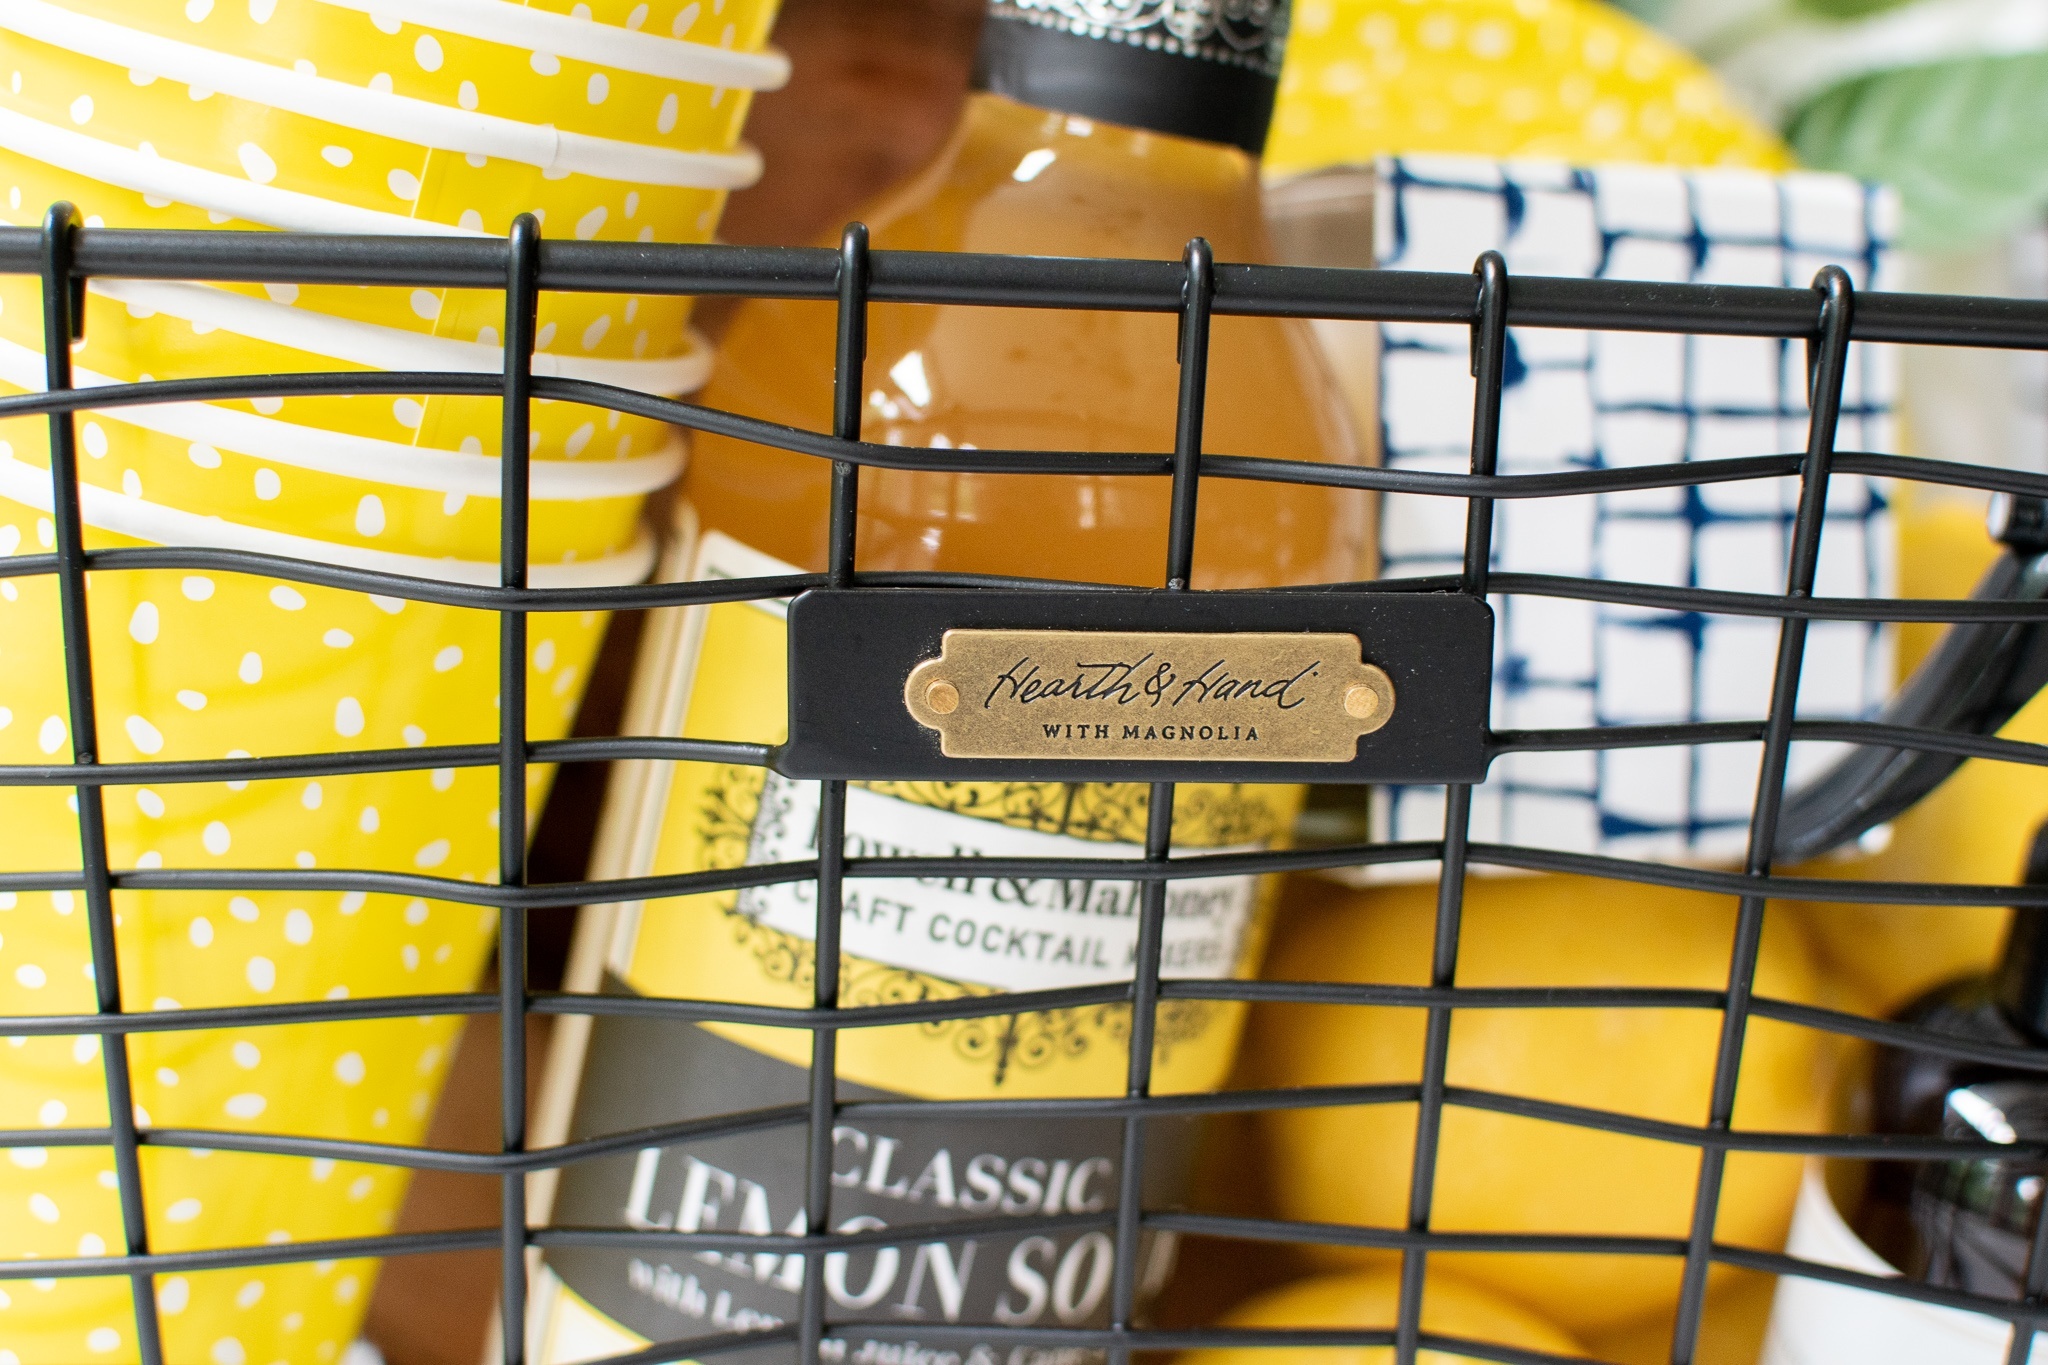
3. Decocrated is my best kept budget secret because they send about NINE items, for $79.99 a season. That is just a little over $8 a piece! You can’t find those prices even at a TJ Maxx even. Plus their quality is super durable, again, hand crafted pieces for a steal.  

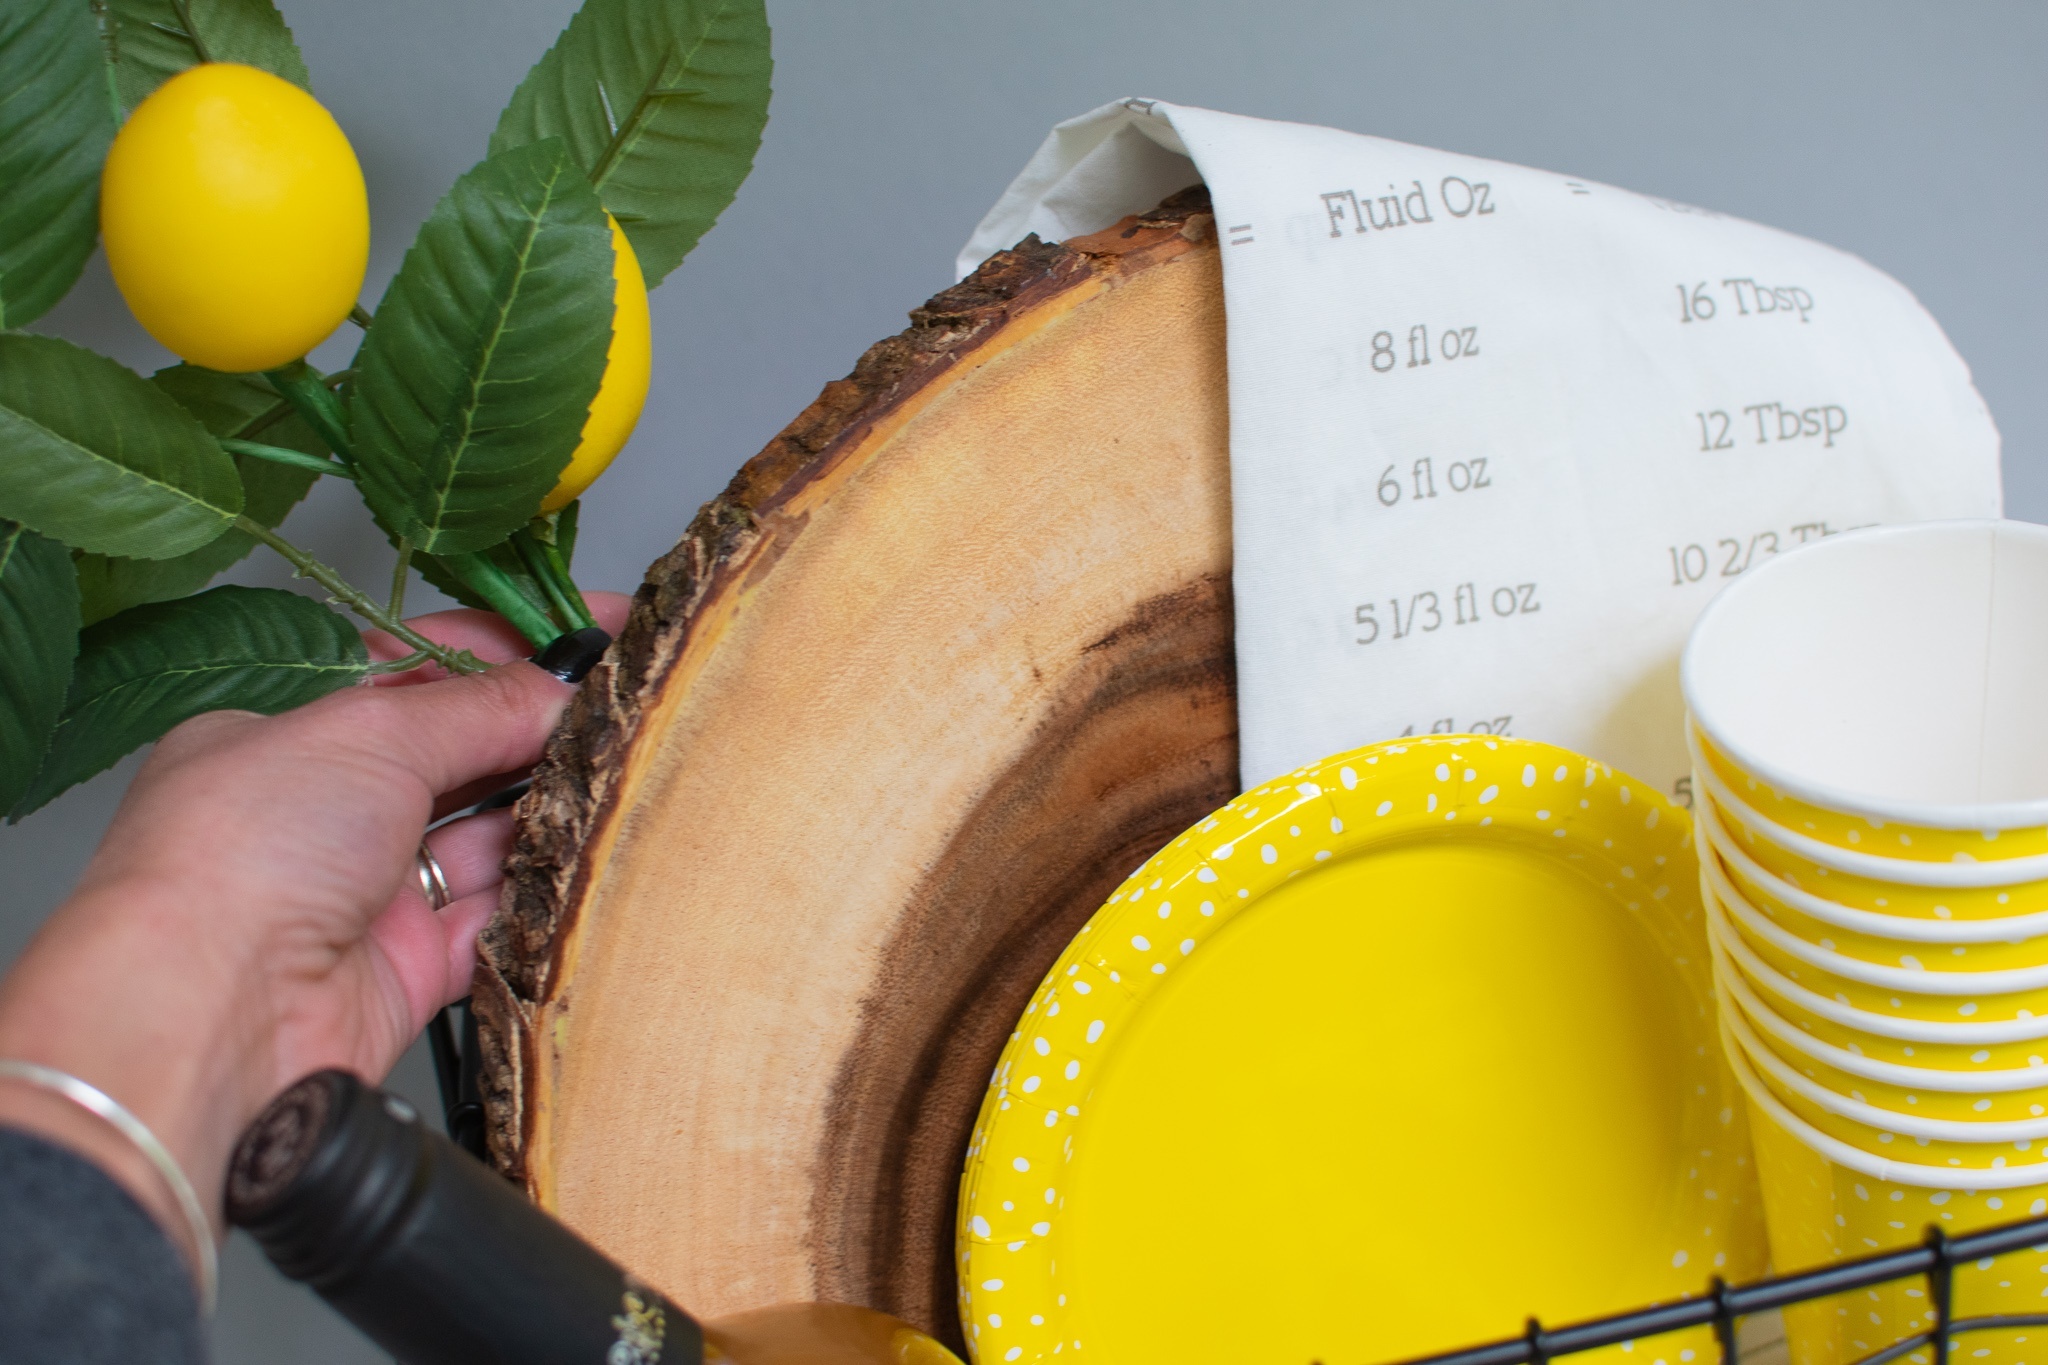
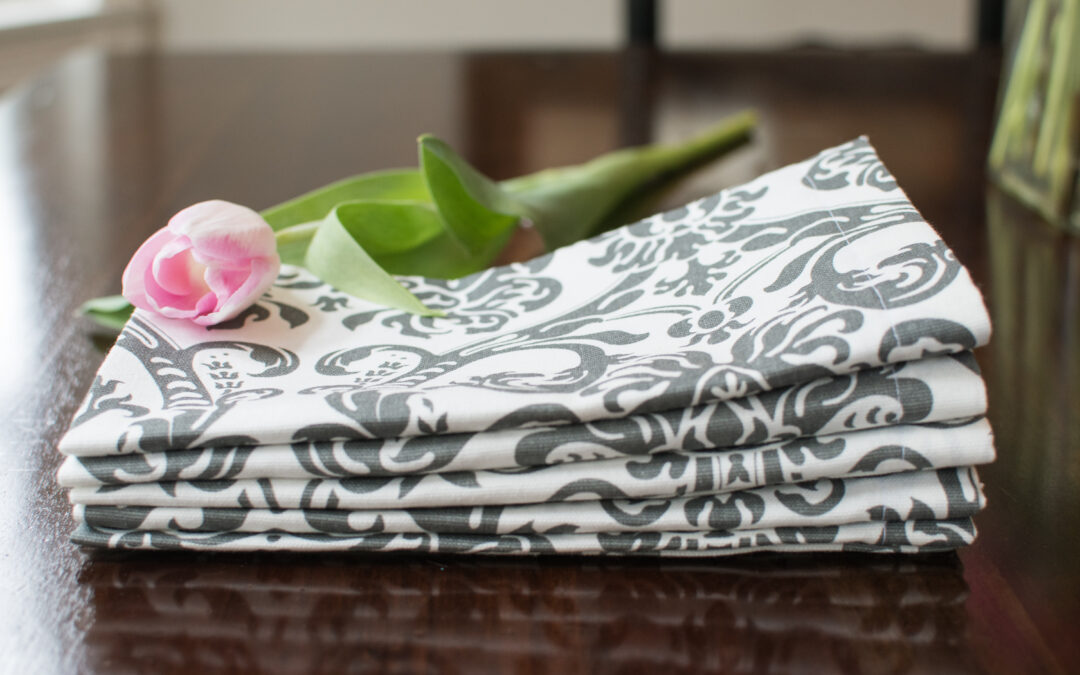
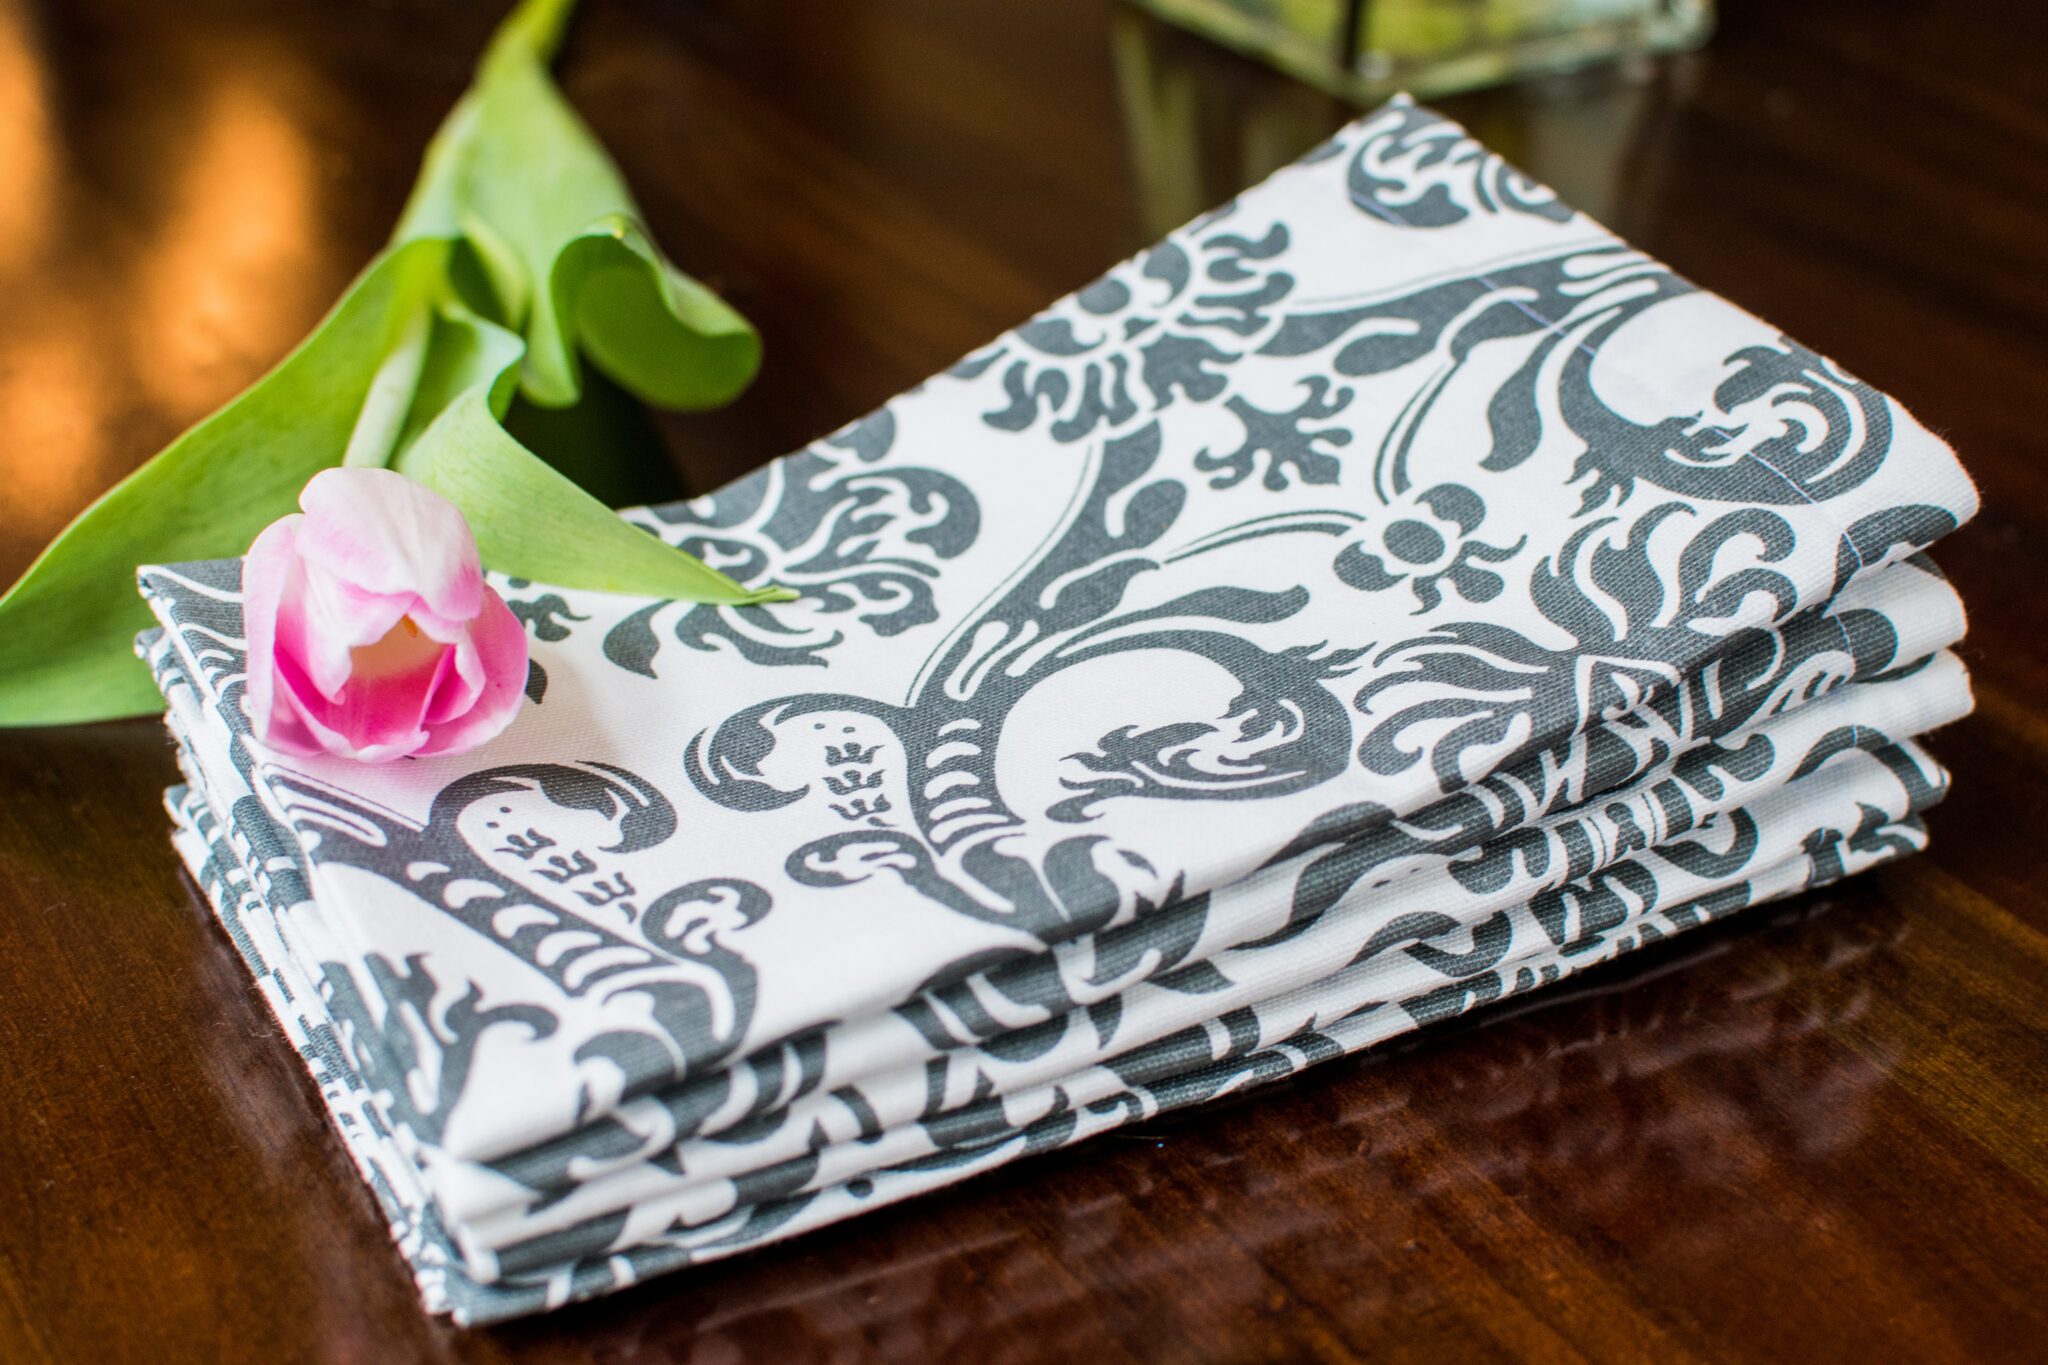
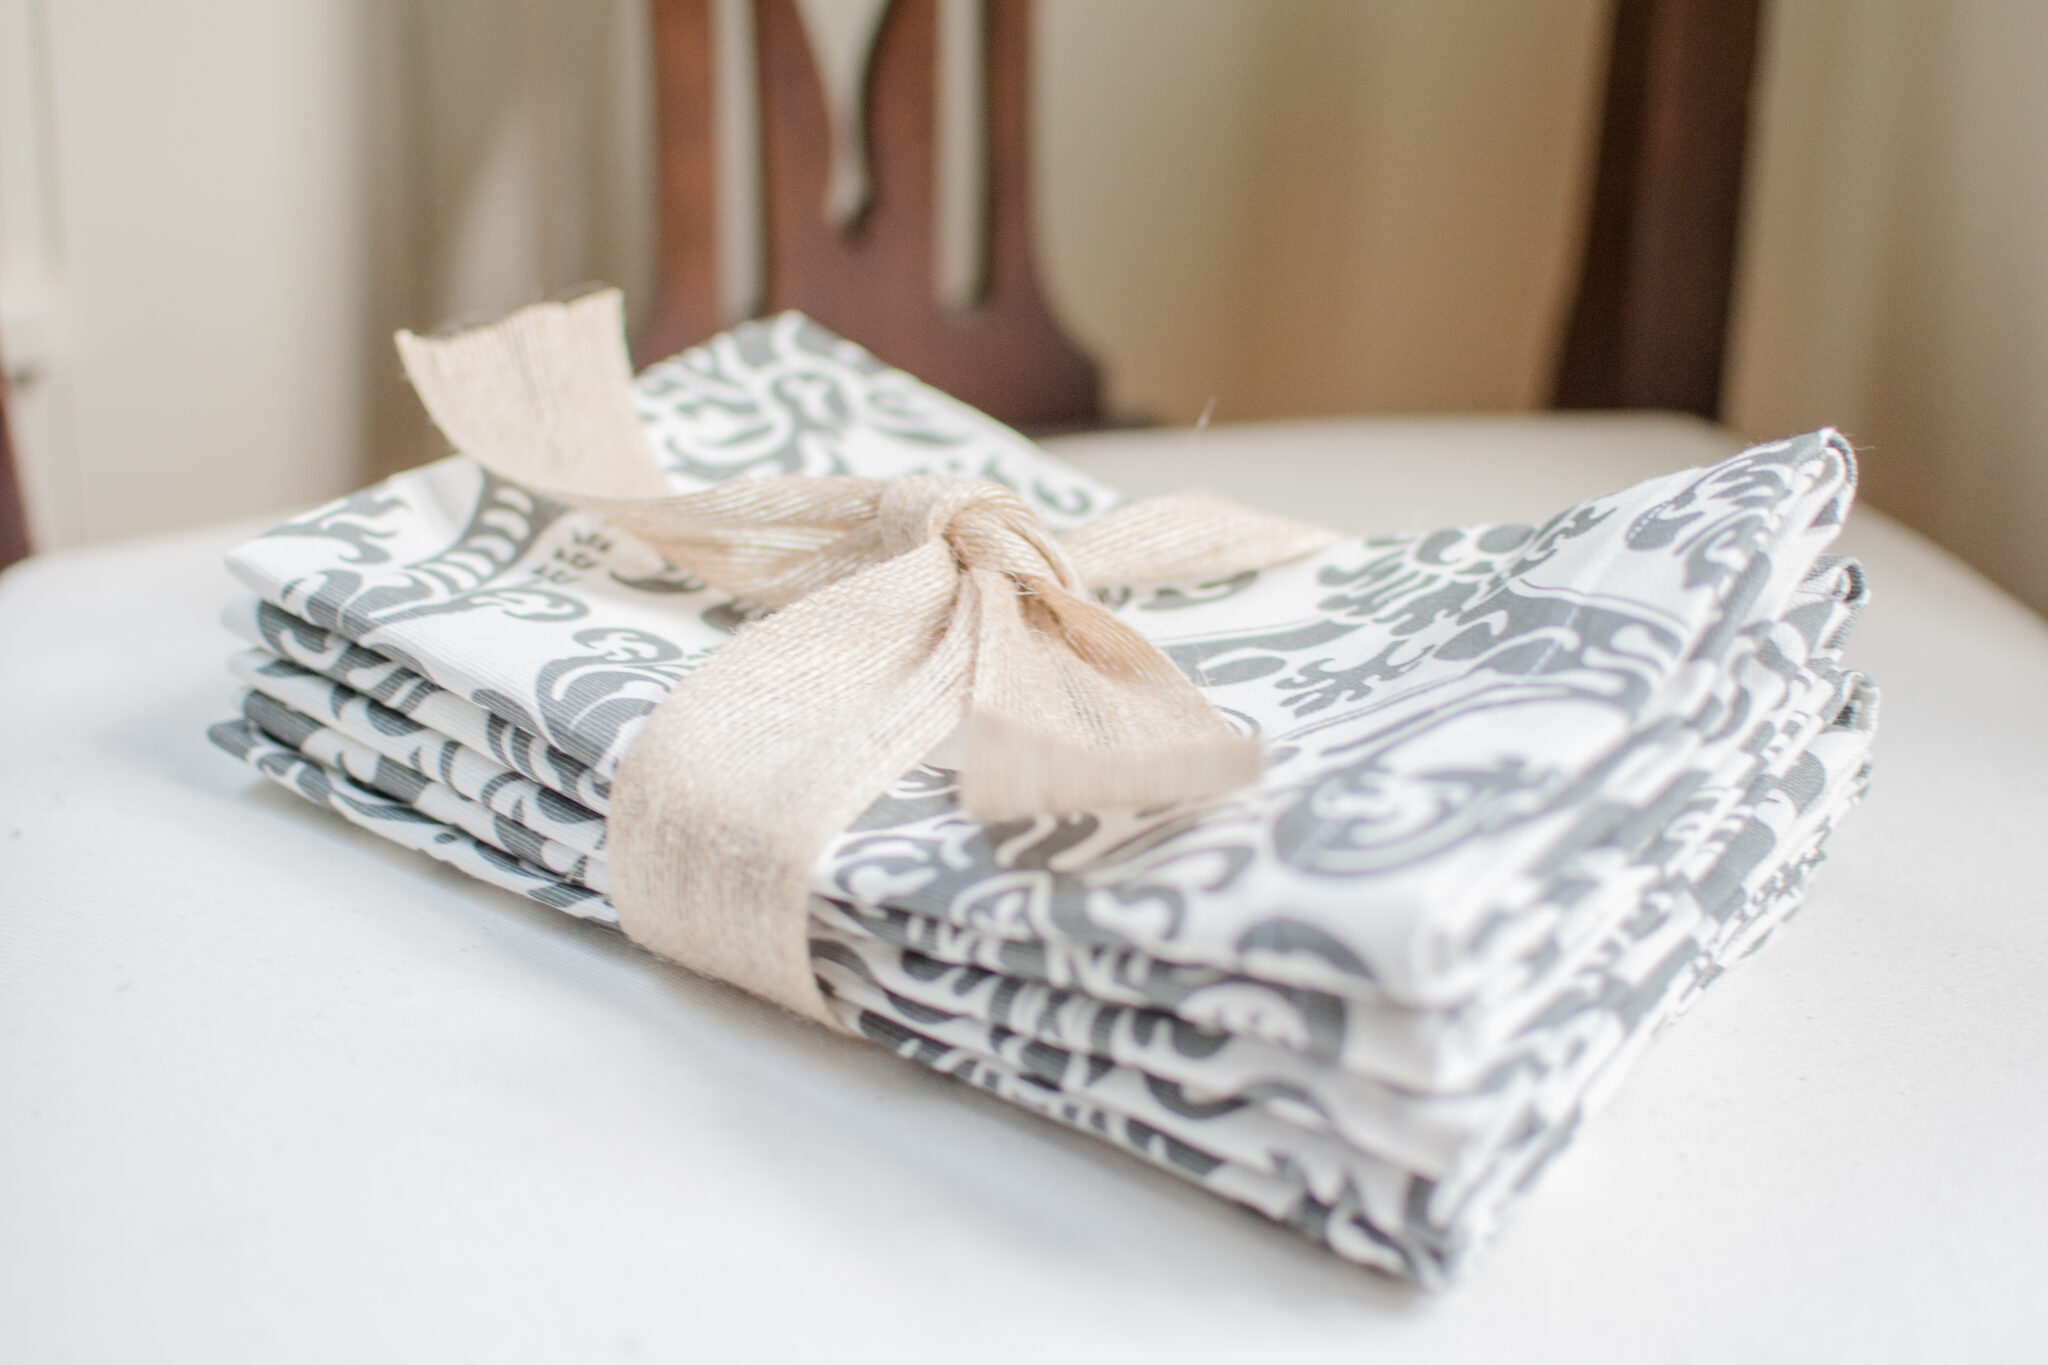
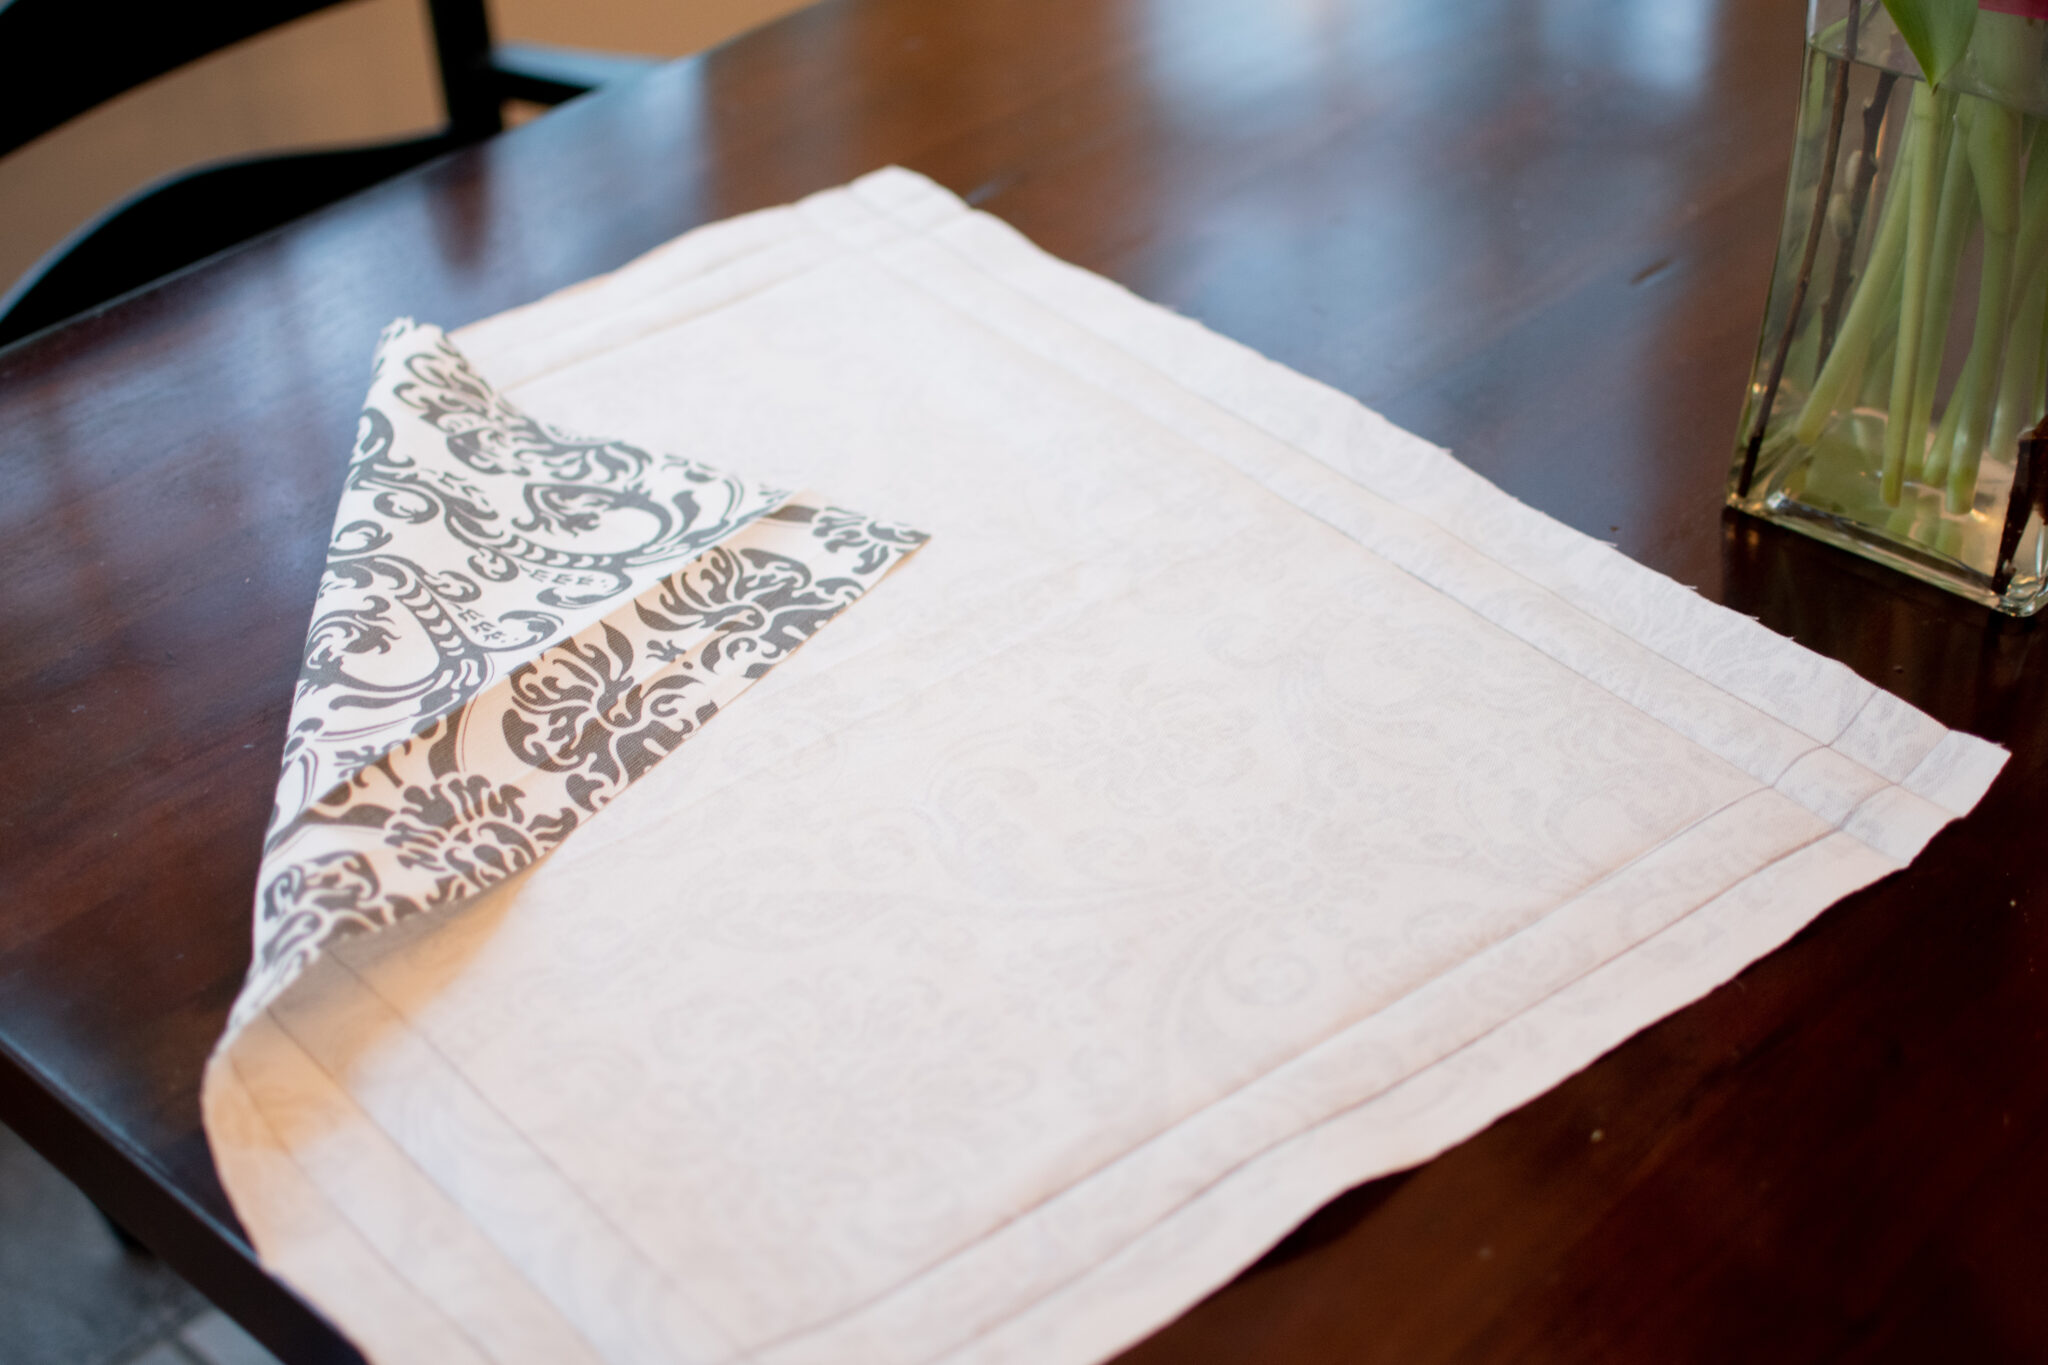
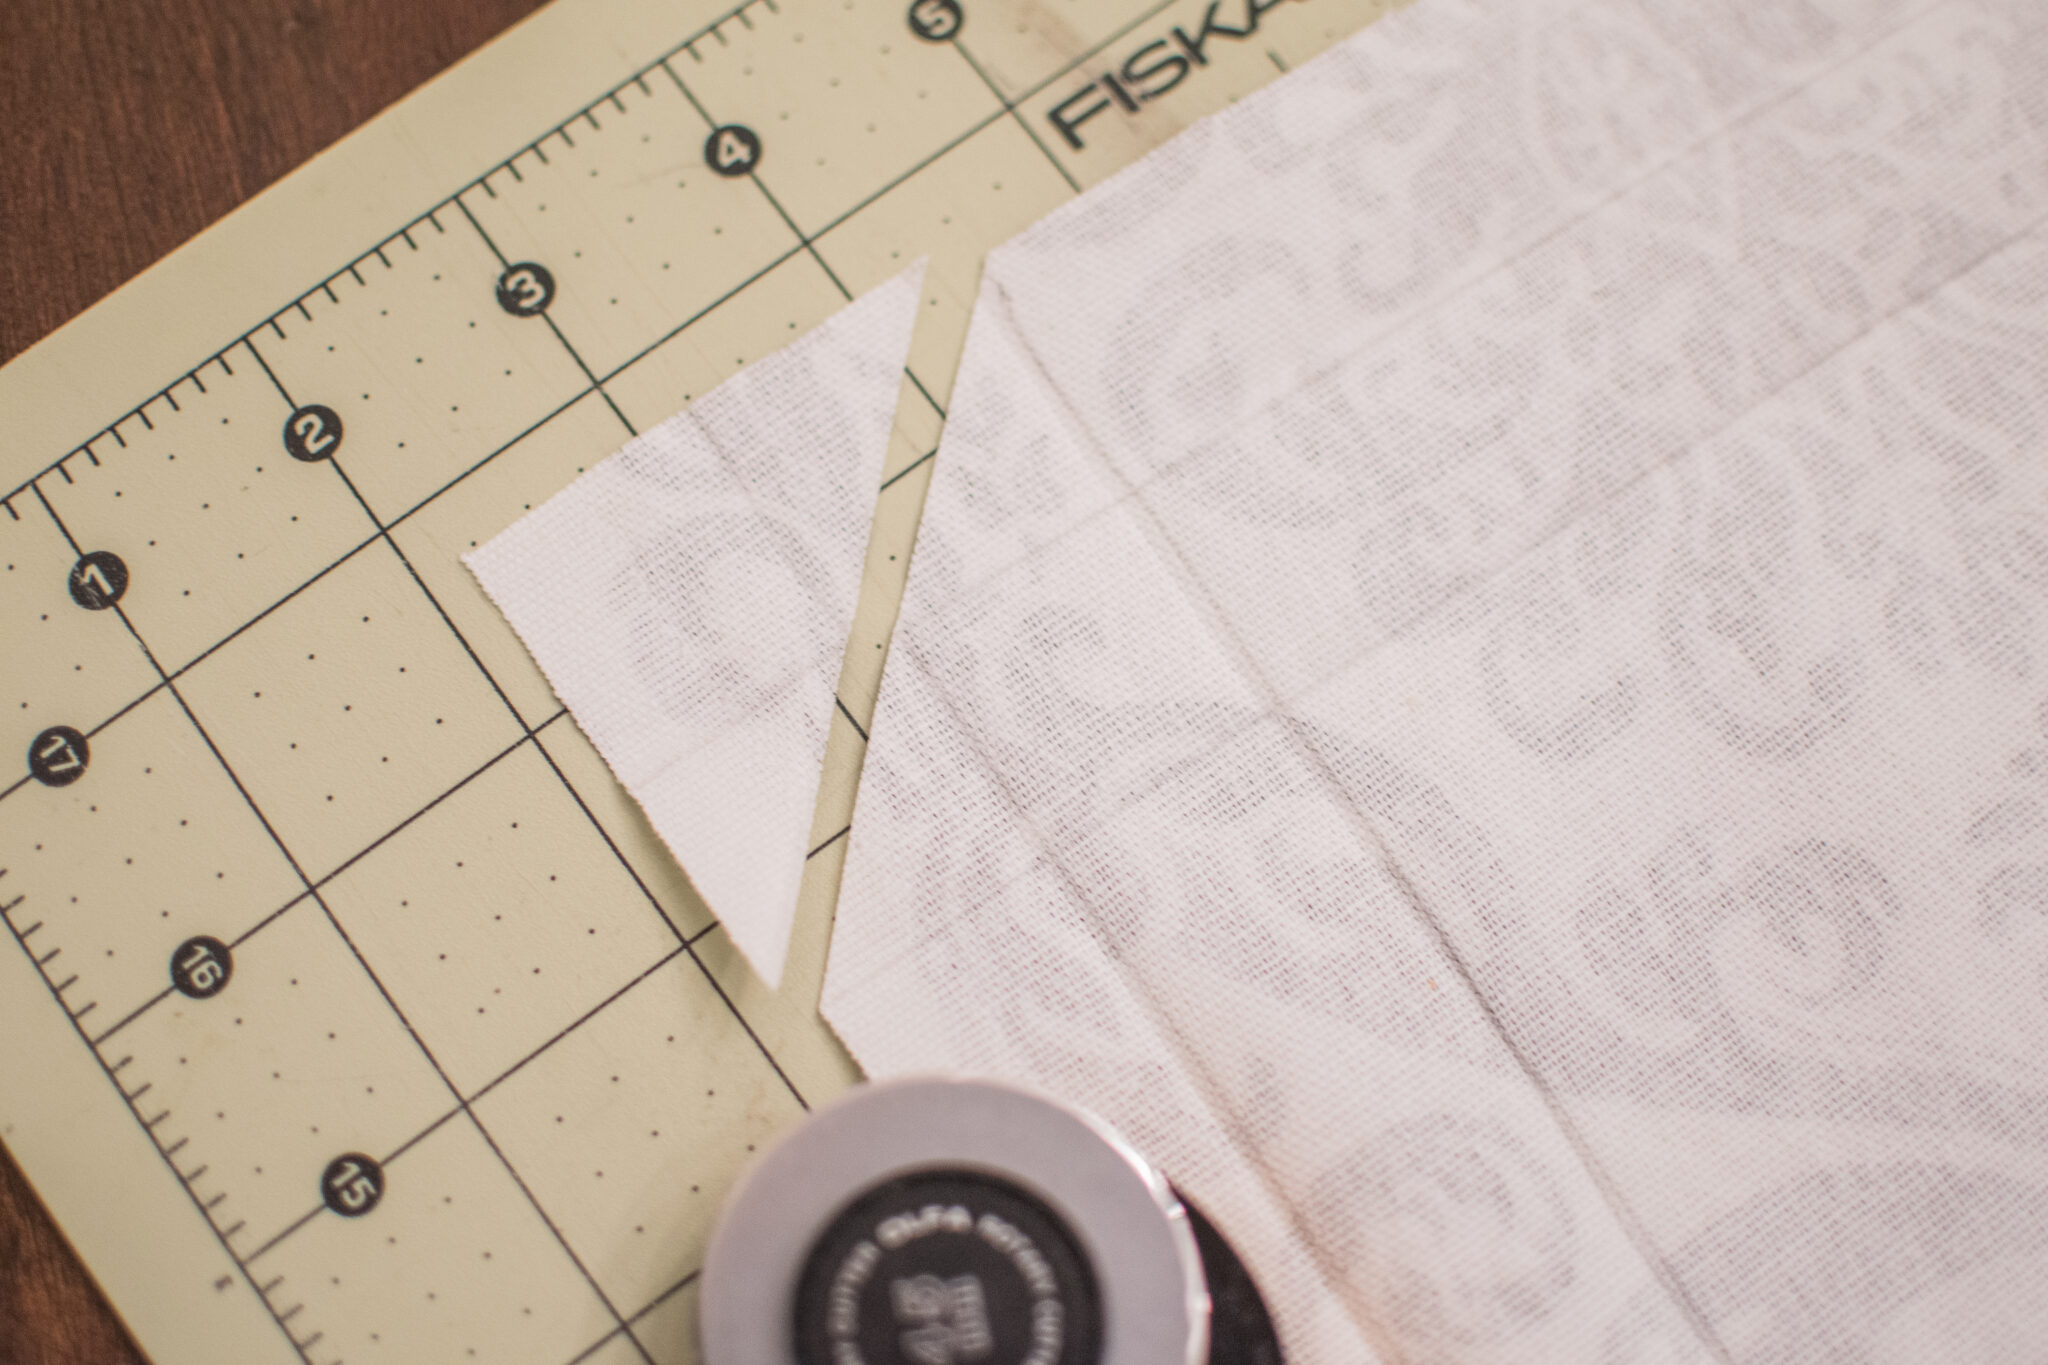
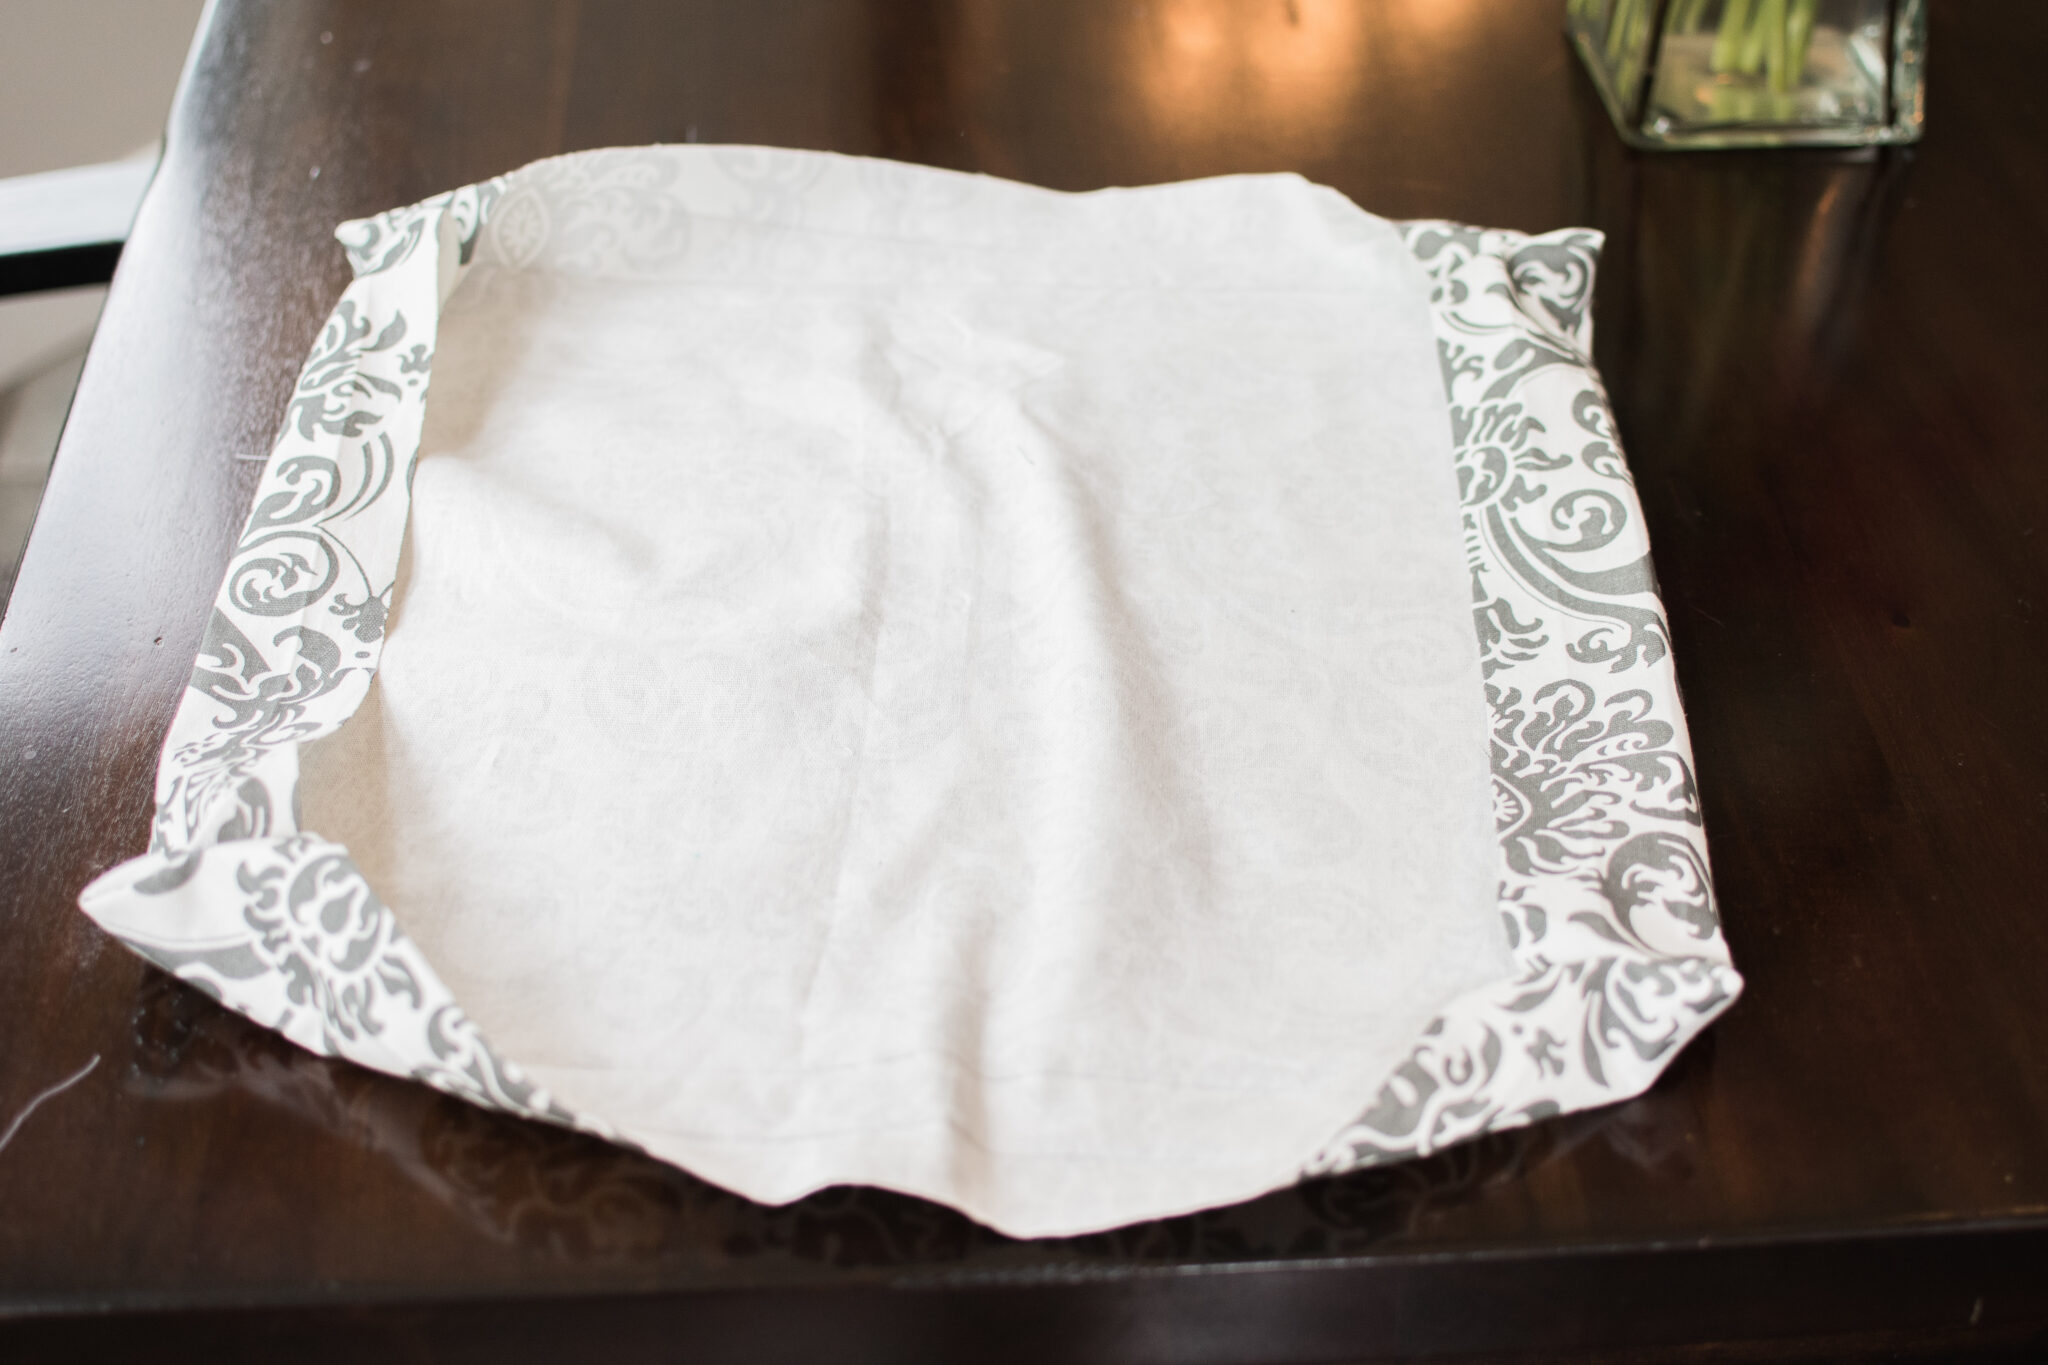
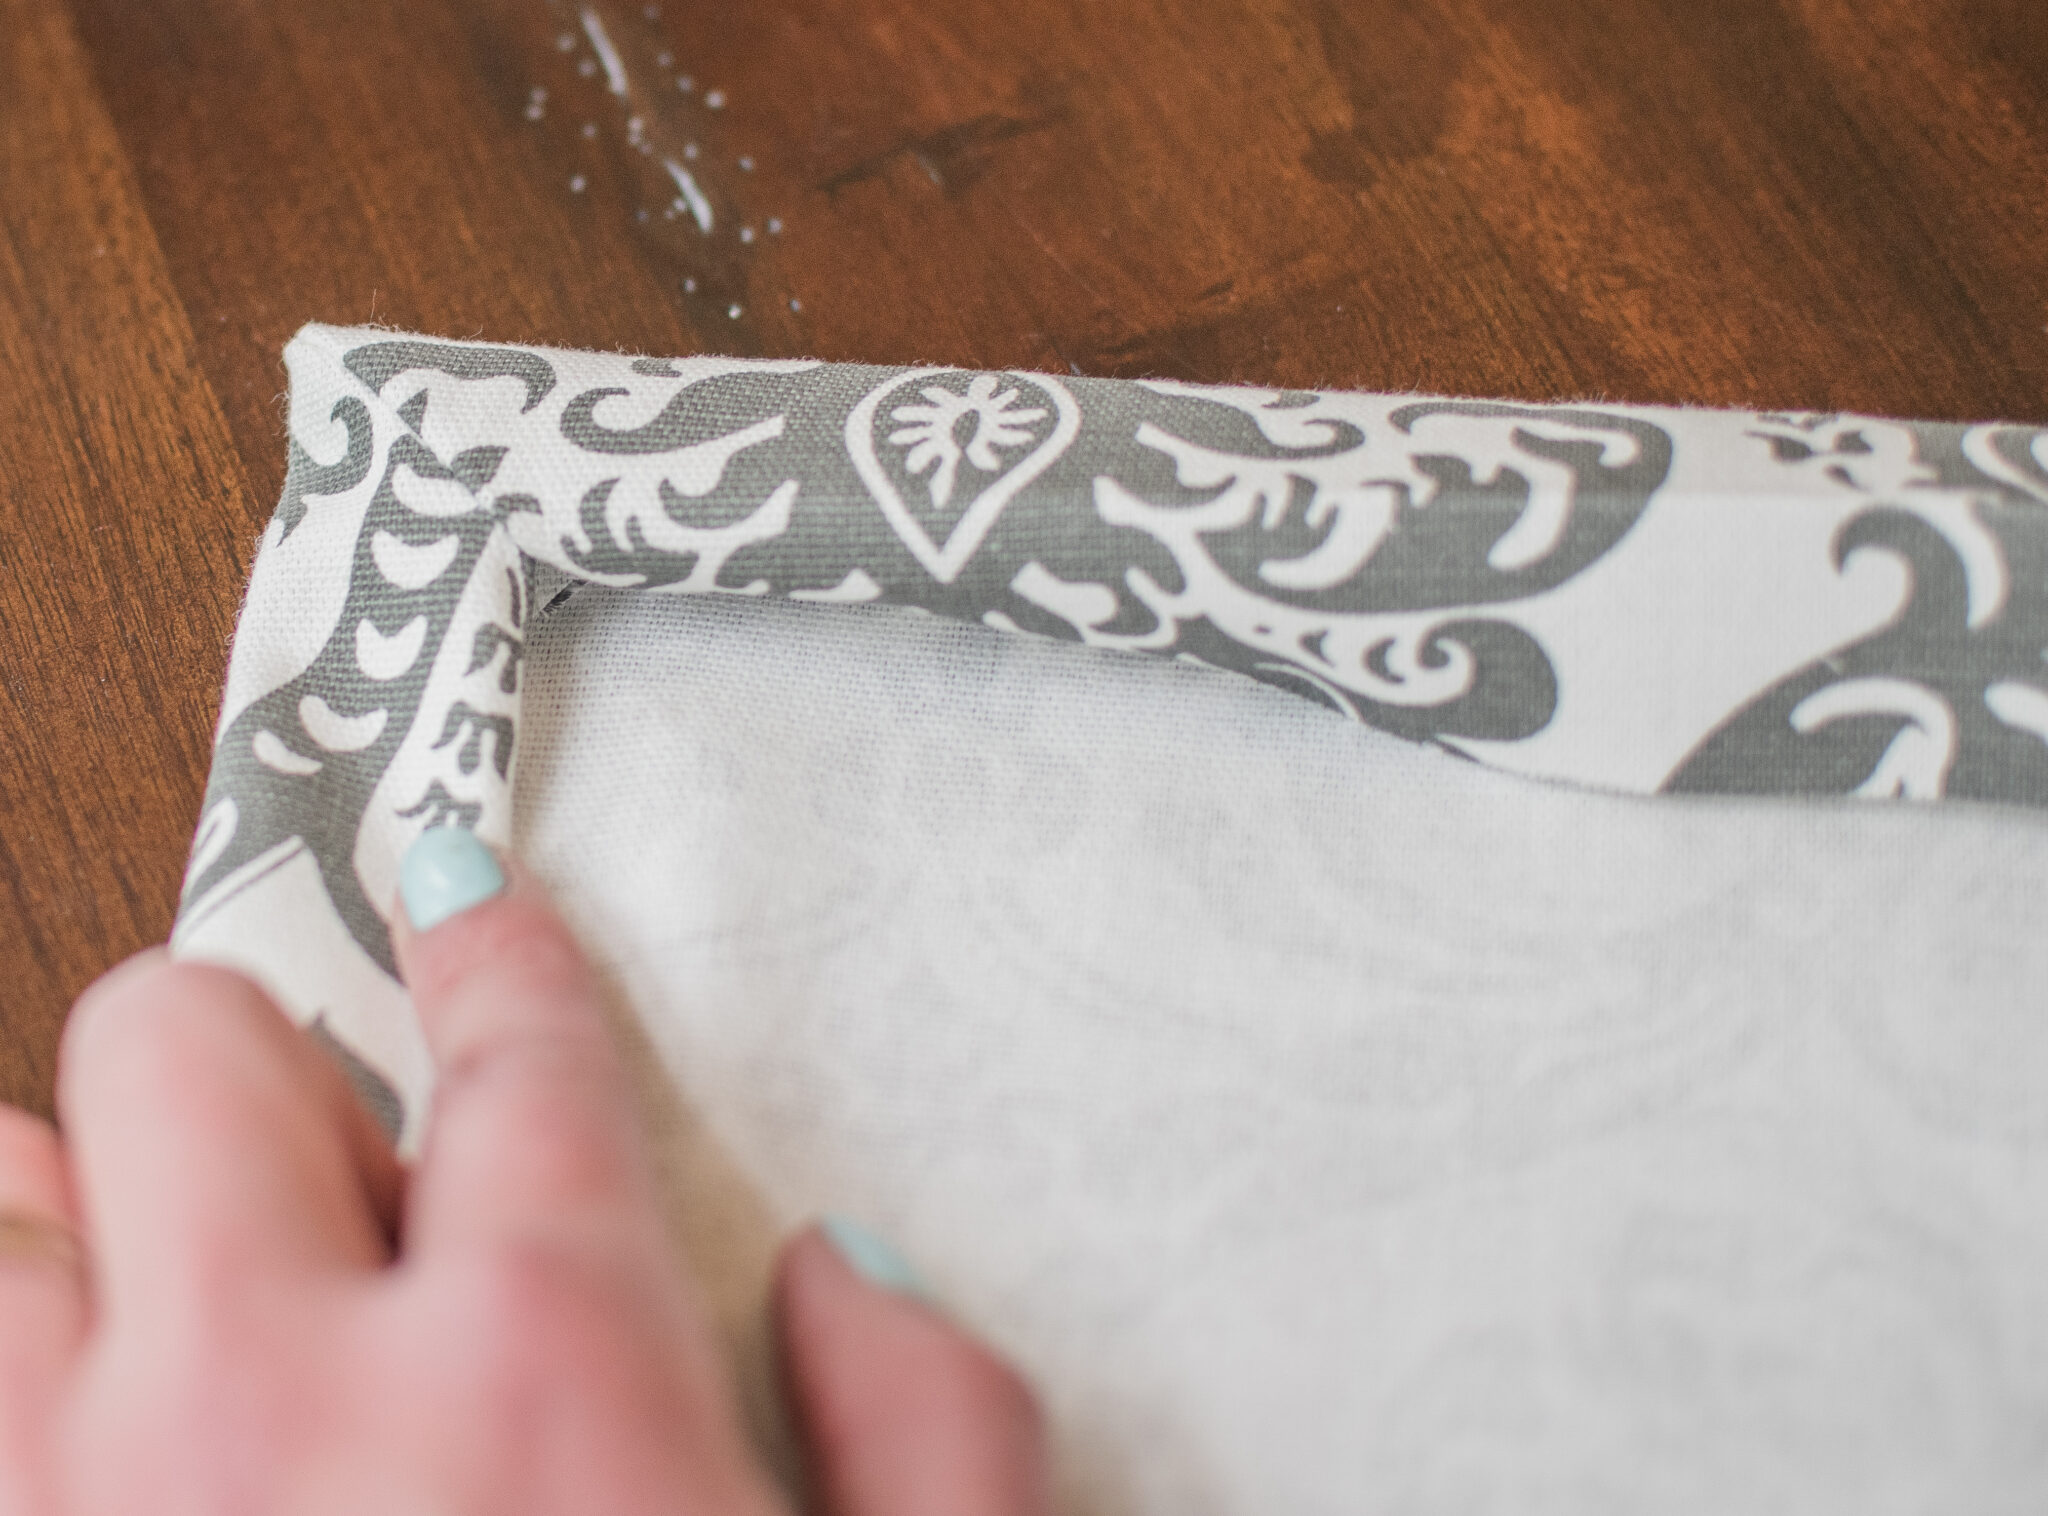
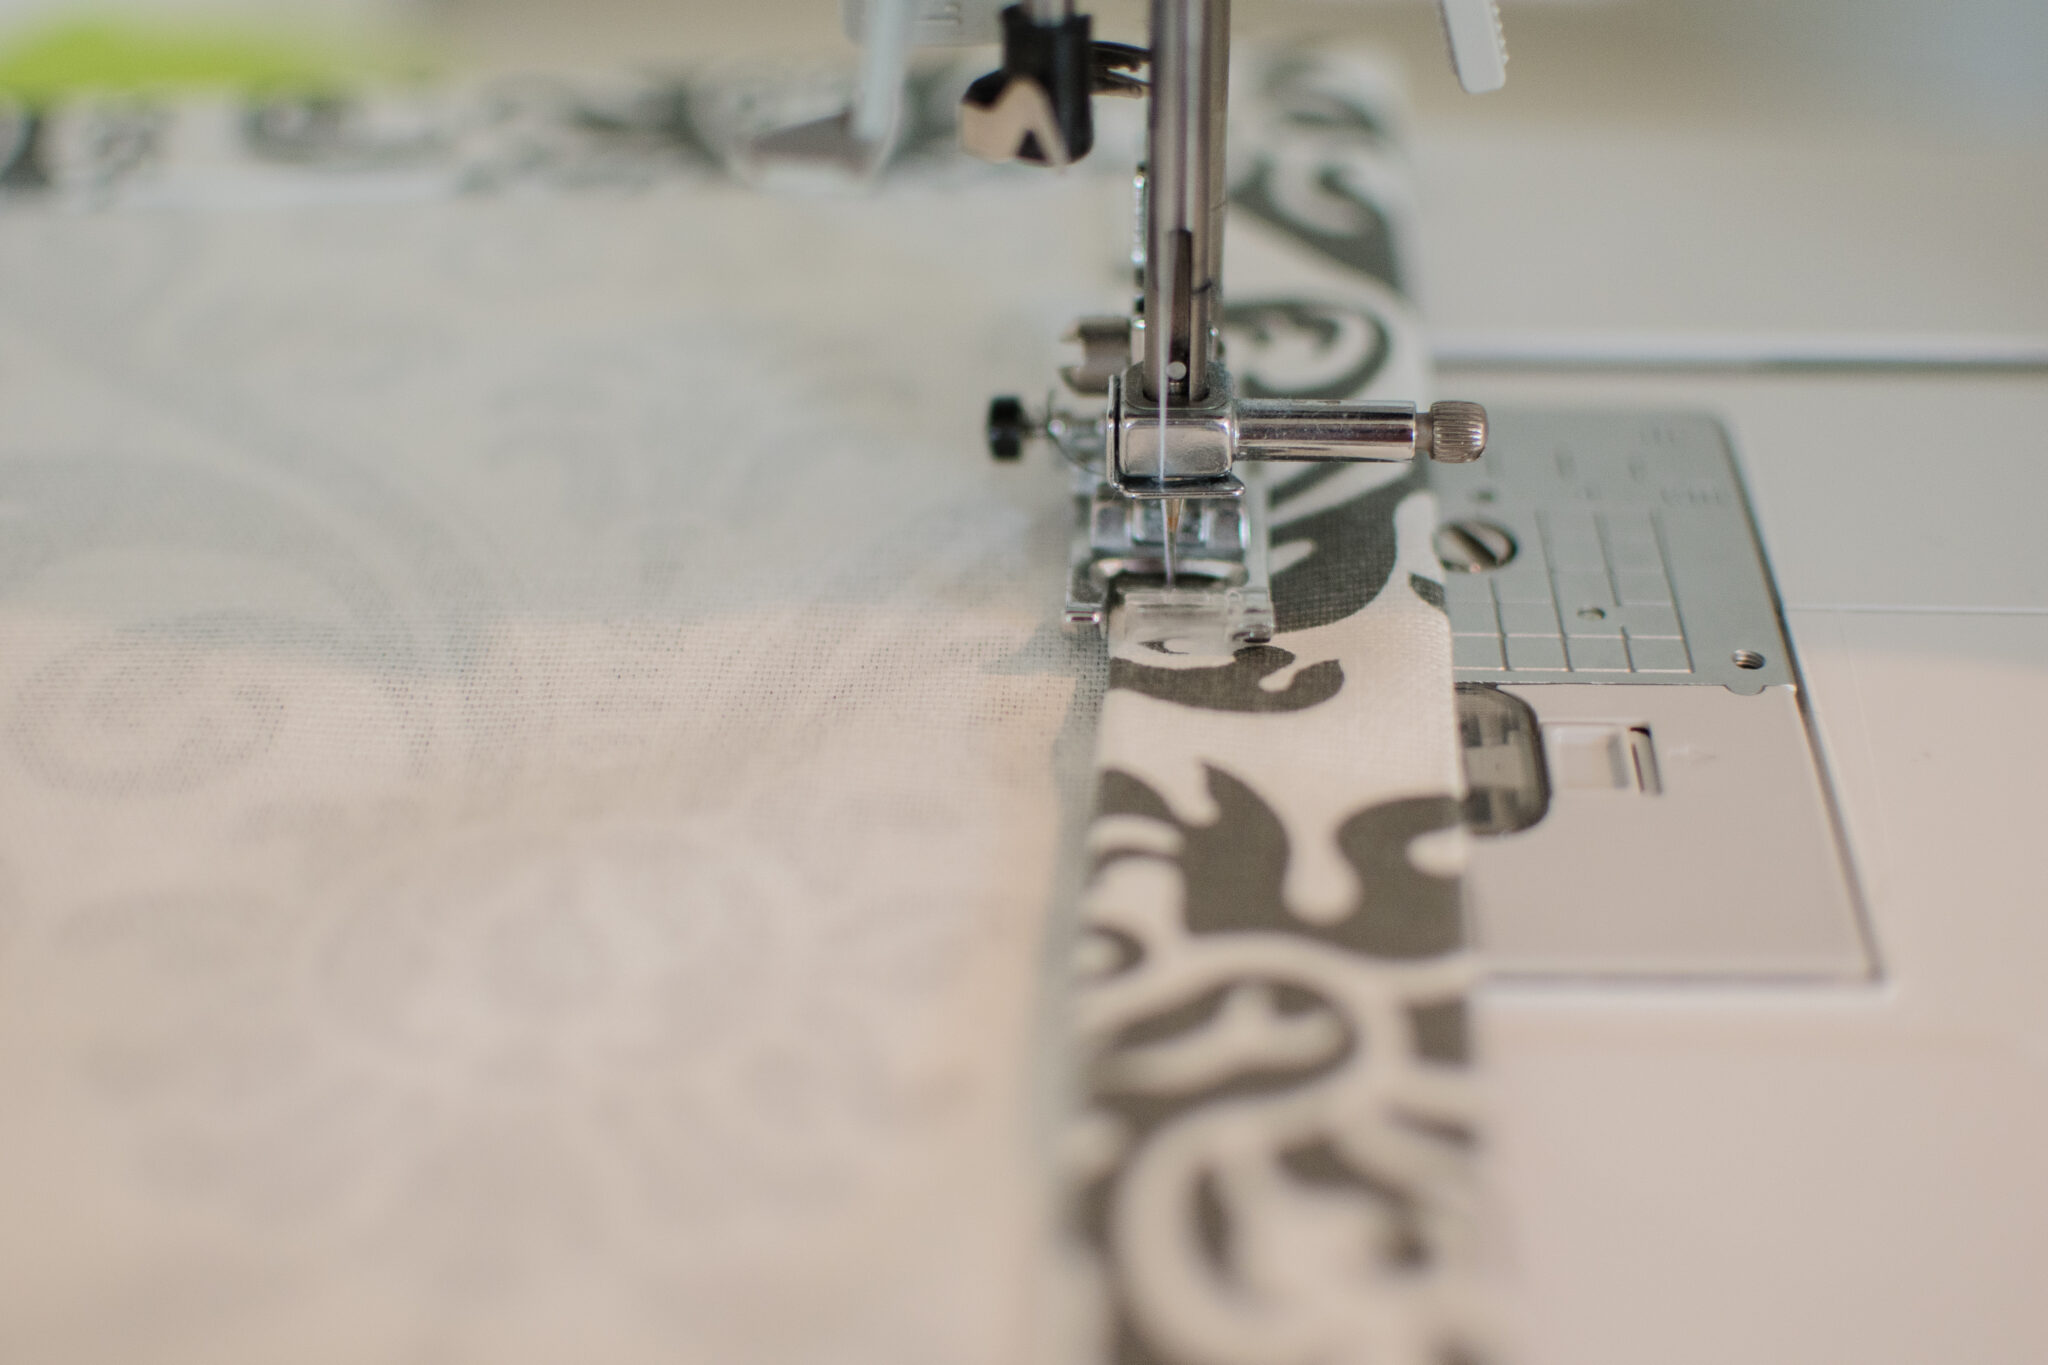
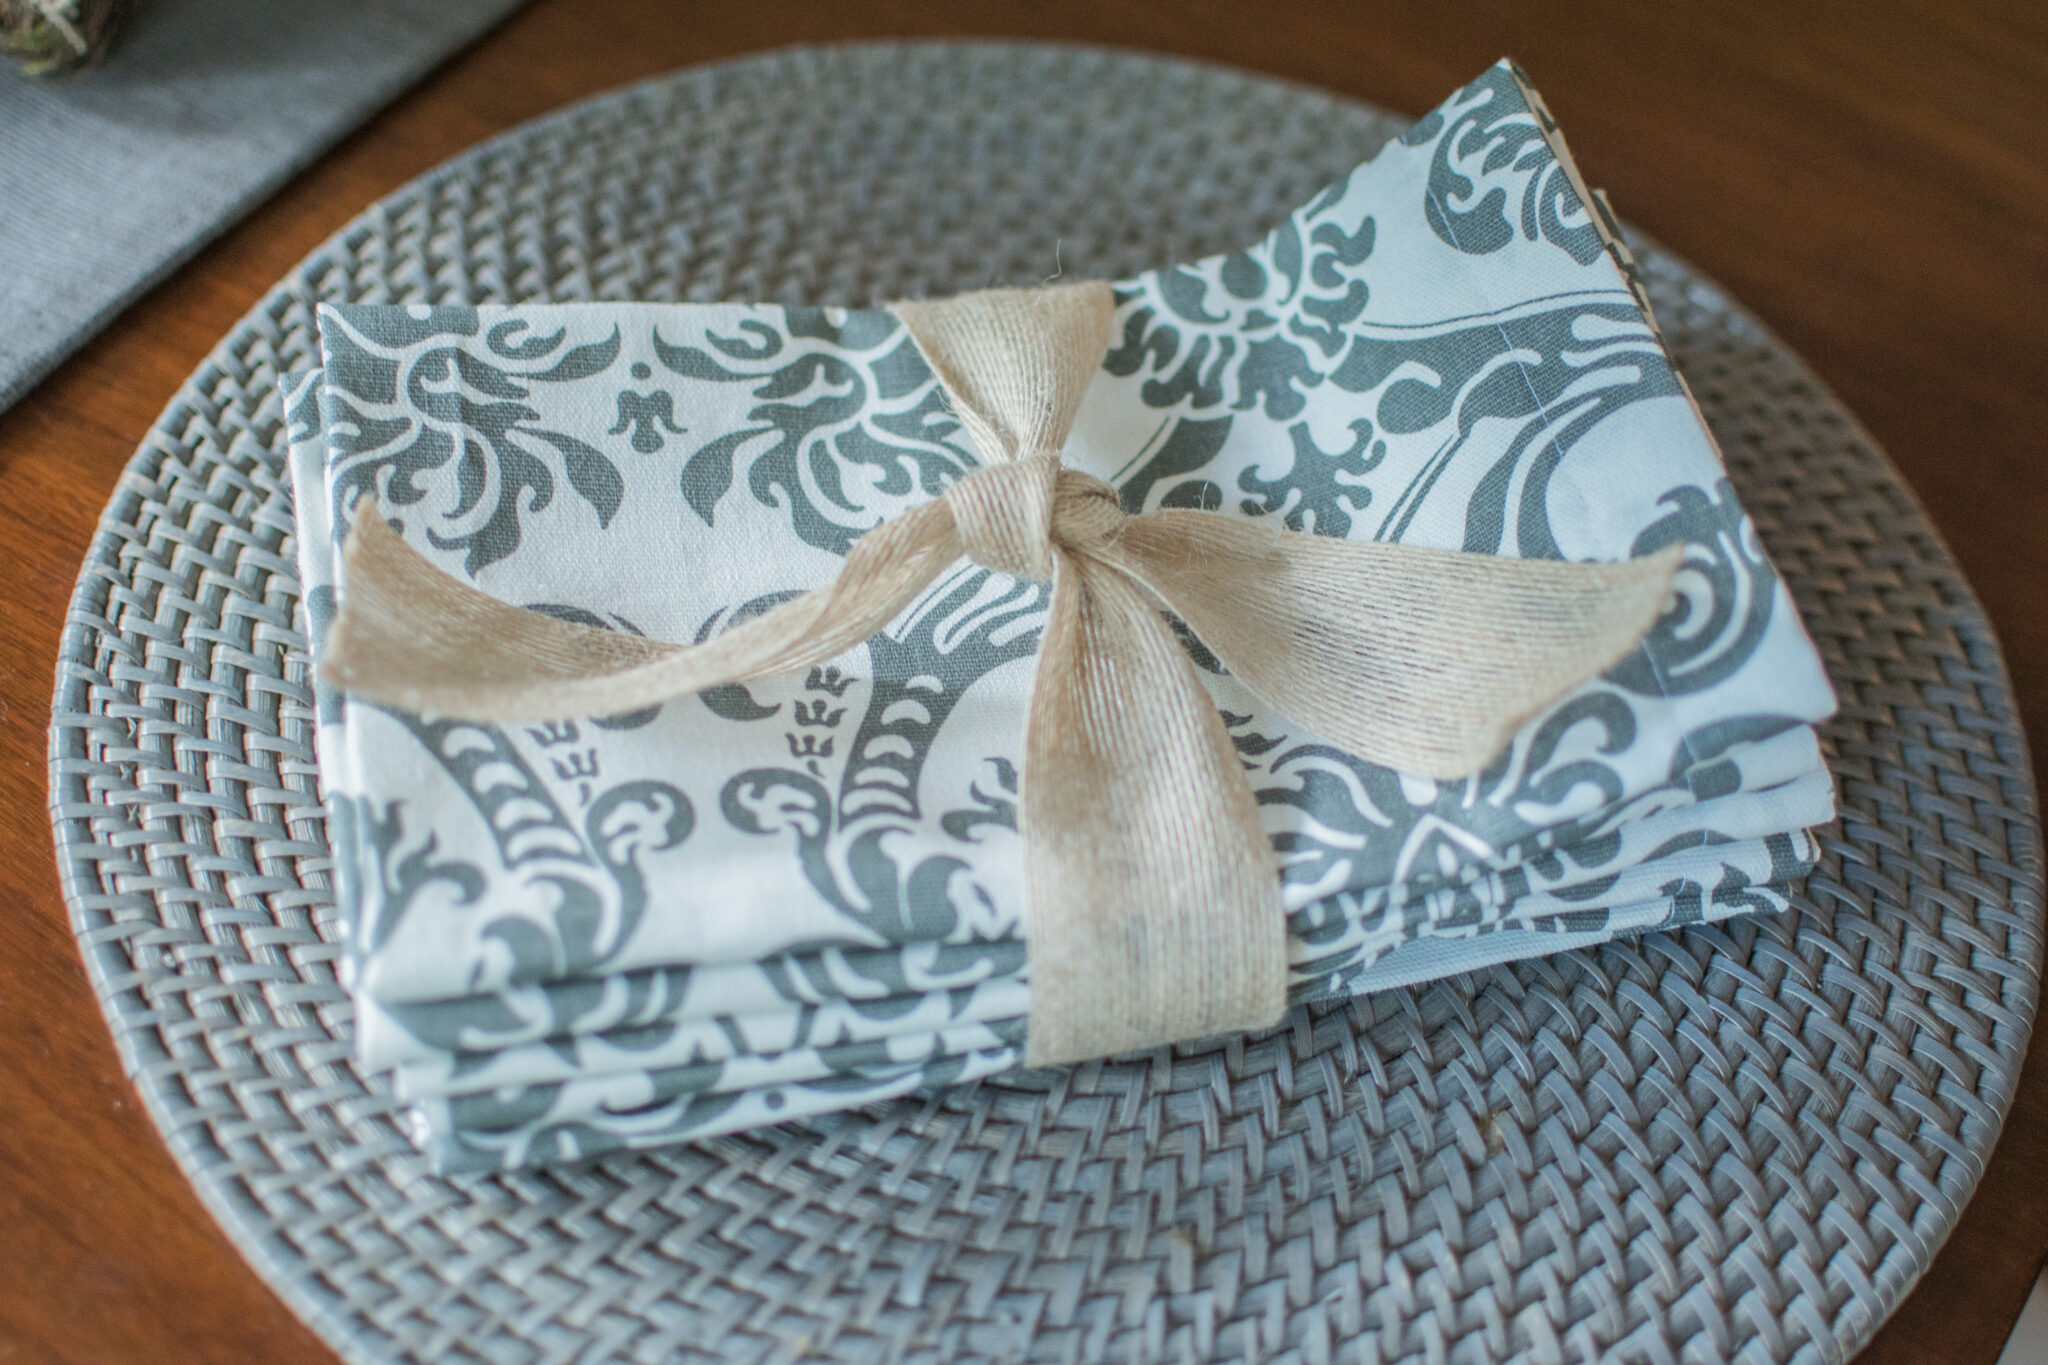
4. Make your own napkins and linens. I have a great easy tutorial for beginners HERE. You can use this technique for all of your table linens, even runners, for a steal of a deal. 

5. Lastly, keep an eye out before the season strikes. Usually stores will clearance items after season, but the best time to find a good sale is just before the turn of the calendar. I use this same secret for almost everything I buy for our home.


Decocrated Fall Decor Unboxing

This season’s Fall Decocrated box inspired my whole tablescape, but I love the pieces throughout my entire home! You hear me rave about them a lot because they make decor so easy for me. Plus. they keep my home beautifully refreshed. Check out the video to see each of the pieces in this season’s 2019 Fall Decocrated box and get even more tips for decor! What are your favorite pieces? Use code CHELSEY10 for $10 off your first box at Decocrated.com

Follow me on Instagram HERE for more photos to inspire your home and make sure to subscribe to The Mama Guide for more easy ways to manage the home, make more time for you and what you love. 

If you have more questions for me or would like to see something on the blog, email me at chelsey@themamaguide.com I love to hear from you all and can’t wait to talk to you soon!

Xo,

Chelsey

Easy Summer Gift Basket- Lemon Theme

Easy Summer Gift Basket- Lemon Theme

Easy Summer Gift Basket – Lemon Theme

Someone is going to have to stop me this summer because I am in full-fledged lemon obsession. Absolute lemon addiction over here, not even ashamed! Lemon dresses, sewing lemon skirts for my kids, and now.

Lemon gift baskets. Woop!

This summer they are so on trend, along with flamingos, but that’s another post you can check out HERE. But this post is all about putting together the most perfect gift basket, that really says thank you. There are a few different elements I have in any basket that I’ll be sharing down below, keys to follow, and how to make your very own like this one. First, let’s dive into what I used.


What’s Inside

For this basket, I gathered everything in one Target swoop. I’ll link the items below, but the links may expire as the items no longer become available. You can easily swap out the items for similar ones or another theme and I’ll teach you how to balance your own basket too. Here’s what went inside this one. 

Lemon Room Spray by Magnolia Home

Lemon Sprig ( artificial lemons and leafs)

Wooden Serving Board         

Magnolia Home Wire Basket

Bag of Lemons

Tea Towel

Citrus Candle

Powell Mahoney Lemon Sour Drink Mix

Paper Cups & Plates ( from the bargain spot in Target )

What’s Inside A Cohesive Gift Basket?

If you’ve followed along before, you know I’m all about themes! They make it easy to tie everything together for a cohesive look, for anything really. This basket is obvi a lemon theme, but colors are important too. Think about these three aspects for theme creation. 

Colors

Odd numbers are always the rule, you should opt for 3, or even five colors to create a balance that is pleasing to the eye.  This basket was easy, lemons are yellow and green. But what about the third color? There is a secret trick to cohesive design, it doesn’t always have to be a color. I opted for “neutrals” for the third element of color, and that means a mixture of textures. So we have yellow, green, and neutrals. 

Mix Elements & Textures

Another secret to a smooth design, for anything, is to have a good mixture of textures. Don’t try to be too matchy-matchy. Think metals, woods, papers, linens, organic elements and greenery, plus glass! So long as your colors are complimentary, a limited amount of color pops with the remaining colors as a neutral, you can mix textures to your heart’s desire. Think about the types of textural elements as well, this is a very old-school medicine cabinet style texture mix. We have the old dark glass for the room spray, vintage-like tea towel in blacks and whites, a black wired basket, it’s all in a theme of style as well. If that starts to feel overwhelming to you, just step back and ask yourself if any of the textures together look out of place. That’s why themes are so helpful, they give you a starting idea to flow with without question. 

Selecting Perfect Items

You’ll hear the word theme out of my mouth a thousand times, it’s because that’s the easy sauce that makes things mindless. When selecting your items, think about the usefulness and what purpose they will serve. Make sure the items you put in the basket can actually be used- not just pretty things that will sit in a closet.

Find a basket that can be used for multiple purposes, I loved this one from Magnolia Homes because you can display it on a counter, use it for a picnic, or for the obvious- storage purposes like in the laundry or powder room. It’s pretty. If you choose a colored basket, think about the recipient’s home decor style and where it could go. When in doubt, stick with something classic and let the items inside shine. 

You can make baking baskets with spatulas , napkins, and matching cupcake liners. You could do a market fresh basket with tea towels, lots of fresh veggies from the farmers market and specialty olive oils. Even a wine inspired basket with a cool bottle opener, your favorite red, and grilling seasonings to pair. When in doubt, just focus on how you imagine the basket being used. 


Final Touches & Final Thoughts

Everything needs those final touches, the little details make everything shine. Like sprinkles on a cake! Or a sprig of lemon and leaves for this basket. You can add a lot of little and inexpensive details to wrap up a piece. This basket was pretty large, so I filled the bottom with lemons, instead of tissue paper or such. Balance out the height of items on top with artificial or fresh greenery, see the lemon sprig on one side to balance the wooden plate? All about that balance. 

Head over to your local Hobby Lobby for some details to fill your basket if you can’t find one at Target, like I did. 

Remember: Every other week at Hobby Lobby is 50% off all faux florals. Pick the right week!

Remember, don’t be shy! If you have any questions or want help on your project, feel free to message me! Hit that contact field up top, or message me on IG

Happy Summer!

Xo, Chelsey


LegoLand Boston Adventure – & What To Know Before You Go

LegoLand Boston Adventure – & What To Know Before You Go

LegoLand Boston


Let the summer adventures begin! Yesterday we trecked through the pouring rain (hello summer where are you?) into Boston, where the LegoLand sits right in the cute new mall, in Somerville! Obviously, my son is a huge fan of Ryan’s World, and we have seen his adventures in the LA LEGOLAND, so we had to give the one in Boston a go. If you’ve got one near you, or are dying looking for a fun summer – get your kid to take a nap after- but still have fun activity… Here’s everything you need to know about LegoLand! The good, the ugly, the must try fun. Here we go. 

Know Before You Go

Mason had a blast, and I did too, but it’s good to keep in mind that the full experience is probably best for kids 2 and up. There is a younger child area, tucked in the corner to keep babies from being run over by the big kids, but some of the rides require you to be at least 36″ tall. The VR experience ride, actually requires children to be 6 years old, so we missed out on some of the fun. Some of the rides also require an adult, so Mamas, if you’re toting along an infant and a toddler, try to bring someone else older to accompany your toddler on the rides. 

Also, try to make a potty pit stop before you enter at some of the restaurants next door. The actual restrooms are located all the way near the end. You’l have to skip the whole entrance just to use the restrooms, and ruin some of the fun. 


Exhibits Inside

There is plenty to do inside, you could spend a good two hours playing, or even longer if you do each activity. Throw in a movie and make it a whole day! Here’s a list of the exhibits inside and what to expect.

  • Factory Tour – This was more-so a video experience where the little ones are greeted with a button and a control station. Through the video there are opportunities for the kids to add faces to characters in the mini-show and more. 
  • Rides – There are three rides inside, VR, a seated blaster ride, and a pedal round and round ride. The VR was for children 6 and up, so no new for you there. The blaster ride was a “blast”. Ride around and shoot to earn points with in-car lazer guns. So cute. The last one was my favorite, round and round you go and pedal to lift as high as the ceiling! You must be 36″ tall for the pedal ride.  

  • Race car Testing – There was an adorable section to build your very own car and test it downhill and more.
  • Movie Making – Use the tablets at this station to make your very own Lego Movie! Build and record!
  • Free Play – You’ll find stations everywhere with tons of Legos to build as you wish. 
  • Catch A Show! – There is an adorable theater to catch a 4D show! We will catch one next time around but I hear there are lots of special effects like wind!
  • Lego Friends – There is a whole house built just for imaginary play! Peek inside at the little kitchen and TV where you can dance and have fun. 
  • Baby Play – Tucked safely in the corner is a play place complete with Duplos and a slide! Perfect for little tots while the big kids play.  
  • Giant Jungle Gym- We loved the climbing and slides, with giant Legos scattered about. There were plenty of places to sit and keep an eye on your little ones too. Some of the big kids did knock over the littlest kids, so keep a keen eye out.


MiniLand

One of our favorite parts of Lego Land were the huge interactive Mini Land scenes! Almost all of iconic Boston was carefully built, brick by brick, trees and all! The kids around pressed all the buttons to make cars move, boats zoom by, and even load an airplane at Logan International Lego Airport! The details were amazing, peer into windows to see what minifigs are up to inside! 

Don’t miss this hidden gem! Peer below the old Boston Harbor below the water to see the minifigs having an actual tea party! So cute. 

Let’s Talk About Food

If you have picky eaters, or plan on a decent lunch, eat before you go. The food case that was to contain plenty of salad and sandwich options was EMPTY. And to be honest, this Mama likes a good meal. The only sides were bagged chips, ugh. The kids options were, WAS a cold hotdog. I usually don’t complain but this was disapointing. There was plenty of cotton candy, gummys, Dip and Dots, and more, but no nutritious foods. The pretzel case was empty as well. So a soda and chips was really it. They did have a starbucks coffee bar, and two chocolate muffins. Oh, and I saw a gal grab the last chicken salad sandwich when we rolled in, too. That was a risky choice, ha.

Point is, I didn’t expect much, but was shocked that there was NOTHING. Eat before you go, there’s a cool looking chicken and waffles place around the corner. 

The Good, The Bad, The Fact Lineup

Let’s start with the good – The lines weren’t awful. You book your time when you reserve a ticket, so that helps with the crowds. 

Every kid was having a blast and my son was in heaven. HEAVEN. 

I was so happy to see that Lego employed happy, smiling, and kind staff members. They also are very equal opportunity and hire staff with disabilities, way to go Lego! Every person is important and vital to our community. 

Parking was EASY to find, and FREE under 3 hours! I believe it was only $5 for the hour more. Very happy!

The Bad – Did I mention the food? Ok, well there are also room for repairs. The ride I rode on was busted, no lazer points for me. There were two car down on the pedal ride, and some of the tablets for the movie making were out of order. Deal breaker? Nah. 

With plenty of potty training aged kids, babies in diapers, and really only stuff to drink, they need more than ONE bathroom area in the end of the exhibit. 

The Gift Shop

On your way out of LegoLand, of course, you pass through the gift shop. I actually quite loved it! They had Mason’s favorite, Marvel. He brought his birthday money from his piggy bank and immediately grabbed two sets he loved. They also had some amazing HUGE sets that made me want to get some for myself. I really wanted the working $200 Merry Go Round, ha! Good thing I didn’t though because putting his sets together later was like me setting up Ikea furniture, it was all wrong and I have no idea how I had so many pieces left over. There were sets for everyone, from $10 – $200. 

Warning – Walmart.com actually had our same sets for $10 less online. So check as you shop.

Takeaway

Lego Land will definitely see us again. Mason was in heaven, and had the best day ever. Ultimately, none of the downsides would even effect his experience, they did a pretty good job. Loved the staff, loved the stations, loved the rides. Not so much the food, or lack there of, but we had fun. We loved all of the details like the Lego- looking fences, murals on the walls, and buckets of Legos everywhere. Parking was easy, plus free! The whole place was pretty clean for how many kids were around, and we had a fantastic time. This is a definite MUST GO SEE for summer or even to break up those long winters! Also, if you’re not in Boston, find one near you they have them all across the country. 

Happy Lego Building!

Xo,

Chelsey

How to Throw an Amazing Yet Easy Party – Free E-Book

How to Throw an Amazing Yet Easy Party – Free E-Book

How to Throw an Amazing Yet Easy Party – Free E-Book

What’s in a Good Party?

We throw parties to mark a momentous occasion, or for someone special to us; but really good parties mainly have the guest in mind. In days when we are all too busy, when we truly slow down and come together, our parties are our thank you to those we love. Throw a party from that perspective, you’re guests (and you!) will walk away with a memory of an experience, not just a gathering. Here are three things to keep in mind when throwing an amazing party your guests will leave raving about, plus the full 20 page E-Book outlining all my party secrets below!

Decorate For Experience

Before you look up and around for areas to decorate, make a plan with experience in mind. Where will beverages and food be served? What tables will be the focal point? What will guests see when they enter your home or party location? Focus on those areas to make decor go further. My tip, utilize inexpensive balloons, candy, and streamers in modern ways to make your decor dollars stretch. 

Themes Are Everything

Pick a theme, but do it right. Your theme should set the tone for your decor, your invites, the food you serve and more. The difference between a chotchky themed party and a beautifully designed one, is to keep imagery or characters at a minimum. Add variety to your color scheme, keeping true to your main idea. How do we do that? Instead of everything being red and white striped in the circus party we threw, I added pops of color in subtle ways. Look at how the confetti subtly introduces new colors, stands, or food. See how the candy colors compliment the predominant red and white stripes, yet add to the theme? If you’re throwing a character or print theme, what NOT TO DO, is have every item with that one character or print. For instance, if you’re doing a purple unicorn theme, add two more complimentary colors to your napkins, cupcake frosting, maybe the balloons or streamers! Have at least three colors introduced, three is more pleasing to the eye. Also, think of elements that add to the experience of the theme. I had tickets everywhere, to really make the party carnival/circus like.

Basically, pick a focus of your theme, and add complimentary colors and patterns to add depth and avoid a dull repetitive decor theme.  

Fun For Kids & Adults

When your guests arrive, get something into their hands! Drink- check. Food- check. Favors? Yes- check! A great party is when the adults and the kids can both have fun! The biggest challenge is allowing parents to relax when we’re all chasing our littles around. Give favor boxes to younger guests when they enter the door. It helps to keep them busy while Mom & Dad unwind, grab a beverage, and say hello to everyone. Especially for shy kiddos, they’ll have something in their hands to focus on instead of being overwhelmed by a big crowd of strangers.

Bonus: Have kid safe areas where the little ones can wander and collect more goodies for their boxes, just in sight of where parents can relax. 


Self Serving Yet Cute!


One of the BIGGEST LESSONS I learned for throwing a flawlessly easy party, was to not over-host! What does that mean? It means having a ton of guests and running around like a chicken with your head cut off. Ha! 


If I could go back in time, I would teach myself this little secret.


  Create multiple self-serve stations at your party, Ms. Chelsey! But they have to be inviting- instead of ‘buffet boring- like this host is lazy’ like. 


How do we do that? Make these stations cute, and part of the experience! Add little details that will wow your guest and make the experience more fun! How cute is this popcorn station? 

Separate your stations so that guests don’t overcrowd an area, and make them easy to grab! For this party I had a two snack stations, a juice/soda/water spot, an adult beverage dispenser inside the kitchen (away from little kids’ reach) and the main meal was served in another area.

Make each area special, with decor, or options to customize their needs. For drinks, add colorful straws, beverage napkins, and garnishing options. Little slice of lemon and a sprig of mint, yes please! 

Every Detail Counts

Little details make a big punch! You don’t have to spend hundreds to customize elements of your party. My favorite custom go-to for every party are custom candy bars and water bottles. Even my invites are custom designed to match the party. It’s easier and less expensive than you would think! To find out how to customize your party for that extra WoW factor, download the Complete Party Guide!

The 2019 Party Guide- Complete Edition

A lot goes into planning a party, but to make it easy I broke down all of the details, into an easy to navigate Party Guide- 2019 Edition. 

The 20 page guide has everything from 

A full schedule breakdown for when to start planning, how to schedule your planning and more. 

Want more insights for how to theme your party, and ideas on how to incorporate your theme? Check out ten party theme ideas with inspiration for how to craft your own theme! 

Where do you grab your decor, for less? All my decor secrets are inside!

Learn where to go to customize and create your very own invites, water bottles, and even candy bar party favors. 

Download the 2019 Complete Party Guide E-Book

The Complete Party Guide E-Book is usually regularly listed for $14.95, grab the whole 20 page edition for free for a limited time. 

Download your E-Book free for a limited time, and let me know what type of party you plan to throw? No idea? I have included three pages full of theme ideas, plus a full menu design to inspire you for your food choices and more! Make sure to tag me when you throw your parties to be featured on the blog and on Instagram or Facebook! Can’t wait to celebrate with you! 

Happy Party Throwing,

Xo, 


Chelsey <3


How To Sew Cloth Napkins With Mitered Corners

How To Sew Cloth Napkins With Mitered Corners

How To Sew Cloth Napkins With Mitered Corners

Story Time

I am obsessed with napkins. And towels, you know those pretty tea towels? Anyways, this post is all about the napkins. The reason I love fresh, new linens is because they’re one of the easiest way to warm up and refresh a room, on a budget. The problem is that in this house, with kids, they always get ruined, eventually. And though they are relatively inexpensive, I hate tossing those babies into the bin. 

So.

I made my own, for a lot less. Woop.


I Promise, This Is Easy

This is an amazing beginners project, and even helps perfect your sewing skills. When in doubt, take it slow and easy. You’ve got this!

Now let’s talk fabric. I made these napkins out of Cotton Duck. Aka kind of a soft canvas material. Cotton Duck is more commonly used for decor, but these double great for a sturdy summertime picnic napkin. If you use this material, make sure to give it a good wash a few times before use with a smidgen of fabric softener.

Preferably, I tend to lean towards quilting cottons, but to be honest I had this fabric in my closet for 6 years and wanted to be done with it. 


Supplies:

Iron

Pencil or Fabric Marker

Scissors

Fabric – 22 x 22 Inches Each

Sewing Machine (obvi)

Matching Thread 


Step 1

Cut your 22″ x 22” fabric squares, one for each napkin. I cut 6. Usually, sets contain 8 napkins, but you’re making them so what you say goes. Each napkin will finish at 20 x 20 inches.


Step 2

To keep my project perfect, I use a ruler to trace where I will be folding, ironing, etc. On the wrong side of the fabric, like the photo above, use your pencil to mark 1 inch and 2 inches in from the border on all four sides. Fold each line you’ve made, wrong sides together, and iron. This will create guides that make the project a heck of a lot easier. 

Step 3

Cut each corner (excess fabric) removing full corner inch square and half of the neighboring inch squares.  


Step 4

 Fold each corner, right sides together, and sew from the fold at the inner corner of the remaining inch square to the outside one inch border pencil marking. I used blue ink to make this easier to see. 


Another view of Step 4  is below. 

Step 5- Flip!

Flip your corners out, use something small like a pen (capped obvi.) to get the points all the way out. Then, using your ironed lines, fold in your edges one inch. This is why the first marking and ironing stage is Soooooo helpful. 

Step 6

Another picture below of this step, see! Easy peasy. I really recommend batching each step, also. What does that mean? Do each step for each napkin before moving onto the next steps. This gets you into a rhythm and will make the project less tedious and much quicker. You’re welcome. 

7- Finally, The Sewing

Sew your napkin seams down after folding them inside and pressing them. Keep your seams straight by pacing your machine at the best speed for you, I like to use the start stop button on my machine instead of my pedal. I used a 1.8 stitch length, too long can cause your seams to break in the wash. Sew as close to the edge as you’re comfortable with, I chose just under 1″ to measure. ( I use the foot to keep my seams straight and aligned instead of the machine’s measurement most of the time )


Project Complete!


You can really get creative with embellishments, fabrics, colored thread and more! To keep your napkins in best shape, wash on a cold setting with medium to low spin speeds. Lay flat to dry, or tumble on low heat. Cottens will shrink, I don’t pre-wash mine to make them easier to sew, but it’s a good idea if you will be drying them in the machine. Easier is always better, right? 

Final Thoughts

This is an awesome beginner project, just be sure to take your time measuring, cutting, and sketching out guide lines. You can use pencil or fabric markers. I like easy, so grab a pencil from the kiddos. Remember, I used cotton duck for this napkin, they aren’t traditional fabric choices for a napkin, but they make great napkin backings to layer for decor or sturdy ones for kids. They soften up a ton with some fabric softener. 

Have fun adding pom pom trims to the seams, or even cute patches to match your decor. My favorite place to grab trendy, cute fabrics right now is at HobbyLobby!

Remember to tag me on social media @TheMamaGuideOfficial with your finished results to be shared to my story! 

Happy sewing Mamas!

Xo,

Chelsey