How To Sew Cloth Napkins With Mitered Corners
Story Time
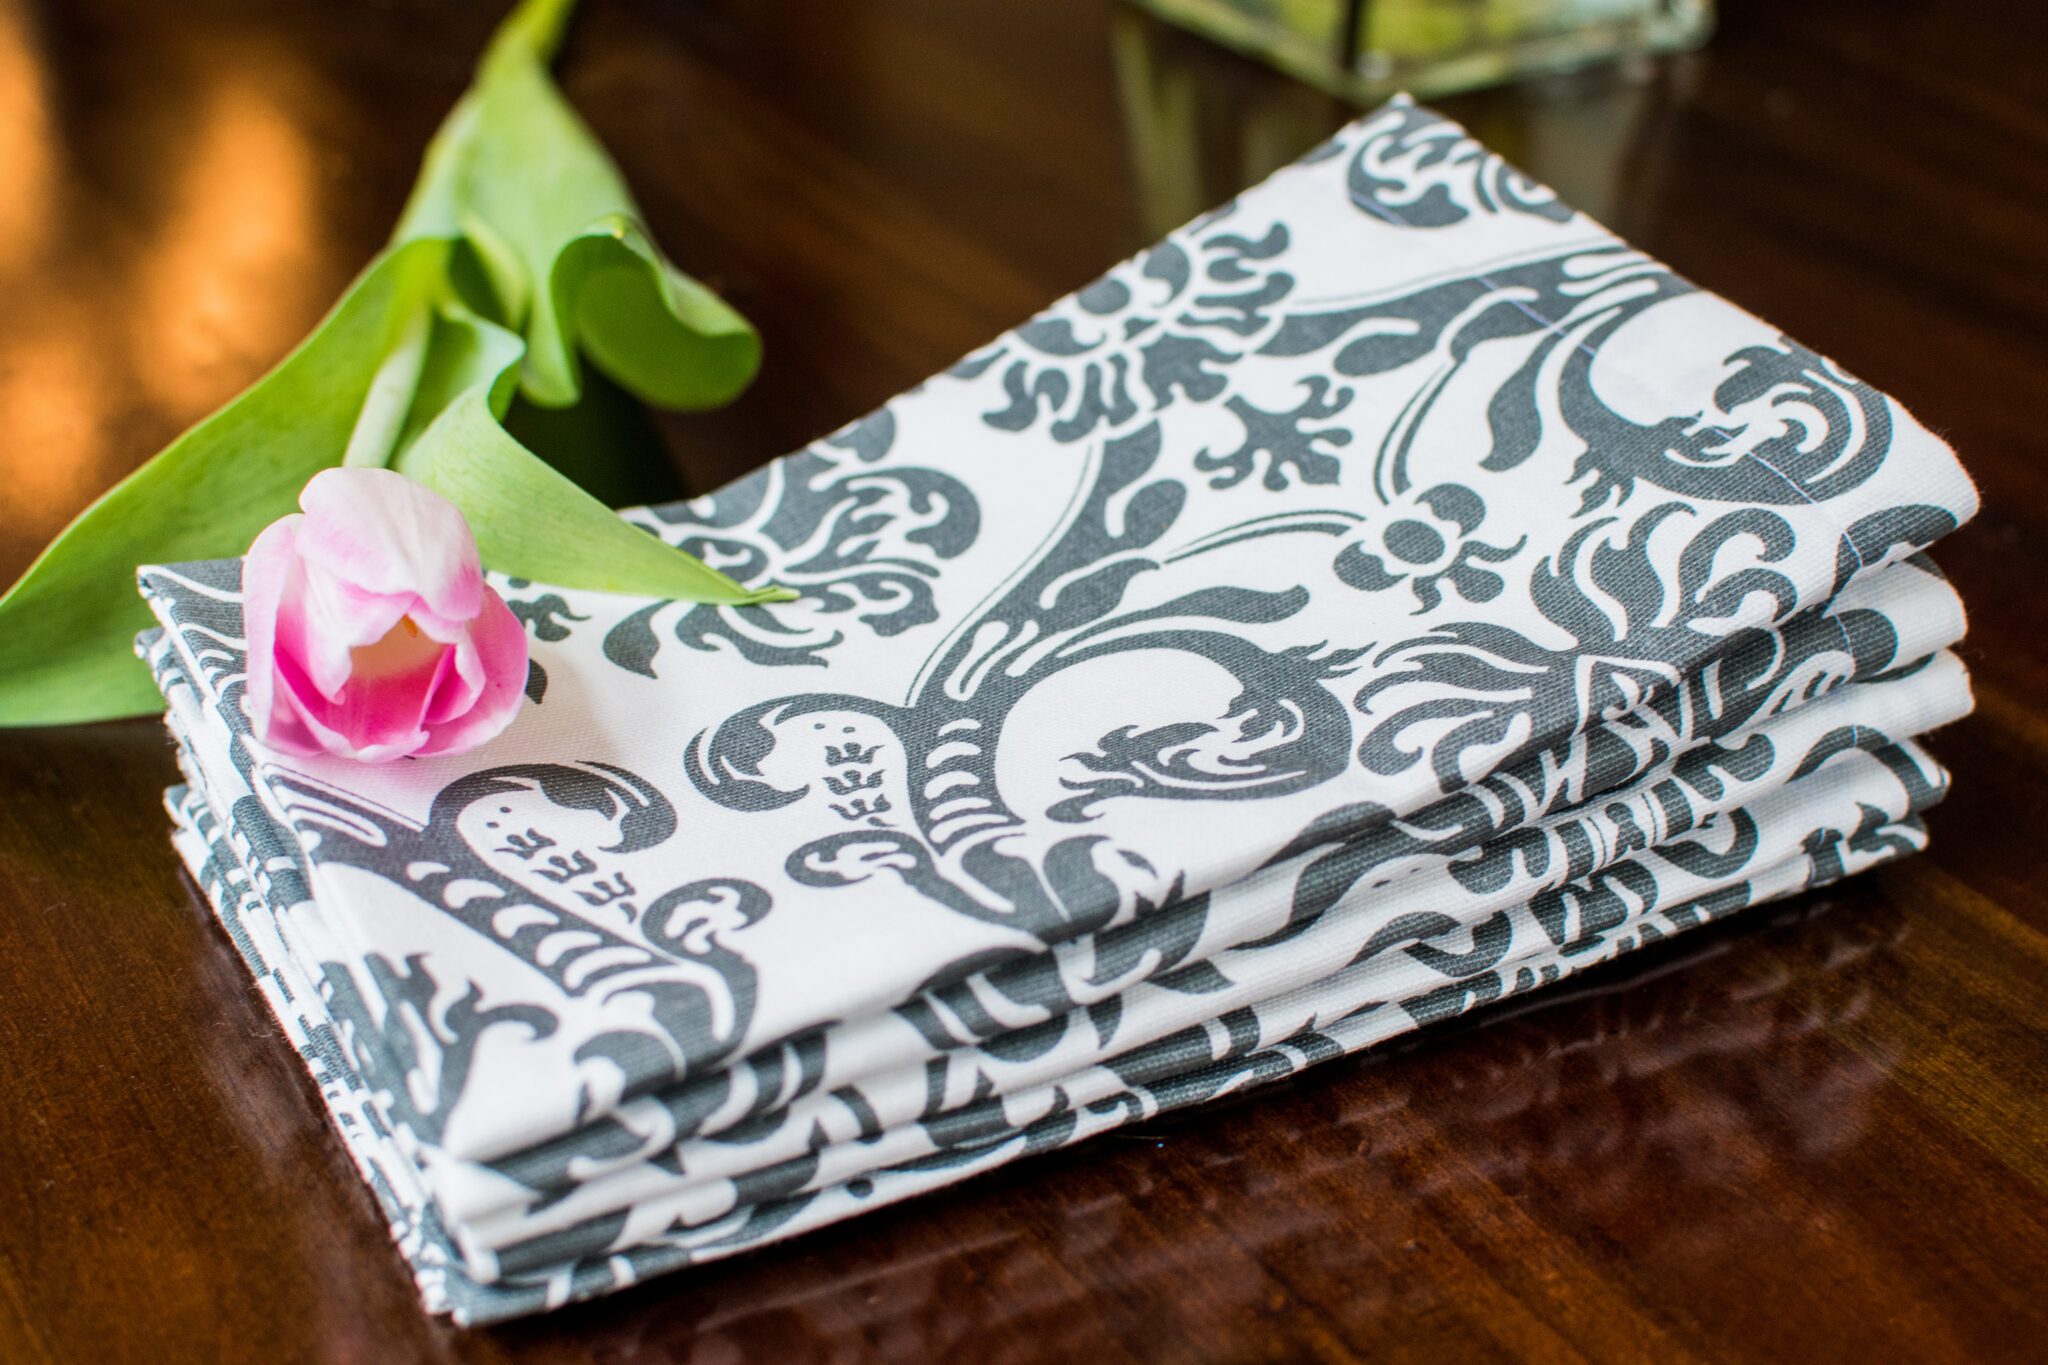
I am obsessed with napkins. And towels, you know those pretty tea towels? Anyways, this post is all about the napkins. The reason I love fresh, new linens is because they’re one of the easiest way to warm up and refresh a room, on a budget. The problem is that in this house, with kids, they always get ruined, eventually. And though they are relatively inexpensive, I hate tossing those babies into the bin.
So.
I made my own, for a lot less. Woop.
I Promise, This Is Easy
This is an amazing beginners project, and even helps perfect your sewing skills. When in doubt, take it slow and easy. You’ve got this!
Now let’s talk fabric. I made these napkins out of Cotton Duck. Aka kind of a soft canvas material. Cotton Duck is more commonly used for decor, but these double great for a sturdy summertime picnic napkin. If you use this material, make sure to give it a good wash a few times before use with a smidgen of fabric softener.
Preferably, I tend to lean towards quilting cottons, but to be honest I had this fabric in my closet for 6 years and wanted to be done with it.
Supplies:
Iron
Pencil or Fabric Marker
Scissors
Fabric – 22 x 22 Inches Each
Sewing Machine (obvi)
Matching Thread
Step 1
Cut your 22″ x 22” fabric squares, one for each napkin. I cut 6. Usually, sets contain 8 napkins, but you’re making them so what you say goes. Each napkin will finish at 20 x 20 inches.
Step 2
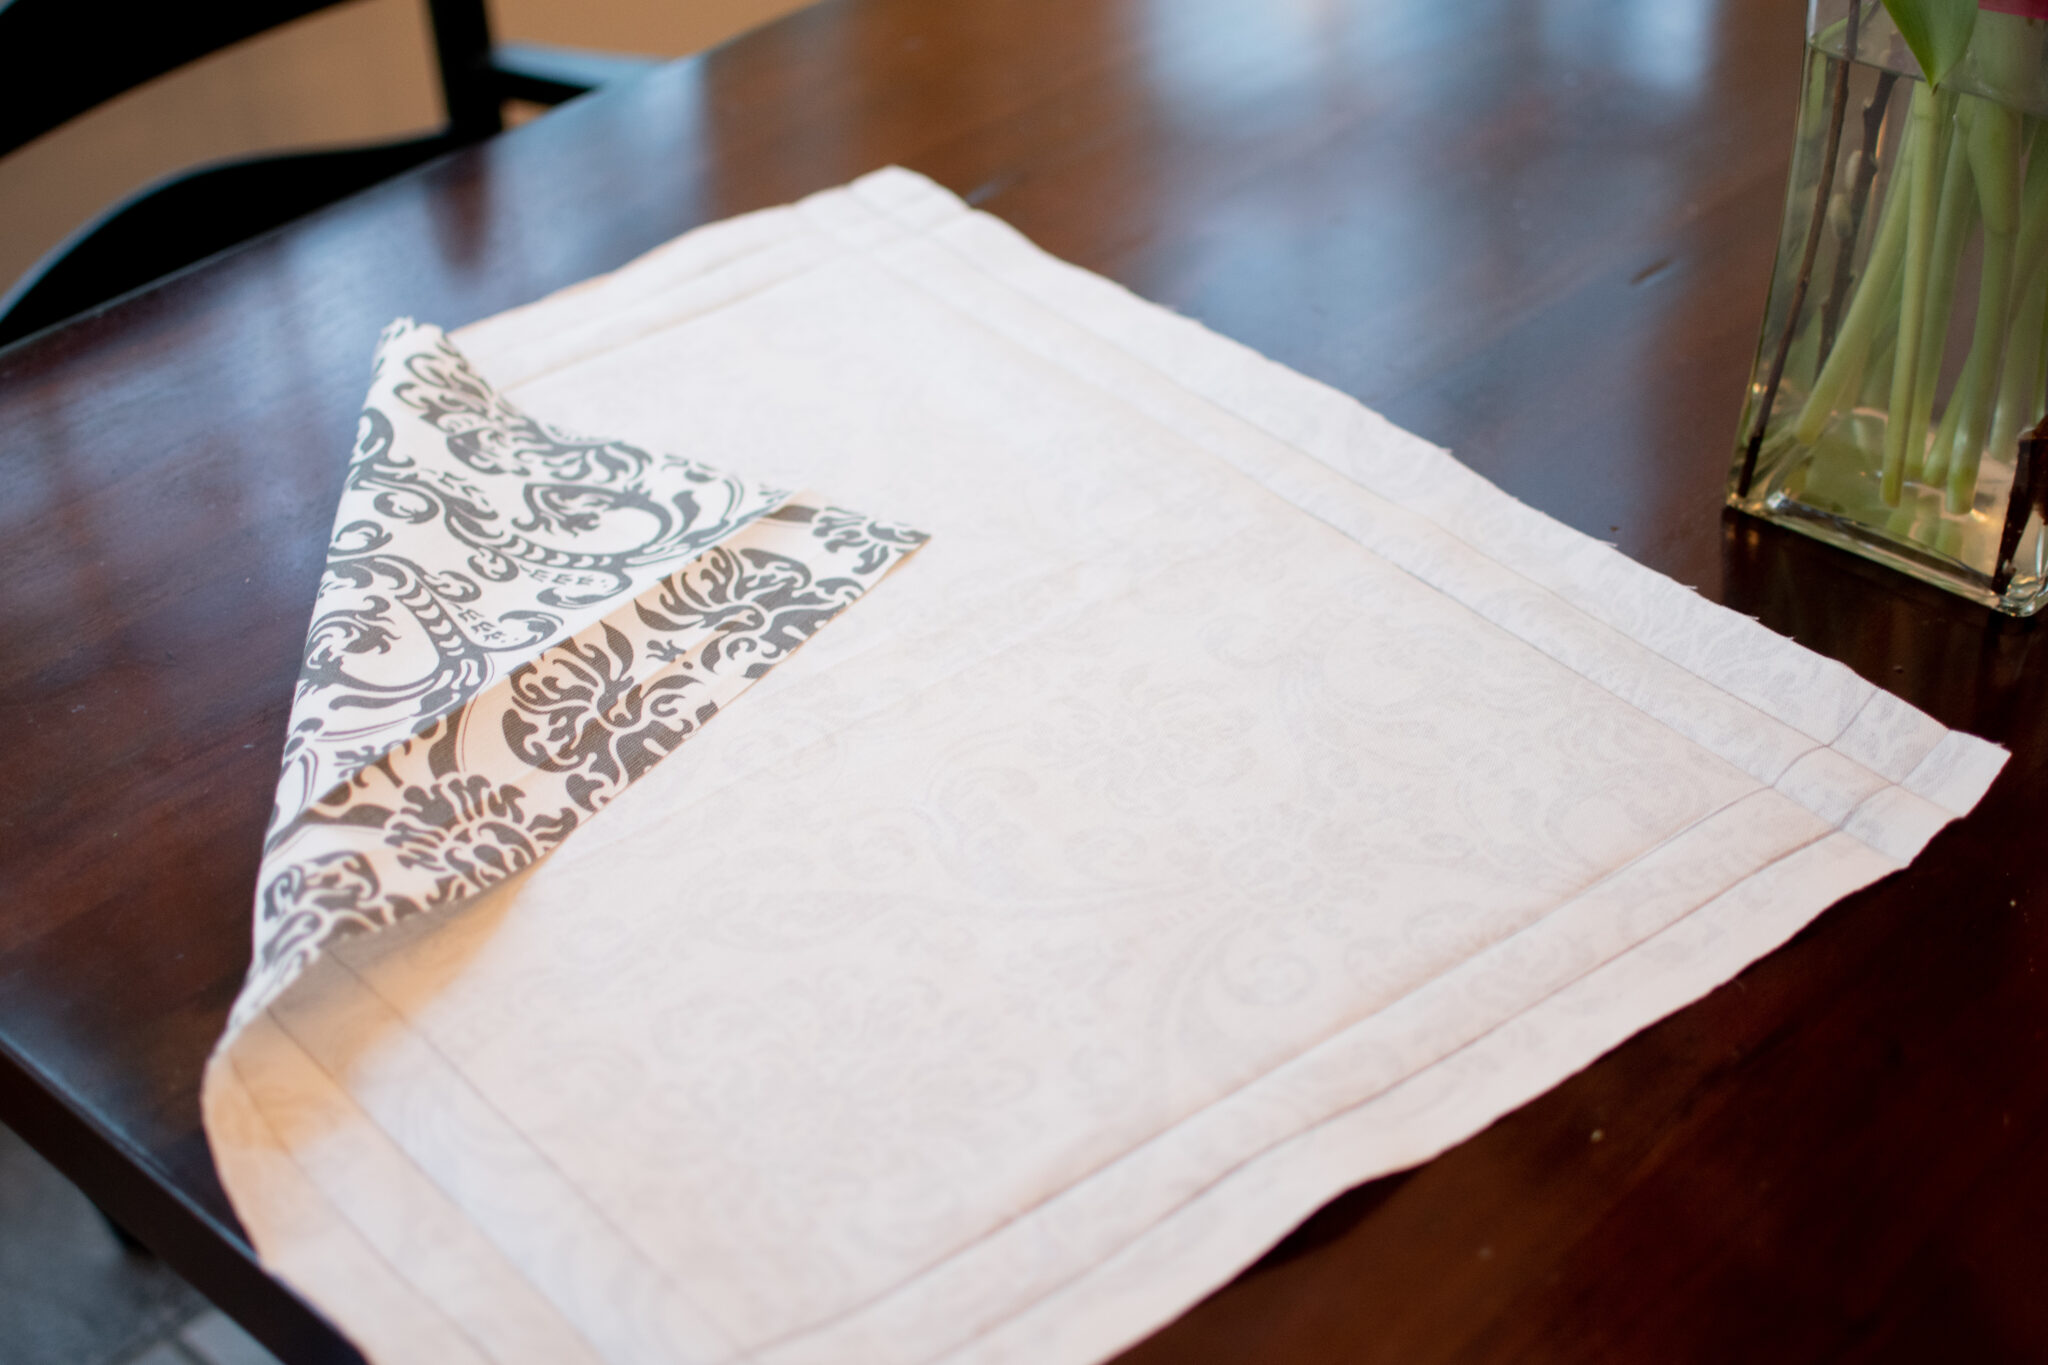
To keep my project perfect, I use a ruler to trace where I will be folding, ironing, etc. On the wrong side of the fabric, like the photo above, use your pencil to mark 1 inch and 2 inches in from the border on all four sides. Fold each line you’ve made, wrong sides together, and iron. This will create guides that make the project a heck of a lot easier.
Step 3
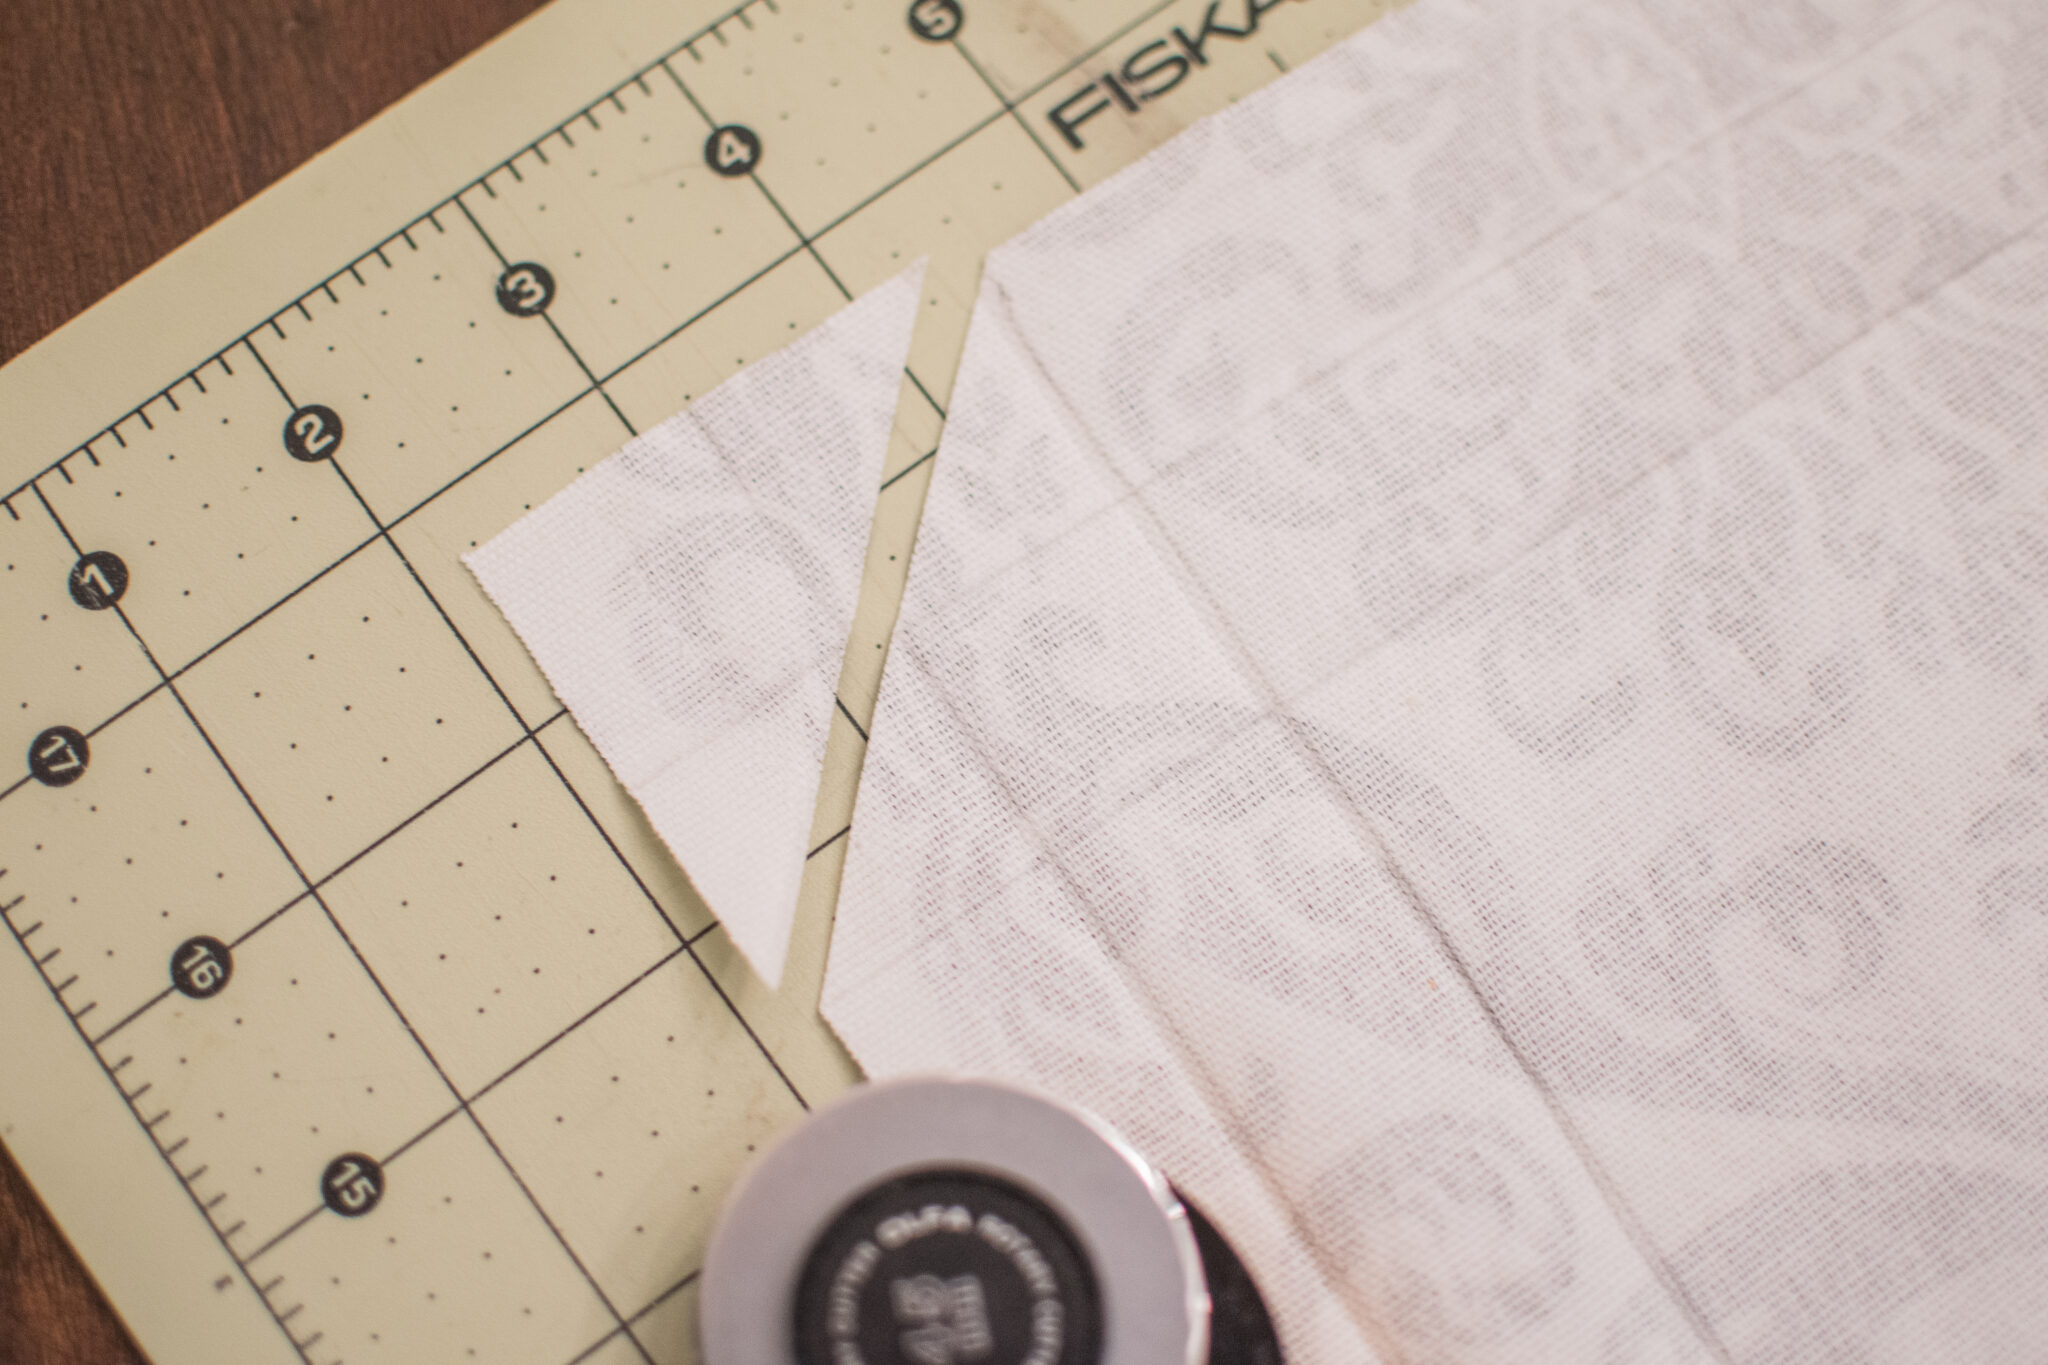
Cut each corner (excess fabric) removing full corner inch square and half of the neighboring inch squares.
Step 4
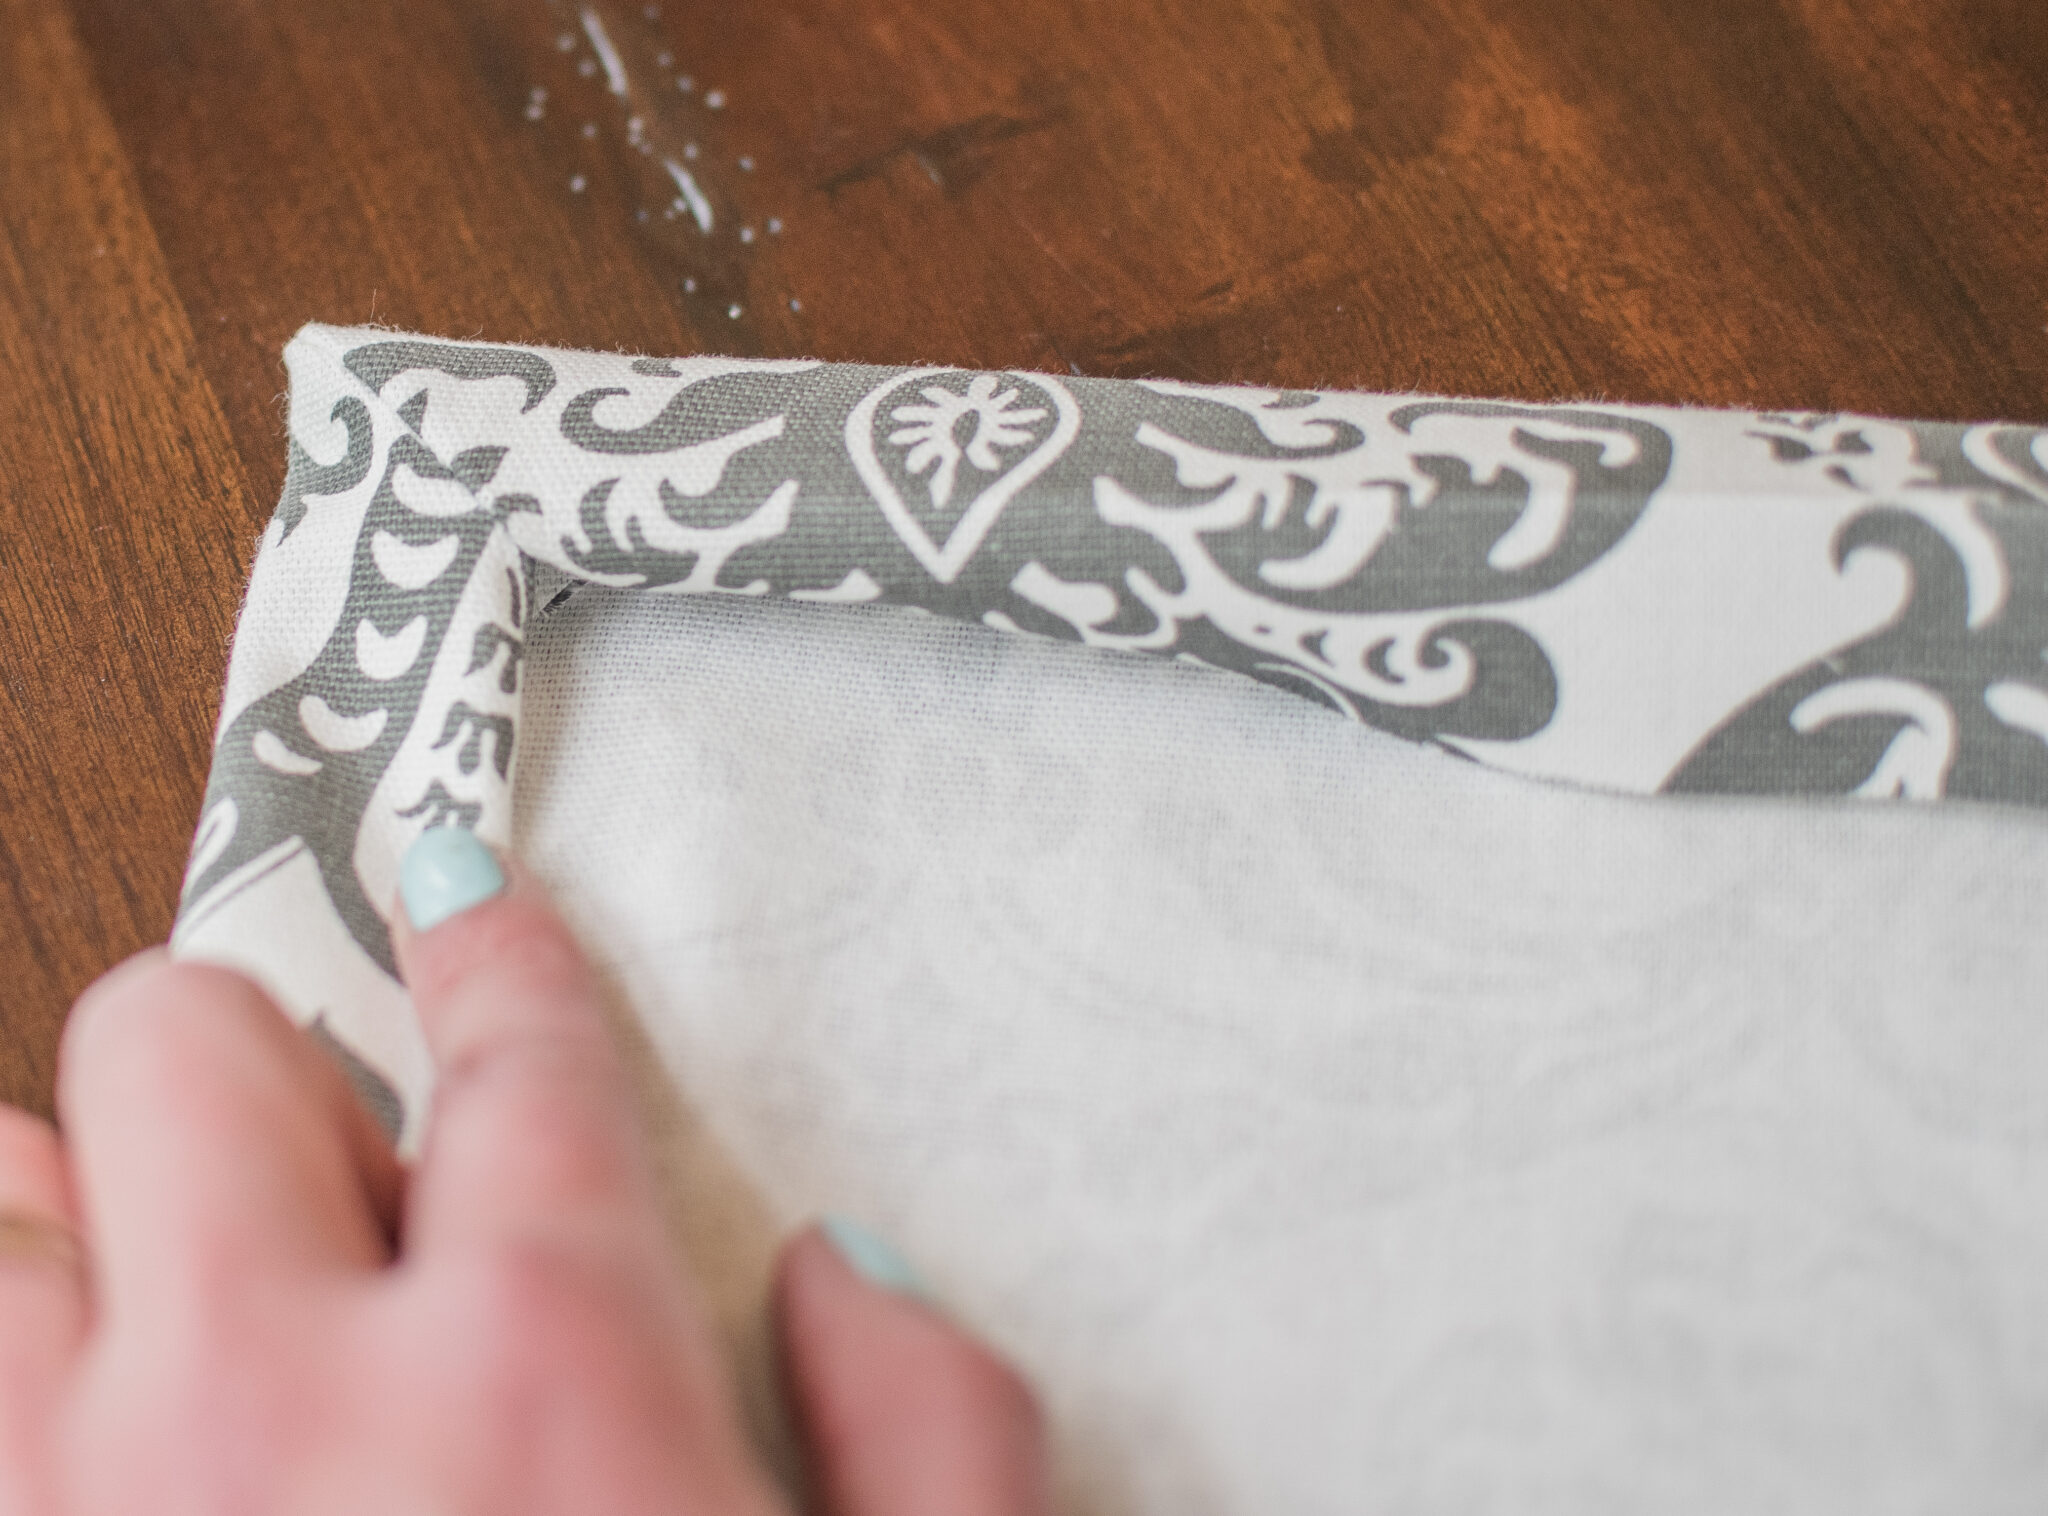
Fold each corner, right sides together, and sew from the fold at the inner corner of the remaining inch square to the outside one inch border pencil marking. I used blue ink to make this easier to see.
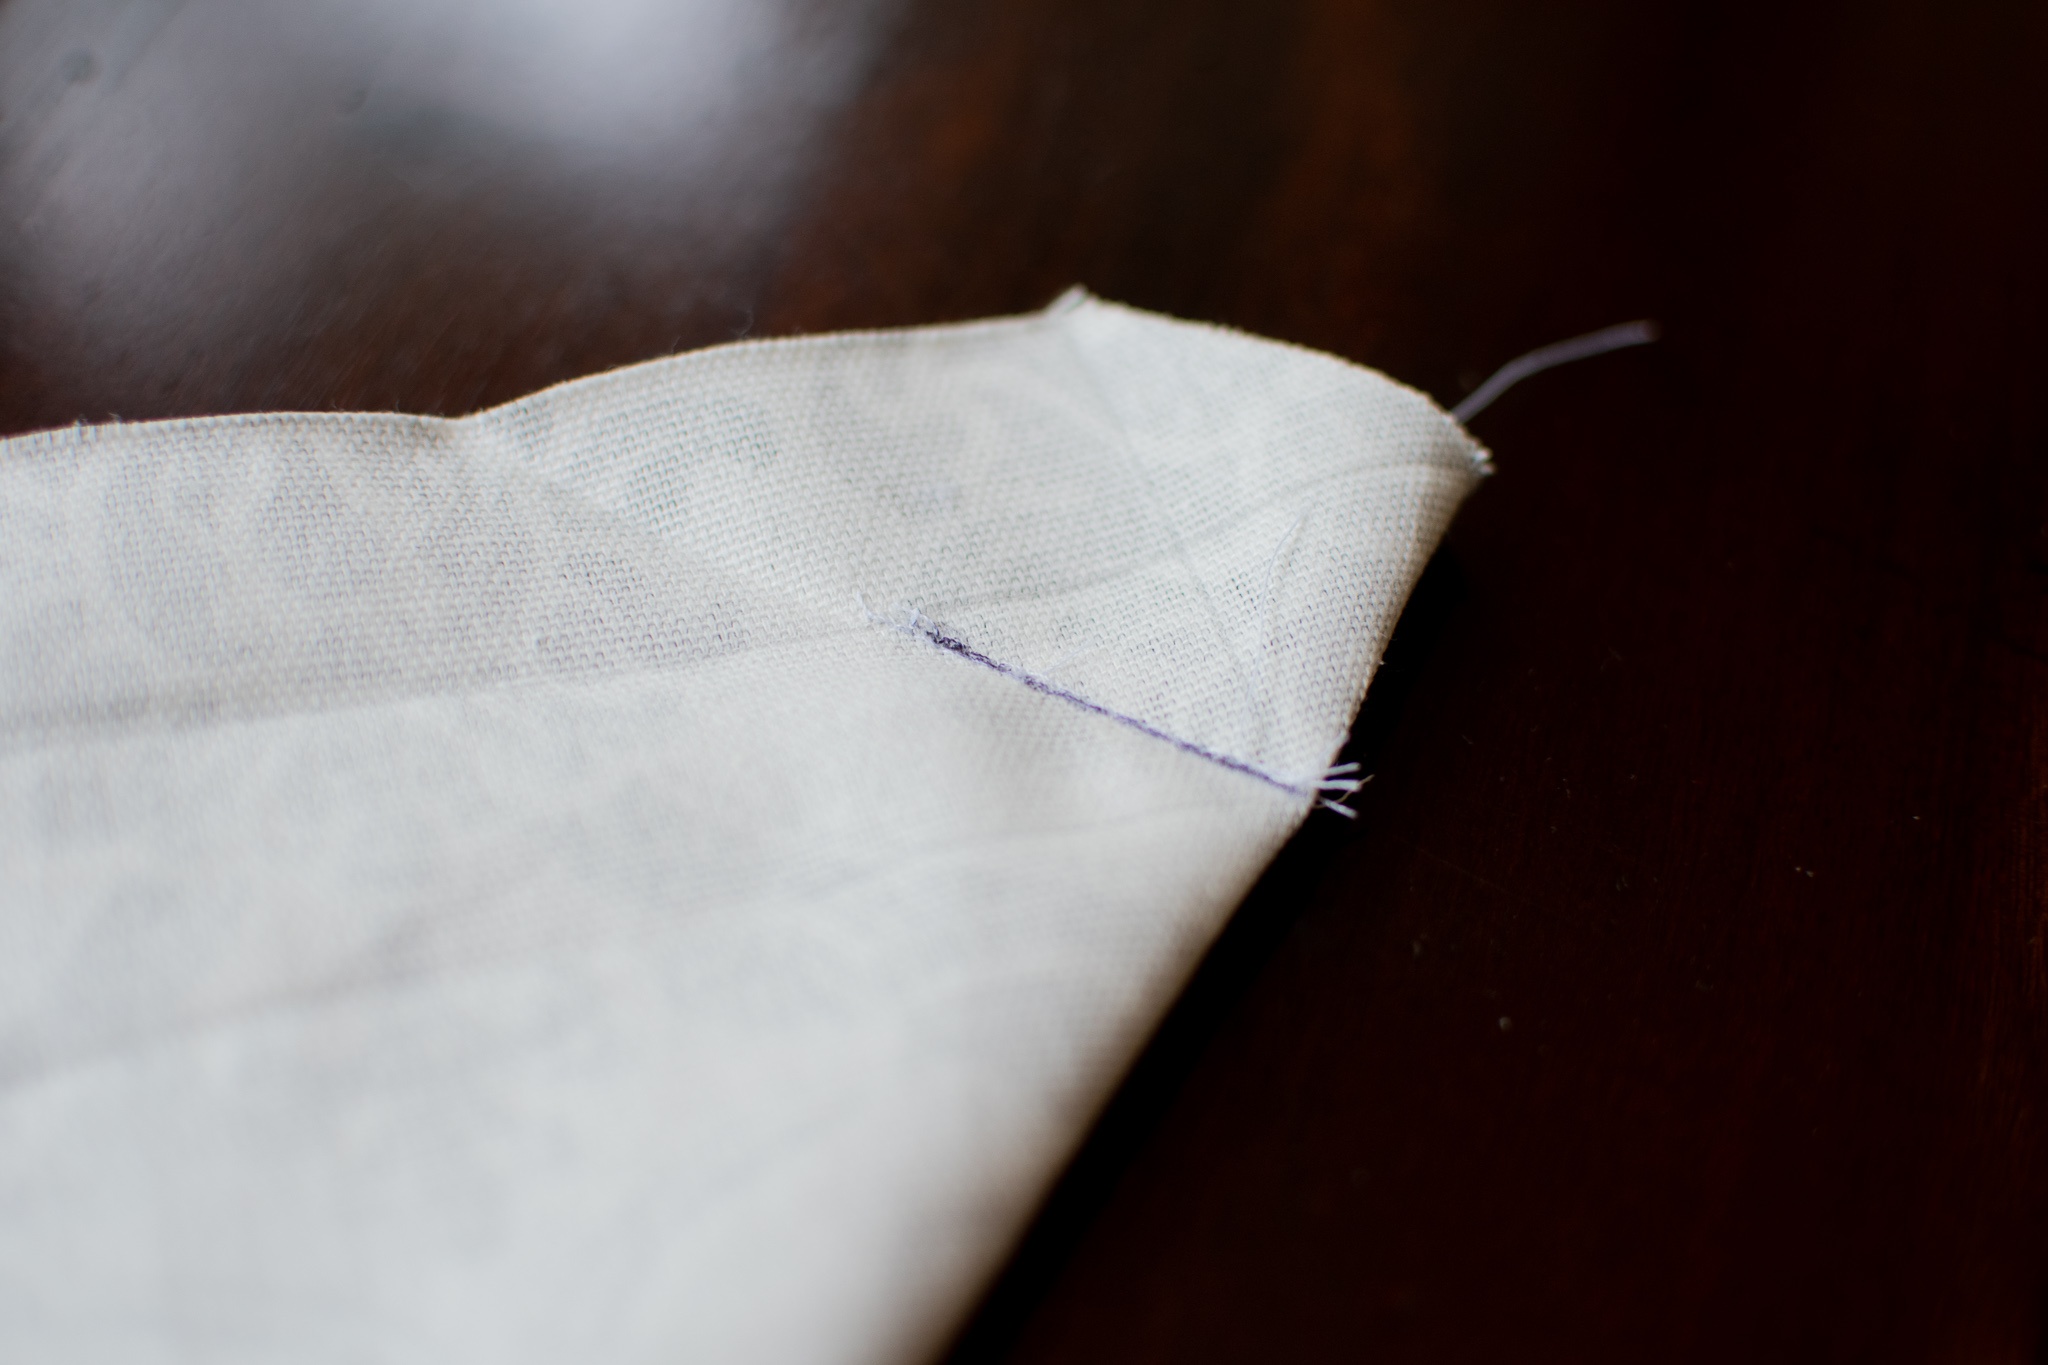
Another view of Step 4 is below.
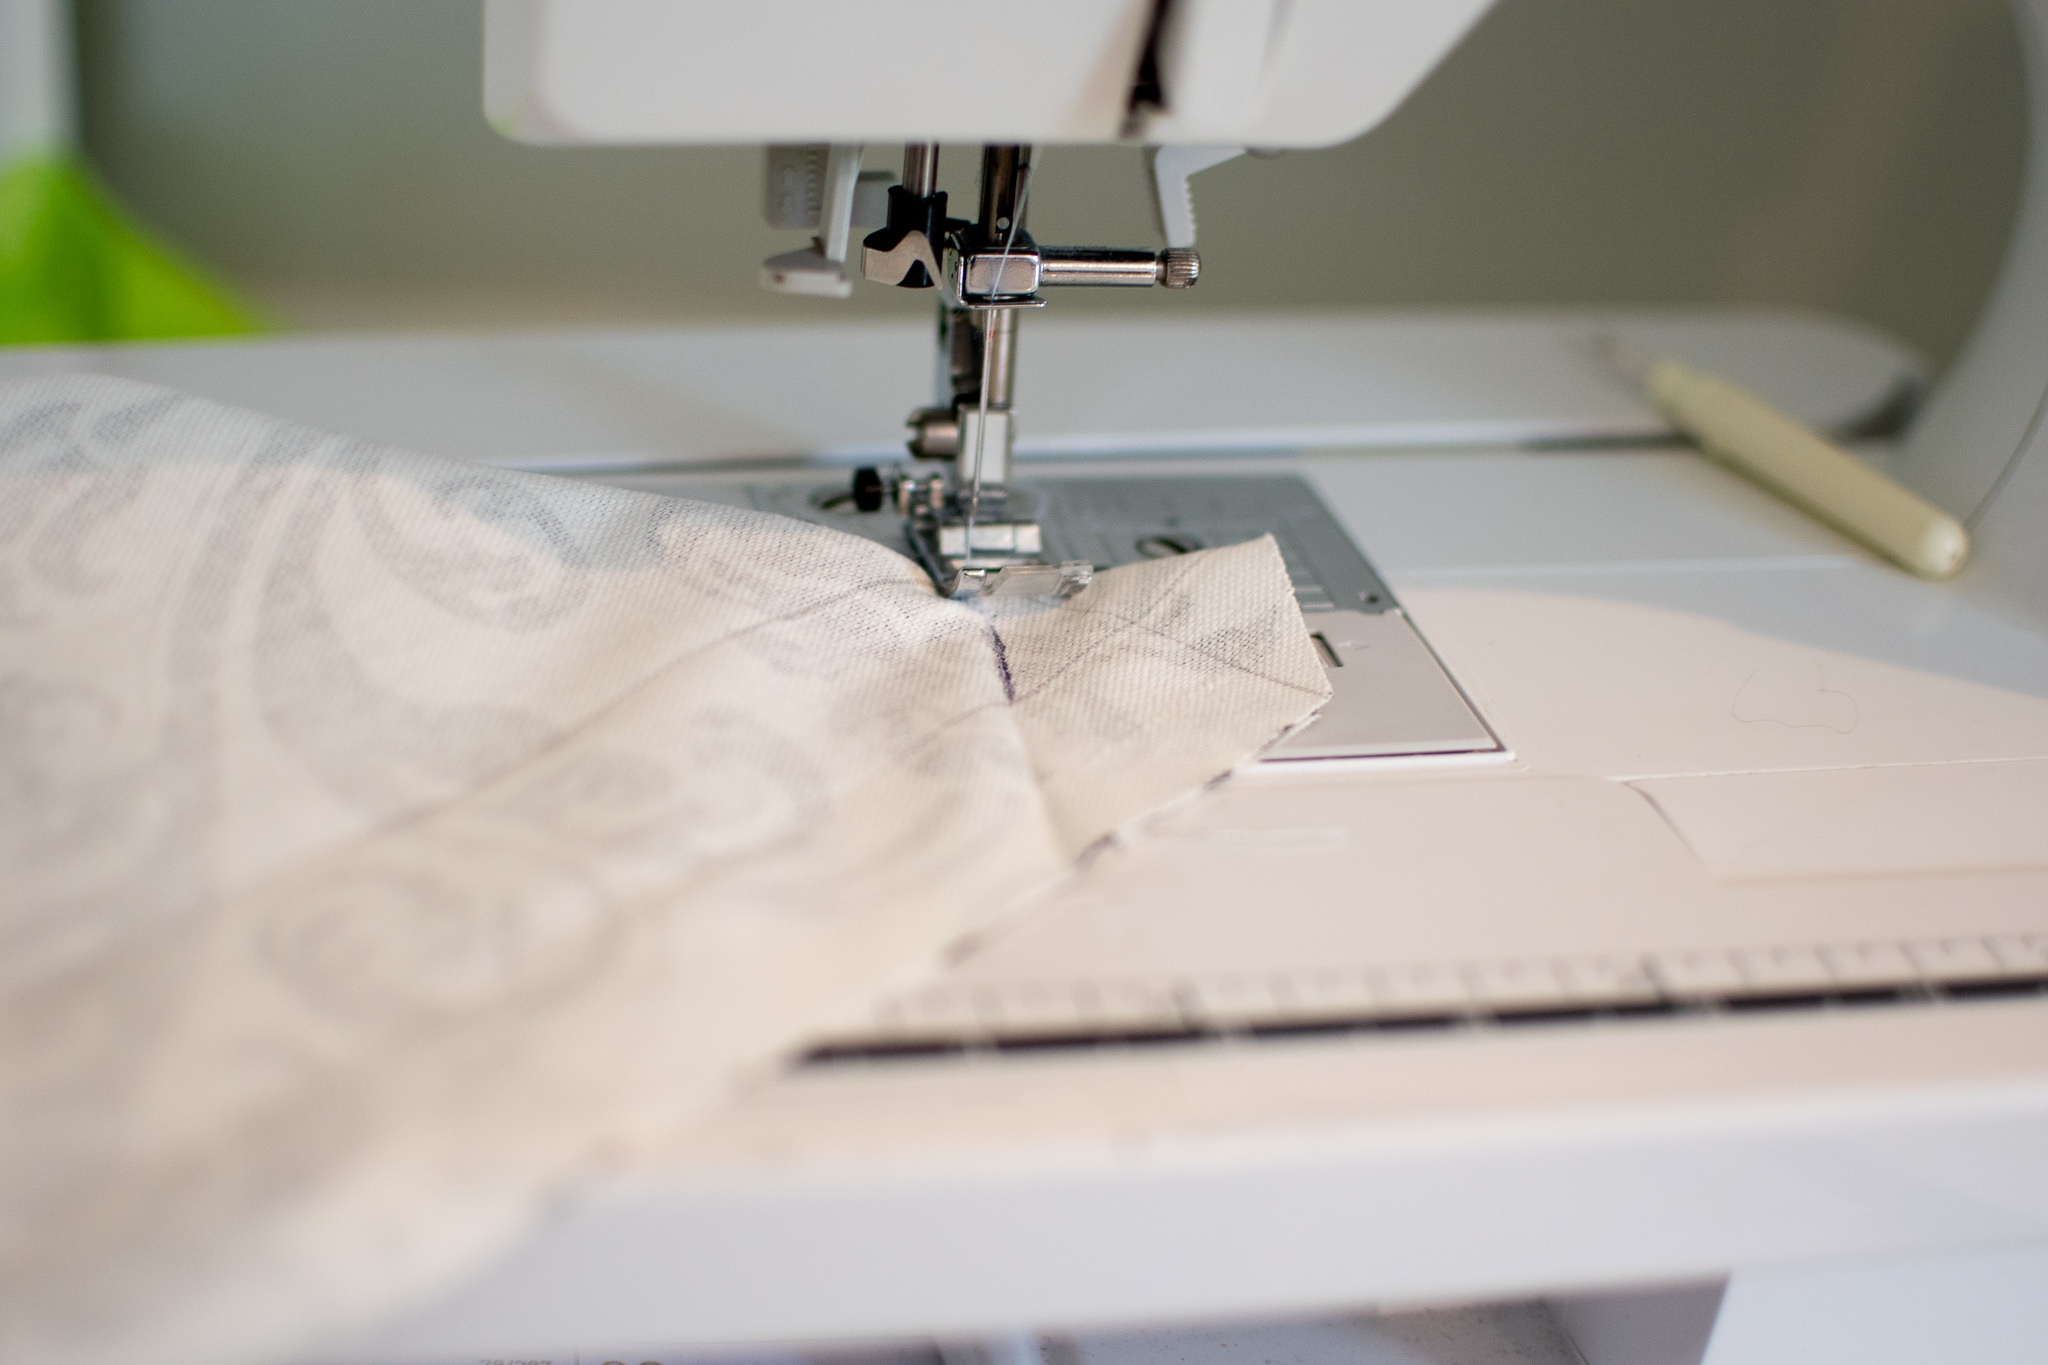
Step 5- Flip!
Flip your corners out, use something small like a pen (capped obvi.) to get the points all the way out. Then, using your ironed lines, fold in your edges one inch. This is why the first marking and ironing stage is Soooooo helpful.
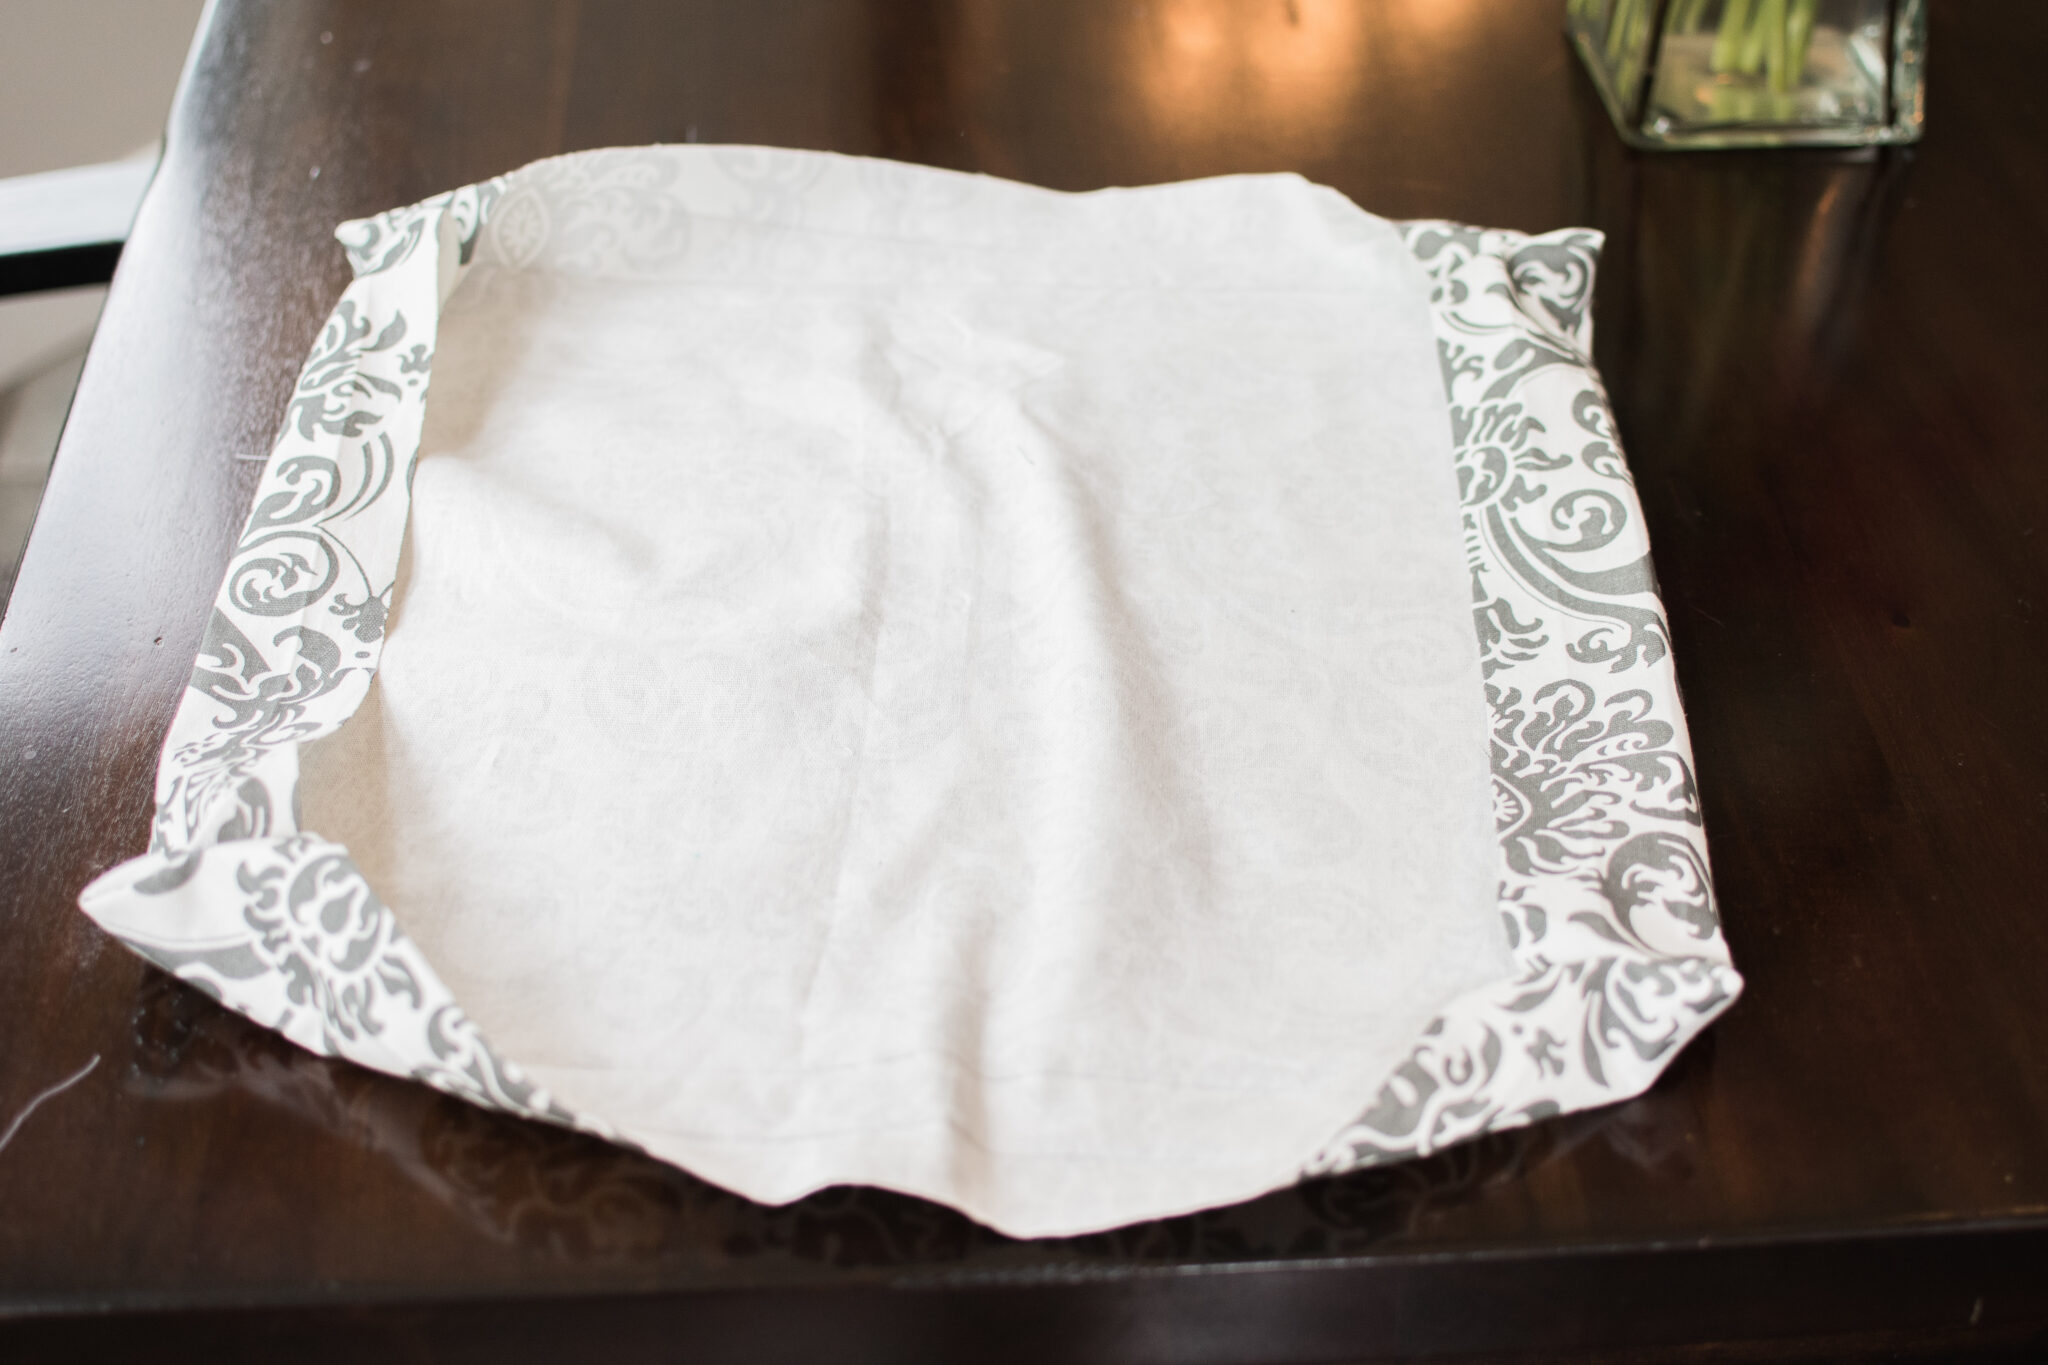
Step 6
Another picture below of this step, see! Easy peasy. I really recommend batching each step, also. What does that mean? Do each step for each napkin before moving onto the next steps. This gets you into a rhythm and will make the project less tedious and much quicker. You’re welcome.
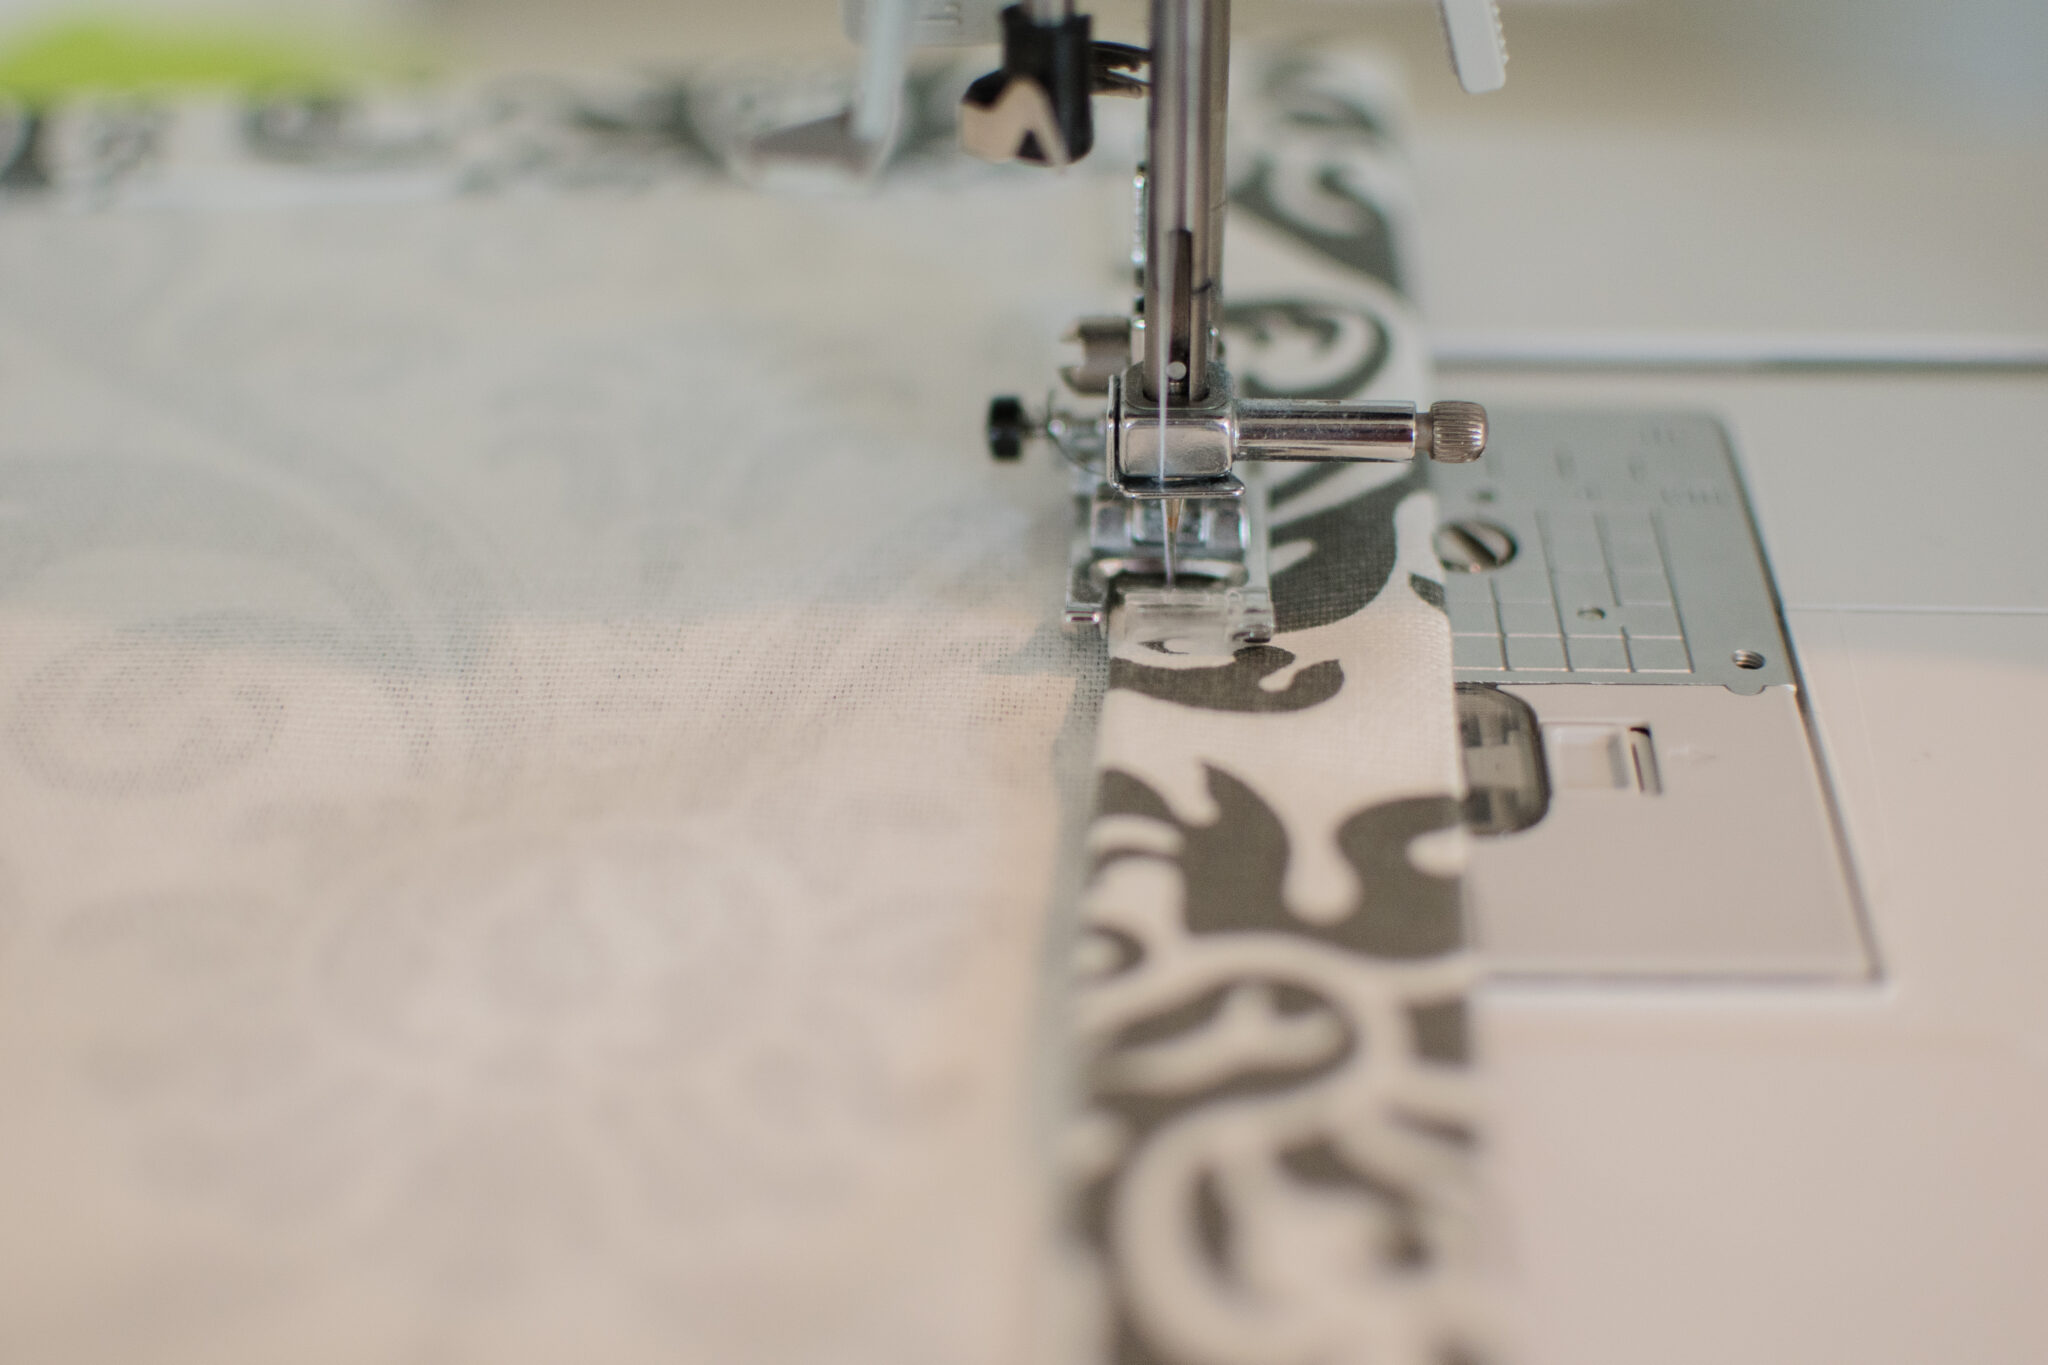
7- Finally, The Sewing
Sew your napkin seams down after folding them inside and pressing them. Keep your seams straight by pacing your machine at the best speed for you, I like to use the start stop button on my machine instead of my pedal. I used a 1.8 stitch length, too long can cause your seams to break in the wash. Sew as close to the edge as you’re comfortable with, I chose just under 1″ to measure. ( I use the foot to keep my seams straight and aligned instead of the machine’s measurement most of the time )
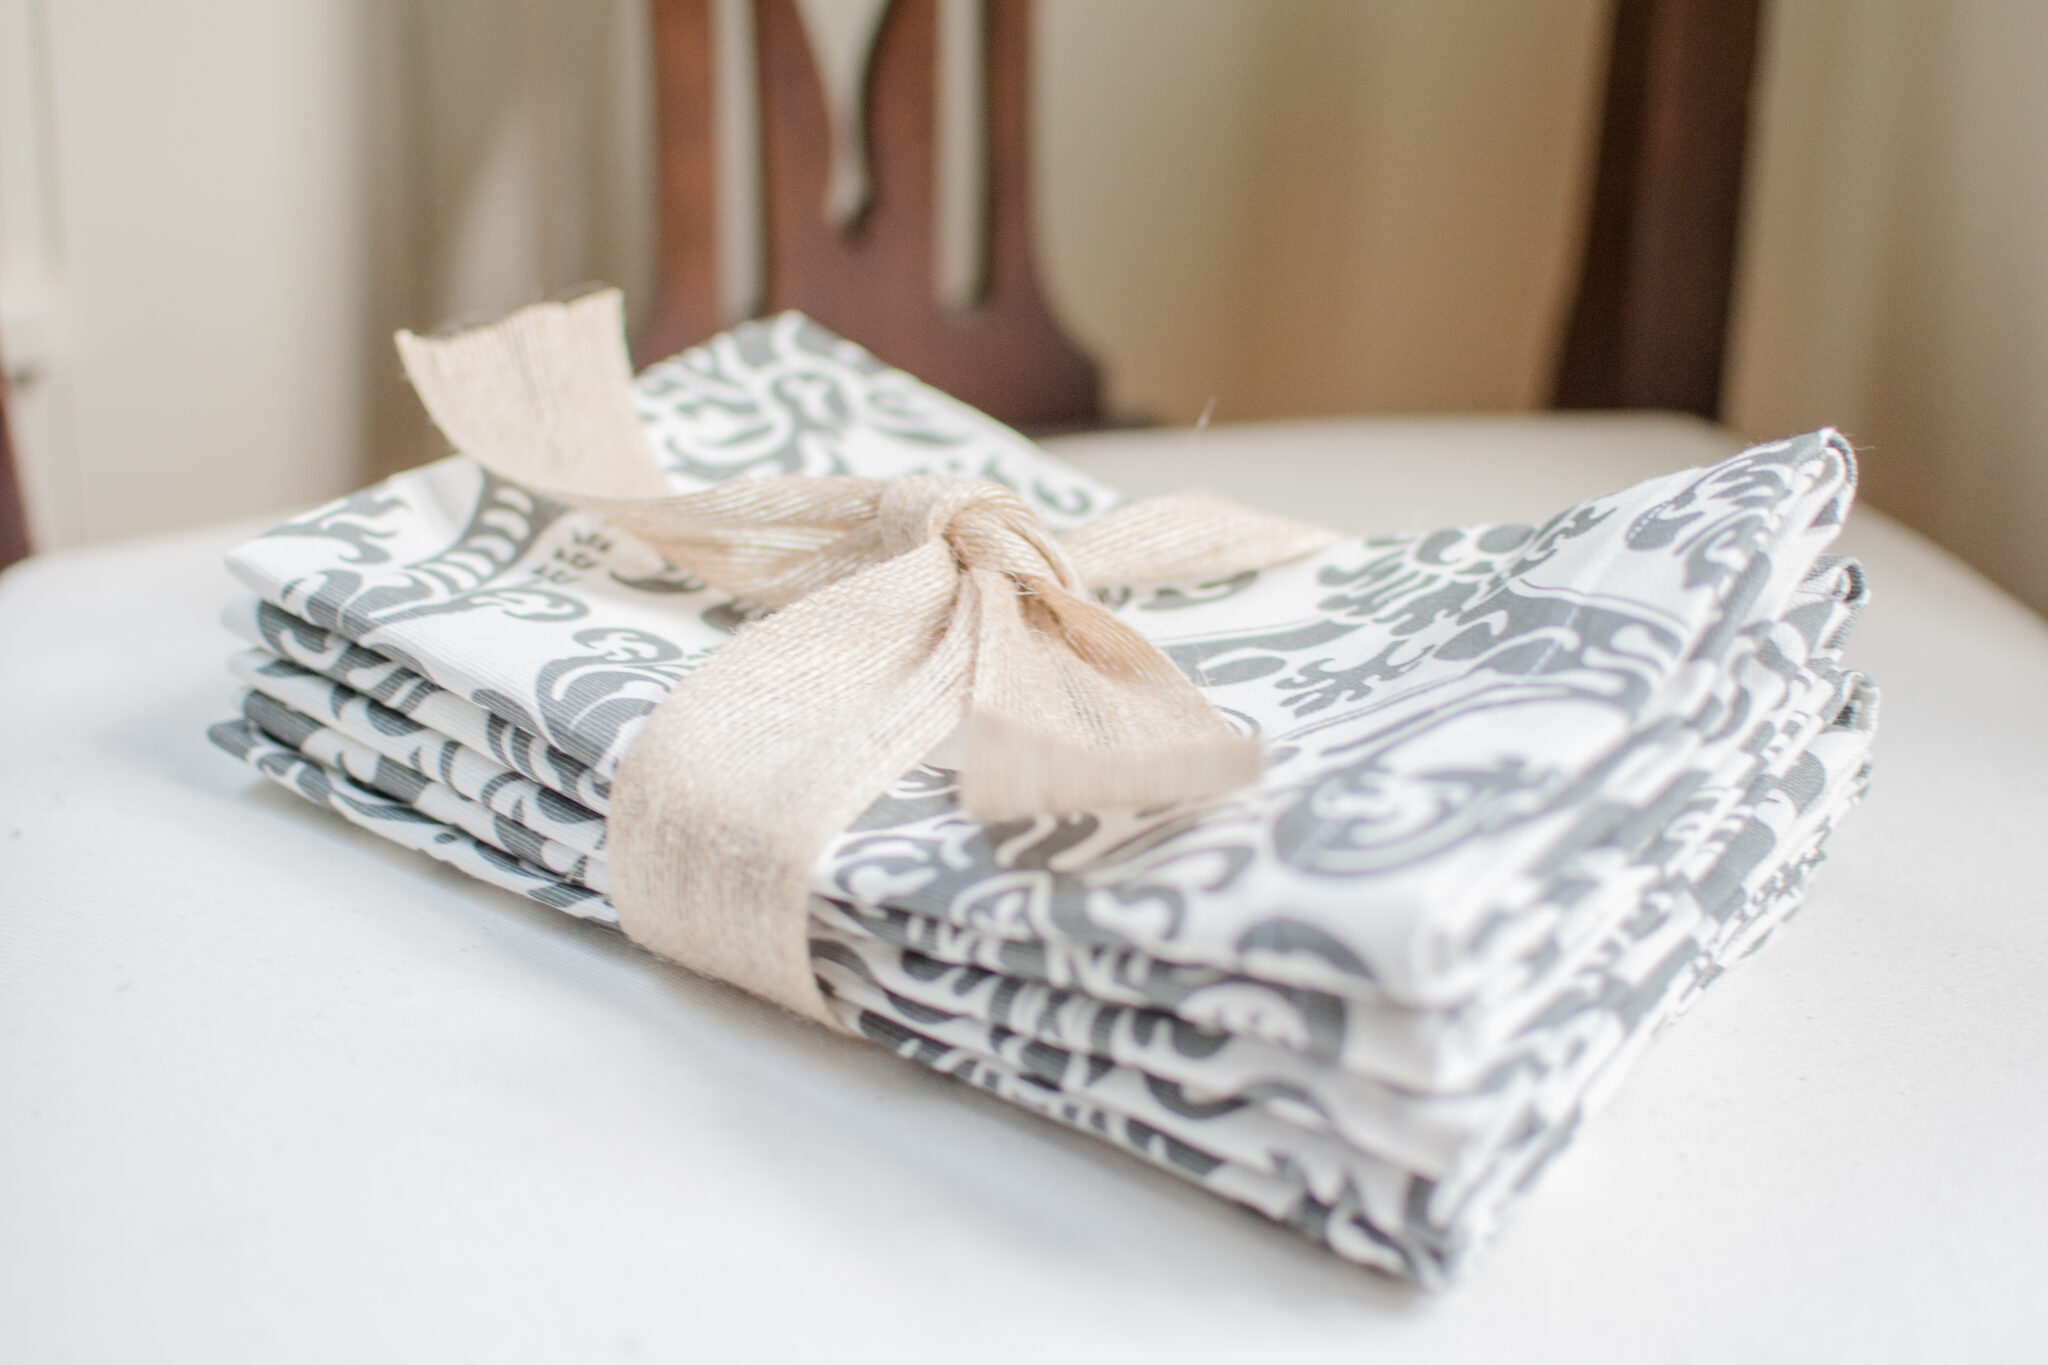
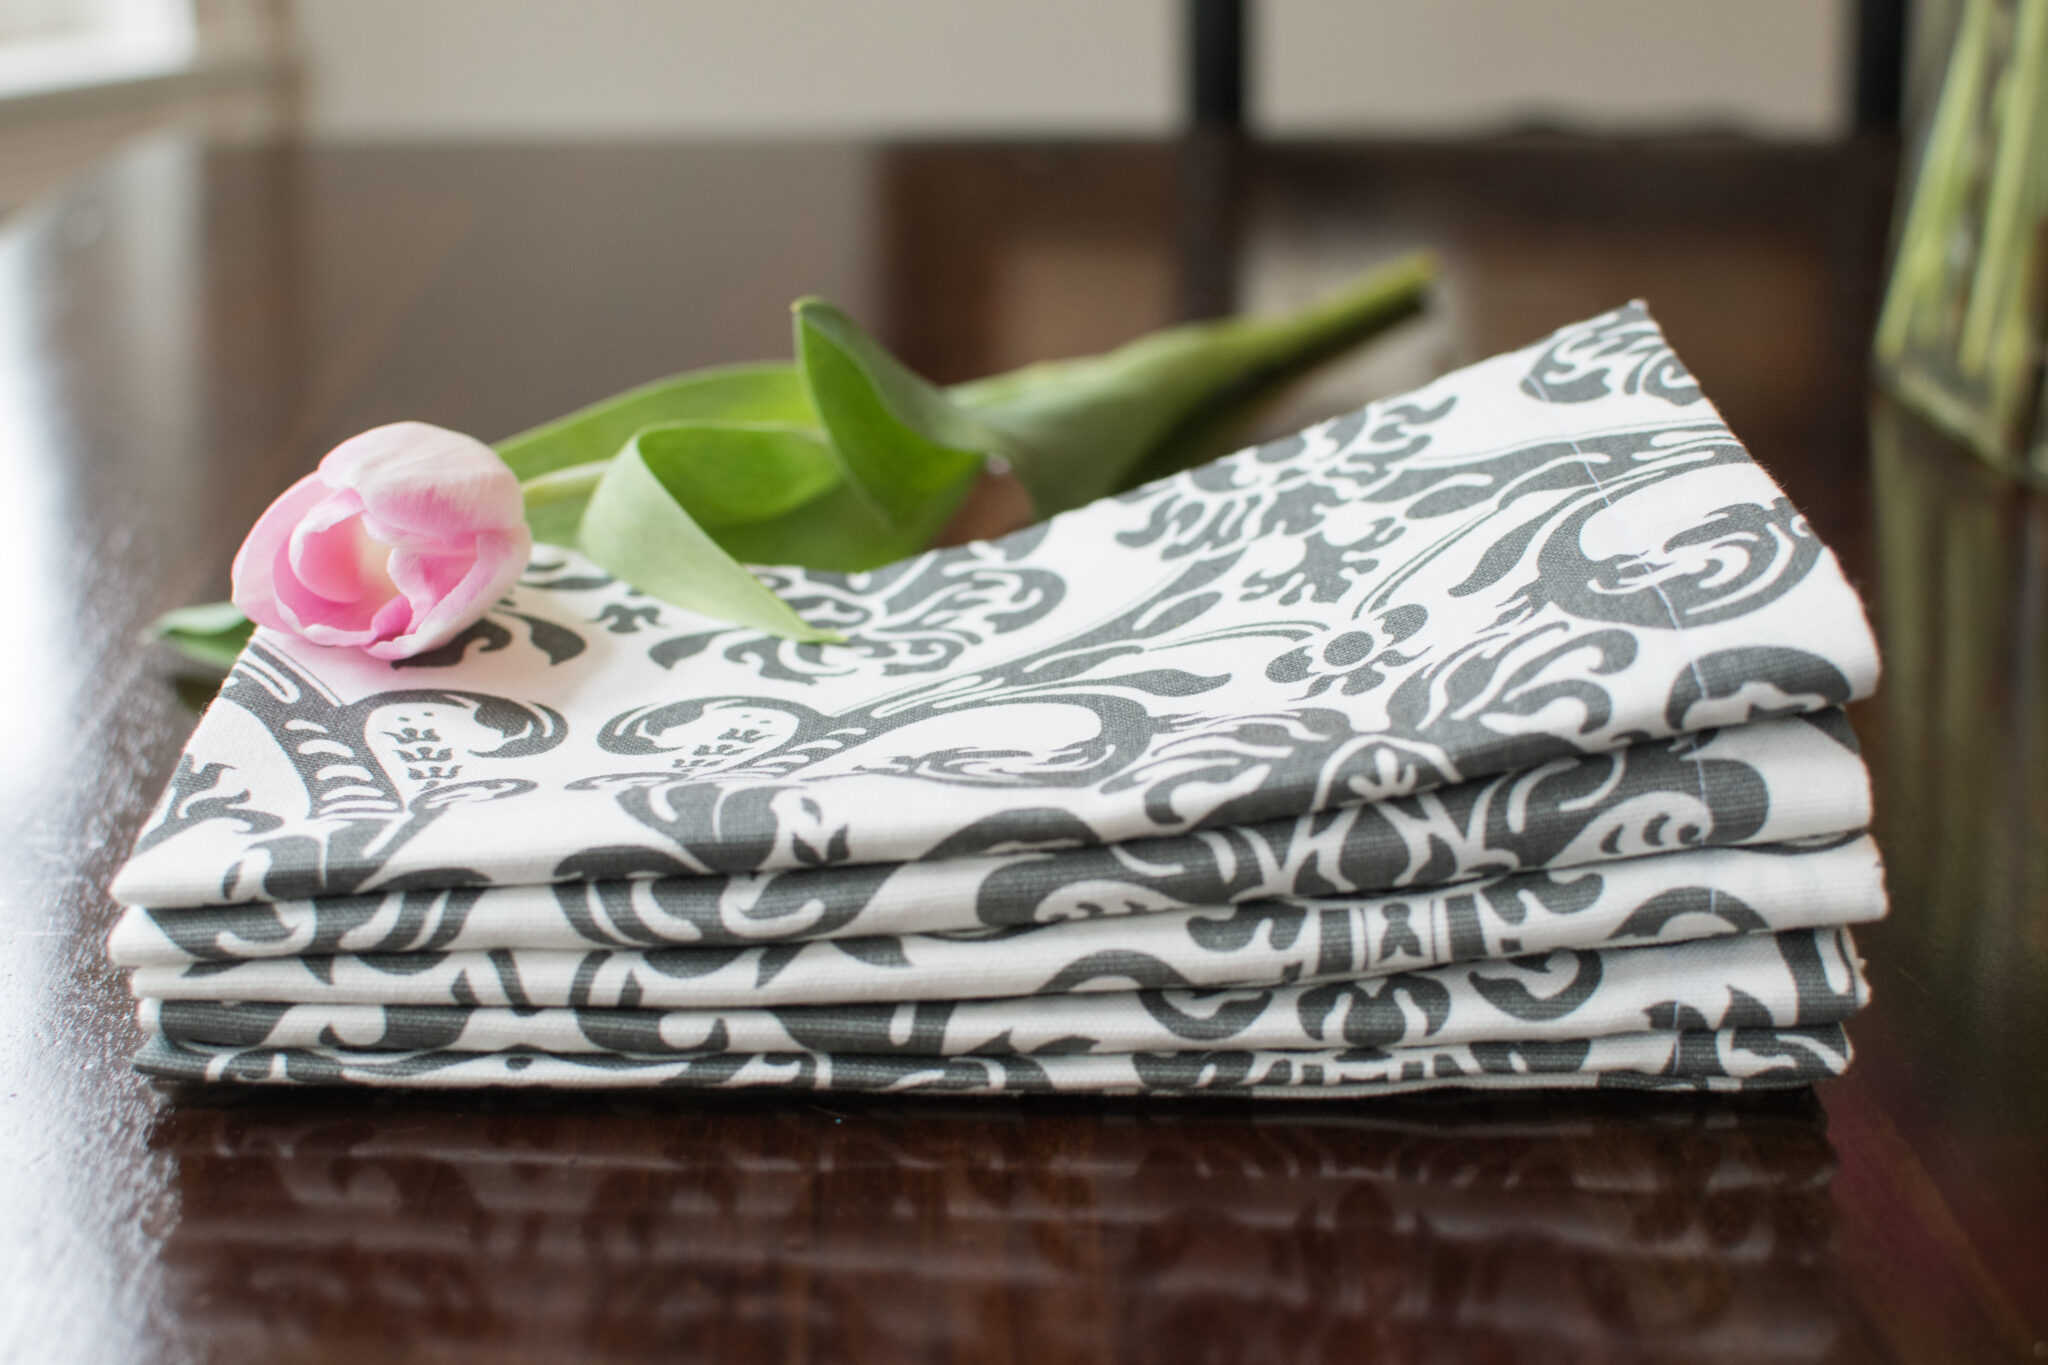
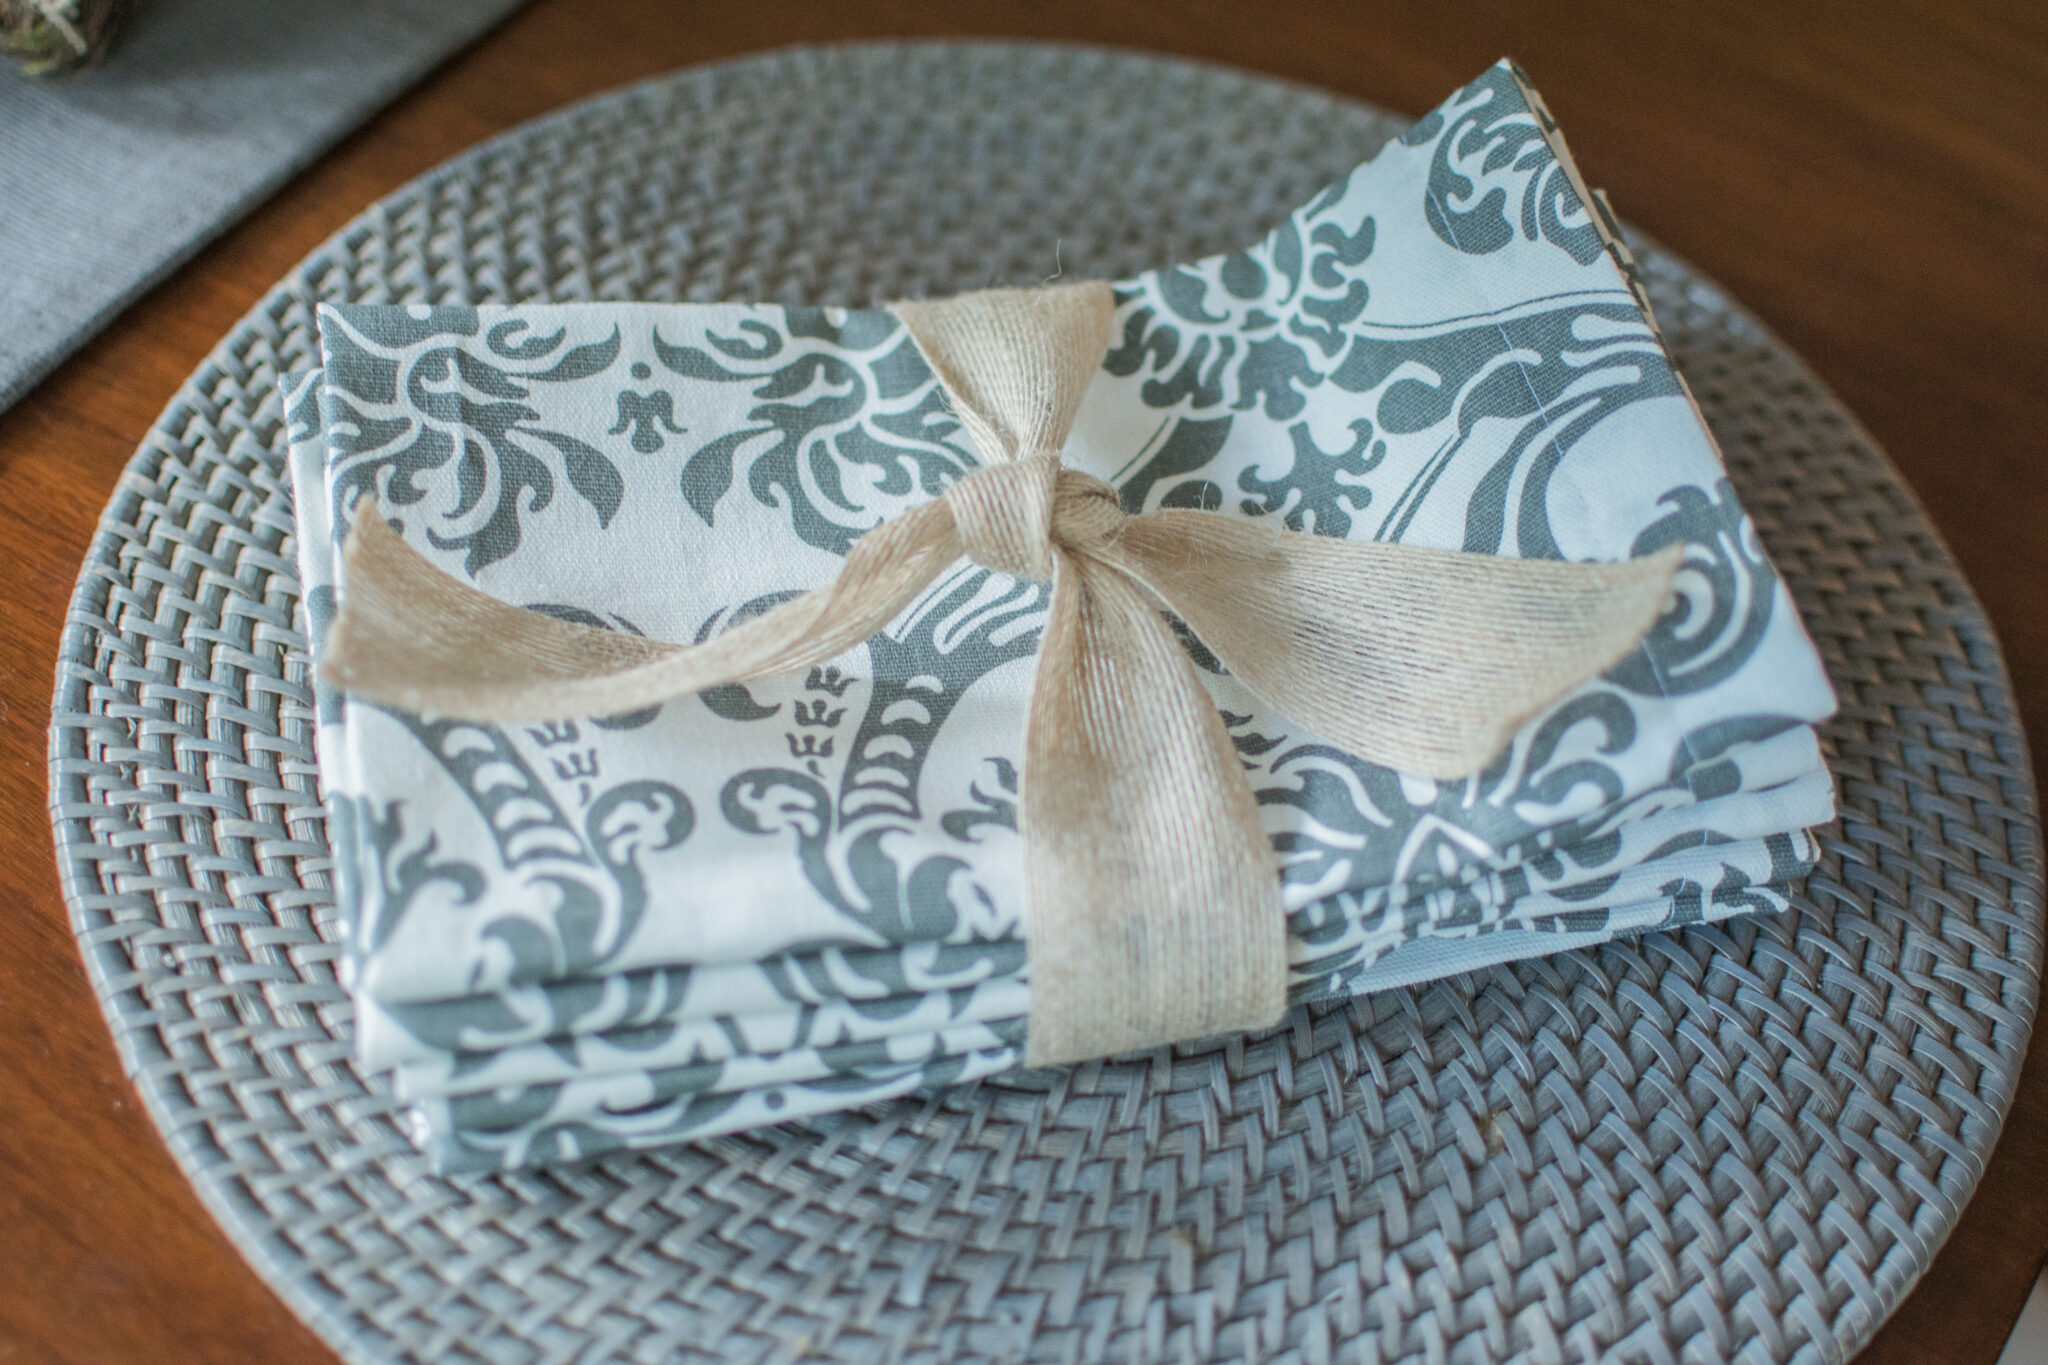
Project Complete!
You can really get creative with embellishments, fabrics, colored thread and more! To keep your napkins in best shape, wash on a cold setting with medium to low spin speeds. Lay flat to dry, or tumble on low heat. Cottens will shrink, I don’t pre-wash mine to make them easier to sew, but it’s a good idea if you will be drying them in the machine. Easier is always better, right?

Final Thoughts
This is an awesome beginner project, just be sure to take your time measuring, cutting, and sketching out guide lines. You can use pencil or fabric markers. I like easy, so grab a pencil from the kiddos. Remember, I used cotton duck for this napkin, they aren’t traditional fabric choices for a napkin, but they make great napkin backings to layer for decor or sturdy ones for kids. They soften up a ton with some fabric softener.
Have fun adding pom pom trims to the seams, or even cute patches to match your decor. My favorite place to grab trendy, cute fabrics right now is at HobbyLobby!
Remember to tag me on social media @TheMamaGuideOfficial with your finished results to be shared to my story!
Happy sewing Mamas!
Xo,
Chelsey