Quick & Easy DIY Plus Quilt & Burp Cloths + Free Patterns

Quick & Easy DIY Plus Quilt & Burp Cloths + Free Patterns

Quick & Easy DIY Plus Quilt & Burp Cloths + Free Patterns

– – – Scroll To View Gallery – – –

How could I possibly introduce my favorite sewing project that I have ever completed? Perhaps, the best baby gift that will ever be given? That will do.

I’ve made these for a friend of the family who just had their first baby! This last weekend I flew through this project; a gorgeous plus patterned quilt and matching burp cloths backed with oh-so-soft cotton chenille. I loved this project so much that I had to share it. This gift is so easy to make and sure to impress whoever cozies up to them.

easy plus quilt pattern

Project Details

Burp Cloths – Finished cloths measure 8 x 15 inches each. Recommended for beginner to advanced sewing. Easily completed in just one day. You will need 1/2 yard of quilting cotton for the backing, and 1/2 yard of Cotton Chenille for the absorbent side. 

Plus Quilt – Baby sized quilt measures 40.5 x 49.5 inches. Beginner friendly pattern listed at the end of this post. 

easy beginner diy burp cloths baby gift cotton chenille

Selecting The Perfect Fabrics

Let’s talk selecting fabrics. Often for baby quilts, we think characters or pastels, right? Not when I make them! After putting hours of love into a project I want to make sure that it will grow with the baby and never get tucked away into a nursery (or God forbid forgotten in the closet). This couple just welcomed their first child, and for my memories that meant lots of hours on the living room sofa with everything scattered about. I wanted to picture these pieces as a welcome addition to their décor that would never appear as clutter. This is where the neutral colors came into play with a sleek print that suits well enough to be an accessory. This gift is just as much, if not more, for the mother. Try to think of fabrics that will bring her joy in her everyday life as she spends time with her little one. 

All of these fabrics were picked up in one trip to my local Hobby lobby, with cottons costing $6.99 a yard and the cotton chenille more costly at $12.99 a yard. BE SURE TO WASH & DRY THE COTTON CHENILLE FIRST. The amount of fluff that will come from this single cycle is enough to cover a small lamb. Wash it alone on cool and tumble dry on a medium setting before sewing. You may find a cheaper cotton chenille on amazon, I do NOT recommend it as the quality is similar to that of a rough rug, not soft at all.

Burp Cloth Instructions

These burp cloths are a breeze to whip together, you’ll want to make them for everyone! Below is the free printable PDF pattern. Instructions are also included. Be sure to tag me on Instagram or Facebook with your finished ones! To assemble the cloth, simply cut one piece of quilting cotton and one from the chenille cotton using the pattern below. Sew wrong sides together with seam allowance 1/4 inch leaving about two inches open at the top as indicated in the pattern. Turn right sides out, press, and topstitch opening closed. Easy!

FREE BURP CLOTH PATTERN

Printable PDF Burp Cloth Pattern

plus quilt diy and burp cloth pattern

Plus Quilt

The plus quilt is now my absolute favorite quilt pattern that I have ever sewn! The assembly was so quick, fun, and the end result is beautiful! In any color, you can truly change the feel with a quick switch of fabrics. I will be making more! For the finished quilting I chose to use wavy lines in varying widths. I feel this gave this project a more youthful feel to keep this modern piece in tone for the baby. Also, it helps to hide any imperfect corners that don’t line up, it happens. 


The Pattern Is Made By The Amazing Coral & CO

easy baby gift plus quilt and matching burp cloth

Final Thoughts

This quilt would be great in any color and soon I will be trying it with an antiqued looking fabric. I can’t wait to see the whole mood change with different colors and more. Be sure to Follow me on Instagram & Facebook to stay updated on future products, and now, patterns! I am happy to announce that I will be expanding the blog to more DIY patterns just for you. New to sewing? No problem they will all be beginner friendly. See you soon!


Xo -Chelsey

Pink Pineapples Are Officially A Thing! Everything You Need To Know About Them

Pink Pineapples Are Officially A Thing! Everything You Need To Know About Them

pink pineapply pink glow dole fruit box

Pink Pineapples Are Now A Thing! Here Is Everything You Need To Know & Where To Buy Them

I couldn’t believe my eyes when I came across this website, Pink Pineapples are officially a thing! Of course, I adore all things pink and had to order one for myself. Here is everything you need to know about these cute new fruits. 

What Do Pink Pineapples Taste Like?

Pink pineapples taste somewhat similar to the original yellow variety, but they have a striking difference. A certainly improved flavor, the new one is sweeter and less tarte. While keeping that same crisp bite we are all used to, the texture is subtly softer. 

Verdict – Deliciously Improved. 


pink pineapply pink glow dole fruit box

Where To Buy A Pink Pineapple

Pink Pineapples are available online only at pinkglowpineapple.com for US customers. However, the price is STEEP. One pineapple will cost you $49 with free shipping to the East Coast. West Coast customers will pay $40.37 or more, depending on the shipping options. They arrive in just a few days, much quicker than other foods that I have ordered online. NOTE they do not ship with ice & you will want to refrigerate them immediately. Boxes are limited every day, be sure to order yours quickly before they sell out.

pink pineapply pink glow dole fruit box

Last Details

As you can see above, they also look visibly different from the older variety. Instead of the original lined patterns inside, these pink pineapples look more like a watermelon in texture. They’re adorable and would make for the perfect conversation starting party snack. I also love the presentation, each pineapple comes with a certificate of authenticity as seen below. So while it is pricey, at least you’ll still have bragging rights that you spent a ton for a pink pineapple. 

10/10 recommend. Delicious, adorable, and fun to receive. I will order again. 


pink pineapply pink glow dole fruit box
We Moved To Florida! First Peek Inside Mixing Modern & Antique Furniture

We Moved To Florida! First Peek Inside Mixing Modern & Antique Furniture

We Moved To Florida! First Peek Inside

We did it! We finally arrived in Florida and we are mostly unpacked. (There are still a few stray boxes that need to find a home because we have so much less storage here than we did in Boston. Guess we have to build some built-ins again!) Moving was not easy during the whole rona thing, but no one has had anything easy so I’m not complaining! I’ll be sharing our new home in stages because there is too much to do at once. Today, we start with the sitting area! Right as you walk in past the foyer, is a fantastic seating room filled with so much light! 

We are far from complete with the décor and it is most likely going to change a lot as we begin more of the design phase with drapery, painting, wallpaper, etc. We are even thinking about doing a feature wall design as well! But today marks a great beginning place so you can see how the space will grow with us in the days to come! 


Mixing Modern & Antique Furniture 

Here’s the thing about our décor, we love modern pieces, but have a ton of antiques that we treasure from Mattycakes’ side of the family. Most of the pieces are a few hundred years old, craftsmanship that you can never find today that are filled with tales of his family from the past. We know the history of each piece that makes it all the more special to enjoy. It took us a while to really settle on how we wanted to enjoy the furniture with our newer favorites, and now that our entire home is modern, we found it most beautiful to mix the eras together. I’ll share a couple tips through this post with how we did it! (PS how cute is our pom Miley on this new rug! She is 14 years old and loves to nap there in the sun)

Different Elements To Balance The Space

I say this again and again, when in doubt, mix elements! The more variety the better. From metals, woods, leathers, textiles, greenery and more. Even books provide a nice depth.

It’s good to mix heavier more masculine items as well with smaller more feminine furniture, which you often find with antiques. This desk is actually Matt’s Great Great Grandmother’s desk (maybe older) we have the “his” version of it as well. We wanted this space to be usable and inviting. It’s a great place to just sit down and get some work done. That way it isn’t just a “pretty sitting room” that no one uses because it doesn’t have a TV (ha).

We balanced the large size of the room and smaller pieces with this larger masculine chair with leather tufts and modern lines. They pair well.

Just above the stately chair is another antique from Matt’s family, John Cannon, who lived in the early 1800s maybe before. This portrait is so old that his great grandmother posed in front of it on her wedding day. The portrait is so large that we said we wanted to give him his own “moment” in this room. So just him on this wall. I’m planning to do a stately wallpaper behind in rich gem tones to further add to John Cannon’s moment.

Modern Lighting

Our absolute favorite in this room! Our new light fixture! The room is two stories tall and surrounded with straight lines. We wanted something grand enough for the space (this fixture is 61″ wide). What we really loved was the warm tones you find inside of the antiques, but also the tones of our newer gold and glass accents in the room such as the tables and bar cart. Plus it’s LED so you’ll never catch me climbing a giant ladder to change a light bulb. Also, this art bridges the walkway between our youngest children’s rooms, it’s a favorite of ours by Jon Burgerman. He is a long time friend and fantastic artist that my husband has worked with for years. 

Set For Entertaining

If you followed along in the last house, you’ll remember the blue couch and bar cart! I didn’t take the time to style the cart, oops! I just snapped pictures just the way we live. It’s more realistic this way, you’ve seen everything staged enough on here lol. We do always have it ready to go with spirits, glassware, accessories and more.

It’s another part of us wanting a usable room, where we can gather with company (after this rona thing) and someone can grab a cocktail while still joining in on the conversation. And yes! That’s Jon Burgerman on the wall again, an original in black and white! 

One more detail about the accessories on the cart, they’re all marble, glass, brass, and have stitched leather tabs. A masculine feature to a soft dainty cart. It also has an antique Bocce ball with my husband’s initials on it. More photos soon, promise!

Bright Colors

Another piece we brought along from our last house, this couch and blanket loved this space! I used to be so terrified of color, but once my husband and I saw the sofa, well, it was the first time we agreed on something so quickly. After that everything fell together. Now, I wouldn’t buy another boring grey couch again. Even budget pieces, like I’ll show you soon in my kids’ rooms, scream upscale when in colored fabrics. 

mix modern and old furniture

Happy Accidents

Rugs and lighting tie for me in the ranks of what define a space. They make or break it. They create a space or serve as a backdrop for other items to sparkle. One thing my Husband is notorious for is ordering spectacular rugs- gorgeous rugs! But always the wrong size. Do you hear me giggling? One time he ordered a breathtaking blush powdered rug to sit pleasantly with the blue couch. It came in so small that my coffee table basically ate it sitting on top. That blush rug sits in the foyer now, perfectly sized. This rug above, was supposed to help mix our antique formal room, along with a gigantic piece of art I can’t seen to hide when we move (I don’t love it ha!)

Originally we had a deep red, navy and mustard colored rug in this space that was a family heirloom from 1800’s Iran. The light made it beautiful. You’ll see it soon, once I find it’s home. 

But the rug above did NOT fit in the dining room, more giggling. Turns out it actually perfectly suited the open sitting area, paired well with the polished tile, and added just a pop or color without standing out. 

Happy accidents always happen when my Husband orders rugs.

modern gold coffee table

Same Finish Different Lines

Another way we wanted to break up the space was by adding modern touches with different lines. Not one part of the space “matches” quite so. You will find similar tones, again in the painted lines of the antique desk legs, to the lighting and accent tables. However, none of them quite “match”. Gone are the days of matching. Much like fashion, decor has taken on a sense of anything goes but with a unique rhythm that work together. You can have a 1800’s table, modern wallpaper, and mid century art in one room. The same way you can now rock bell bottom jeans, a 90’s choker, and makeup reminiscent of the 60’s.

Blending is fantastic. 

Just the Beginning It Needs Something More

So while I love to emphasize on all of the details, angles and more, this is just the beginning. Knowing we will live in a place longer than three years, we can truly put our personal touches on a space without keeping it neutral incase we need to move.

I have my dreams set for venturing into deep wall colors now that we have escaped the gloomy snow and have the light for a wall with something, dare I say, black walls with grand moldings? This layout will probably change drastically within the next year or so as we discover living in a modern home, every state we live in affects our style so much. 

Yet, as I look at this house with so much white, I realize, we could have created our own style in any home we lived in. Be it the “new build” Colorado midwestern, the New England Colonial, or the modern now, we have learned to have fun and just go with the flow. Change things up, move things around, and have fun. 

So cheers to the beginning, just like all of us decorating, we get bored and bothered with spaces, and through the seasons, the days, we change. Can’t wait to bring you along with me. Can’t wait to see décor change together.

Chelsey

& The Mama Guide

8 Creative Tips for Easy Amazing Halloween Tablescape

8 Creative Tips for Easy Amazing Halloween Tablescape

8 Creative Tips for Easy Amazing Halloween Tablescape

I absolutely ADORE all things Fall & Halloween. It’s spooky, cozy, fun, and a little bit magical! Given the world now, and that we just moved to Florida! (More on that to come) We no longer have the backdrop of New England Fall to set the seasonal tone this year. That is why I put together the most magical Halloween tablescape to truly set the tone and transform the house. Plus, these were all affordable, quick, and easy. Enough said right? Onto the tips!

magical floating hats decocrated halloween tablescape easy decor

1. Floating Witch Hats

These spooky floating witch hats are quick and easy! Simply sew the top of the hat to a clear string or fishing line and pin it to the ceiling using thumbtacks. You can purchase a pack of ten Witch Hats on Amazon for $12.99 HERE . I used a clear sewing thread that you can purchase HERE.

magical floating hats decocrated halloween tablescape easy decor

2. Go Classic With A Twist

Skulls and skeletal pieces have always been a Halloween staple, but now it’s time to add a modern spin! Think of using gold skulls, or even velvet covered ones to brighten up your Halloween table. You can purchase this same gold skull HERE for under $15. This beautiful black candleabra is part of the Fall Decocrated 2020 box. HERE

magical floating hats decocrated halloween tablescape easy decor

3. Use Black Cheesecloth For Easy Cleanup Webs

You can get really creative indoors with black cheesecloth in place of messy spider webs. Use them to cover light fixtures, span walls or windows, even across a table as a cloth or runner. Do be careful around light fixtures, never leave them unattended because of fire risks and do not place them directly on light bulbs or over an open flame. Safety first! I purchased a two pack of black cloths HERE for $5.

magical floating hats decocrated halloween tablescape easy decor

4. Hang Seasonal Art

Temporary seasonal wall art is the perfect way to round out the decor in any space. This fall sign is available in the Fall 2020 Decocrated box, if you miss it you may find it available in the future in their members only shop! Skip the nails and use 3M Command strips for easy clean up. Decocrated is the easiest way to refresh your decor through the seasons, this wall art is part of the Fall box HERE .

magical floating hats decocrated halloween tablescape easy decor

5. Faux Florals For Warmth

Though I always prefer fresh flowers, these picks from Hobby Lobby certainly add that perfect fall touch to any Halloween table. Select burnt oranges and dewy yellows for the perfect touch. I also LOVE adding in stems of faux wheat. They last longer, keep their color best too. Pro Tip- these floral stems are on sale every other week at Hobby Lobby so check their sale calendar before you go.

magical floating hats decocrated halloween tablescape easy decor

6. Get Batty – Don’t Skip The Walls

Accent any wall or mantle with these adorable flying vinyl bats! Simply use small stickers to attach the assorted bats to make them appear as they are flying across your spooky space! The perfect touch to any Halloween decor, inside or out (under cover from harsh conditions of course). You can get your own pack of 48 bats HERE for under $7.

magical floating hats decocrated halloween tablescape easy decor

7. Tableware For The Wow Factor

Linens and flatware are the most affordable way to upgrade any tablescape or space. Updating your napkins alone can change the entire mood of a dinner party or decor. These black napkins are available for $11 HERE and the gold flatware/silverware is a great find at Walmart for just $25 HERE  This beautiful candelabra is a part of the Decocrated Fall 2020 box HERE.

halloween tablescape top tips decocrated

8. Create Height- Not Just In The Center

Utilize pieces like floral arrangements, tall vases, candles and more to add height to your tabletop. While the center is the go to for taller arrangements, don’t overlook the edge areas. You can even add multiple tall arrangements down the center of a table, well rounded decor has a variety of groupings and height. My favorite piece here is the vase full of pumpkins, found for under two dollars each at Hobby Lobby. If you use real pumpkins, you can also top the vase with live florals and fill it with water for a dazzling piece.

Most importantly, have fun! Try new things, move stuff around. Go around your house and “shop” the pieces you already have. You never know when you’ll fall back in love or reinvent pieces you already have. 

Need an update or refresher in your home? My favorite easy and affordable way to do just that is with my Decocrated subscription box! You’ll be able to update so many spaces on a budget, plus fill your home with quality pieces for each season and all year long! Checkout DECOCRATED HERE and for $30 off for the year use code CHELSEY30. For $10 off just your first box you can also use code CHELSEY10. Take a sneak peek at all the pieces I used this season from their newest Fall box!

magical floating hats decocrated halloween tablescape easy decor
Loafingly Delicious

Loafingly Delicious

Fair Warning

If you’re reading this right now, we’re in the middle of Coronavirus lockdowns and many stores are out of bread. If you’re like me, you probably need more! So here it is, I’m sharing my super-secret white bread recipe. Before you make it, I have to warn you. You should probably make a couple batches because this bread is so good that no one can stop eating it- lol. Seriously though, you’ve been warned, it’s really hard to put down.

And even though we’re in the middle of boredom-central, I’ll spare you the long boring story of how the recipe was created, because IDK why those even belong on a recipe. Seriously, we just want to know how to make the dang thing. Lol. 

Note: This recipe works fantastic for both standard baking and bread machines.

Printable Recipe

Ingredients

1 Cup Milk

3 1/4 Cup Flour

1/3 Cup + 1.5 TBS Water

3 TBS Softened Butter

3 1/2 TBS Sugar

1 1/2 TSP Salt

2 1/2 TSP Instant Yeast

Instructions

Preheat oven to 350 Degrees. In a large mixing bowl, add milk, flour, softened butter, sugar, and salt. In a separate bowl, mix lukewarm water and yeast until yeast begins to foam. Add yeast water mixture to remaining ingredients and knead for 5-10 minutes. Cover with a damp cloth and let rise one hour or until the dough doubles in size. Once doubled, punch down and either form into rolls, or place into a loaf pan and allow to rise again for one hour or until doubles in size. Bake for 30 minutes or until golden brown. Note: For Bread machines, follow the manufacturer’s instructions.

Additional Notes

This white bread recipe works great for both rolls and sandwich bread. This recipe works fantastically inside bread machines as well as standard oven baking. A mixer with a dough hook is recommended for kneading, and full knead time of ten minutes produces the best gluten structure. This bread recipe is very beginner friendly. 

If you need any additional help- email me at [email protected]

23 Free Home Learning Websites For Kids Home During The Coronavirus Pandemic

23 Free Home Learning Websites For Kids Home During The Coronavirus Pandemic

23 Free Learning Website Resources 

Hey mamas, sending my prayers and well thoughts. Right now we are learning a whole new world. Most of us at home with kids for weeks, months, or even the rest of the school year. Many of us are working from home, can’t be home, but are trying to support our children the best we can with their studies. Thankfully, I am surrounded with a ton of teacher mom friends who have given me these resources to share with you.

Below are ALL FREE websites for you to support your kids in home schooling during this Corona Virus Pandemic. 

If you have any other sites you think can help moms, just like you, please email me at [email protected] . Praying for you all, we will get through this together. As women, we are stronger together. 

1. Brain Pop

Brain Pop is an animated educational site for kids in Science, Math, Social Studies & More. There is a section for older and younger kids. USE CODE BPCVFAFB3

2. Scholastic Home Learning

Scholastic has opened up their learning academy for children during the Corona Virus Epidemic. They have daily learning journeys for students Pre-k – 8th grade +. I really have to hand it to them for making this possible for all families.

3. FunBrain

Fun Brain is the number one site for online educational games for kids of all ages. Math, Grammar, Science, Spelling & History. This is one of my favorites and goes from Kindergarten to 8th Grade. 

4. PBS Kids

Educational games and videos for young children. They are currently offering daily activities and tips to help kids play and learn at home during the Corona Virus Pandemic.

5. Kahoot

Kahoot is a game based learning platform that brings engagement, e-learning and self study everywhere. They cover all topics for all ages.

6. Khan Academy

Khan Academy is probably one you have heard, they teach everything online with expert created courses and content. All levels and all topics. They are currently giving daily schedules for students aged 4-18 and are helping with amazing resources during the COVID-19 school closures. 

7. National Geographic Kids

Easy to read articles, photos and fun games. Topics covering Science & Social Studies for ages 6 and Up.

8. Fact Monster

Fact Monster is a free reference site for students and parents. They help you find facts on thousands of subjects. This is helpful for parents learning what their children are studying so we can best help them. They have flash cards, biographies, games, and more. Subjects include Math, Geography, History, Language Arts, Biology, Physics, & More for all ages.

9. Zearn

A math website created by teachers for students aged K-5th Grade. Thanks to donations, the entire K-5 curriculum is currently free during the Corona Virus pandemic. 


10. Bill Nye the Science Guy

Bill Nye website has Science based videos and guides for students of All Ages.


11. Starfall

Early learning for young children in all topics, Pre-k to 3rd Grade. Similar to ABC Mouse but free.


12. ABCYA

Educational games for grades Pre-K to 6th grade. Keeping kids engaged with fun in topics Math, Reading, Typing and logic games.


13. Cool Math Games

Cool Math Games is a brain training site for all ages. 


14. Mystery Science

Mystery Science offers lessons to excite children age K-5 to inspire their passion in science.


15. Book Creator

Book Creator is a simple tool for kids to create digital books. This is a great way to dive into reading and writing in a fun hands on experience. All Ages.  


16. Duolingo & Duolingo Kids

Duolingo is an app based on language learning. Language learning is known to boost brain power and fantastic for students of all ages. The app based learning is easy with 30 different languages. 

 17. Ken Ken Puzzles 

Ken Ken Puzzles is a site to make your brain stay sharp, especially during the time kids are out of school.

 Ages 8-18.

 18. Math Playground 

Math Playground is a Math site with problem solving learning, logic games, and number puzzles. They walk kids through step by step. Grades 1-6th.

 19. Primary Games

Primary Games is a website featuring action games to learn Math in a fun way. Grades K-8th Grade.

 20. Brain Teasers

Brain Teasers strengthens basic math skills for students of All Ages. 

 21. Education Place

Textbook support and content for learning in All Subjects and grades K-8th Grade. 

 22. Teach Your Monster To Read

Teach Your Monster To Read is a fun award winning site for younger children learn to read and master phonics. Children gain fun prizes for their monster while playing games and learning. Ages Pre-k to 1st Grade.

 23. Math Aids Printable Worksheets


 Math Aids Worksheets provides printable worksheets for K-12th Grade levels to provide you with materials while you are home with children out of school. 


 24. Varsity Tutors Virtual Field Trips & Celebrity Classes

Varsity Tutors now offers free Virtual Field Trips along with Celebrity Classes featuring Mayim Bialik, Julianne Hough, Coyote Peterson and others. 

Elevate Thanksgiving With Chef Nicole On The Mama Guide

Elevate Thanksgiving With Chef Nicole On The Mama Guide

Elevate Your Thanksgiving Dinner With These Professional Tips From Chef Nicole Studer

Chef Nicole is a cooking genius bringing us her very best tips to elevate your Thanksgiving Dinner! Whether you’re cooking for a few, or a crowd, use these expert tips to bring your inner chef out this year and the many to come. Interviewing her was such a pleasure, if you have questions for her in the future, be sure to let us know and subscribe to see if your questions are featured for her in posts to come! 

1. Charcuterie Boards Are A Must For Guests While You Cook

Chef Nicole: Charcuterie boards are a total crowd pleaser. You can be really creative or just throw a few things together, I like to start with basics and add off of that. I live in a nut free house so I like to put things like nuts on the side. 

Q: What are your favorite items that you can’t live without? Favorite cheese that all our guests will love?

Chef Nicole: My go to is totally a Brie. I love how full of flavor it is, easy to eat and pairs well with all types of crackers and wine. When in doubt, serve familiar foods and crackers that everyone knows. I go with a ripened cheese like Brie, a hard cheese like Parmesan, a soft cheese like Mozzarella, Blue Cheese and a semi-hard one like Gouda. I also like to add a cheese with spice in it like a pepper jack. Always use grapes and apples then just fill in with something seasonal like pears, figs or dried cranberries. 

2. Mashed Potatoes The RIGHT Way

Chef Nicole: I don’t mess around because I LOVE mashed potatoes and I am super critical of them lol.  I recommend warming your milk, butter and or cream in a saute pan over heat before mixing them into your potatoes.That way, when you add them into your already piping hot mashers, you’re not changing the temp or having to reheat them. Another tip for mashers is that sometimes we have too much going on and slightly over cook them. You can still save them by adding in more milk and butter then placing them on a baking sheet lined with parchment. Give them a little cook in the oven to regain that fluffy texture again, instead of a wet mixture mess. 

3. Use Compound Butter For Unbelievable Flavor

Chef Nicole: Compound butter this is where you let butter come to room temperature and throw it in your Kitchenaid or mixer with herbs and seasonings to enhance the flavor of your butter. I usually throw in herbs that go well with my meal, this is something that you can tailor to you and the flavors you like. 

Q: What herbs do you use and what would you use compound butter for?

Chef Nicole: My go to is Rosemary, Sage, diced Shallots, salt and pepper. First I mix the butter then chop my herbs. I love fresh herbs; I believe that fresh is better but for something like this if all you have is dry herbs that is totally usable and no need to stress. Mixing is important for evenly distributing the flavors into your butter. Use your compound butter to rub onto your turkey, this is way better than randomly sprinkling herbs on top because you can get the flavors easily distributed and really into the meat. I also use this on the inside of my turkey!

Photo Credit Logan Lane @Sarahmae’s

4. Speed Up Cooking- Take Out The Turkey’s Spine

Chef Nicole: It’s called Spatchcock Turkey. This is where you remove the spine and lay your turkey flat while cooking, it helps you cook your turkey in half the time. It’s something we do in the cooking world a ton with chicken, but I did it last year on Thanksgiving and my results were amazing. I was able to make it much quicker and easier than stressing about the main course not being ready.

Q: How do you even cut the spine out of the turkey, is this hard?

Chef Nicole: I cut out the spine down the back and only remove the spine with a knife or kitchen scissors. You are sit the turkey on its butt and and start by cutting from the neck towards the end. You can then lay it flat on your baking sheet and cook it for about half the time, measuring the meat with a thermometer for food safety.

5. The Best Holiday Cocktail- Chef Nicole Approved

Chef Nicole: -Holiday Sangria. I love Sangria because it’s pretty much grab your favorite things, throw them into a pitcher with ice and fresh fruit and call it good! You are on your way to happy town lol. This is also nice because you know mamma needs her wine and mostly on the holidays! I just start with red, white or rose. Then you will need some booze, if you go with white or rose wine add a light liquor like vodka. If you go with red wine, traditionally you add Brandy. I also like to add some sparkling water, seltzer or tonic water; this adds a fun bubbly element. Simple syrup goes in to taste for sweetener and then all the fresh fruit you can think of. For holidays I like to add things that are in season like cranberries and citrus like oranges. They are both in season in the fall/winter, perfect for all the holidays!

6. The Best Thanksgiving Dessert To Serve?

Q: One Last question, what is the best and easiest dessert to serve as a chef on Thanksgiving?

Chef Nicole: Pumpkin Pie all the way! With more whipped cream than pie!

The Mama Guide approves that dessert!

Meet Chef Nicole:

Chef Nicole (left) lives In Portland OR with her beautiful wife Kellie and two pups, Ariel the Basset Hound and Oakley the Toy Aussie. Nicole is inspired in the kitchen by teaching. She likes to bring the love of cooking and flavor through her dishes. She enjoys helping people understand cooking on a whole new level and getting them excited to create meals that they love. Nicole wants to show people that cooking can be easy instead of intimidating. Most of all, she loves to show her strengths and heart though the meals she serves.

Follow Nicole on Instagram @chefcolie

12 Tips For Stunning Tablescapes

12 Tips For Stunning Tablescapes

12 Must Know Tips For Stunning Tablescapes

Tables are the heart of our homes, where we gather for meals, dine with our family and friends, and are the true anchor of any festive day. With these simple easy-to-follow tips your tablescape will be an effortless success throughout all the seasons and many days to come. Plus, learn these affordable tips to wow your guests, on a family friendly budget, too!

This post is sponsored by my dear friends at Decocrated- My favorite home decor subscription box that send beautiful pieces right to your front door every single season. Many of their pieces are in each of the photos! Head to Decocrated.com and use code CHELSEY10 to get $10 off your first purchase.

1. Always Use Fresh Greenery

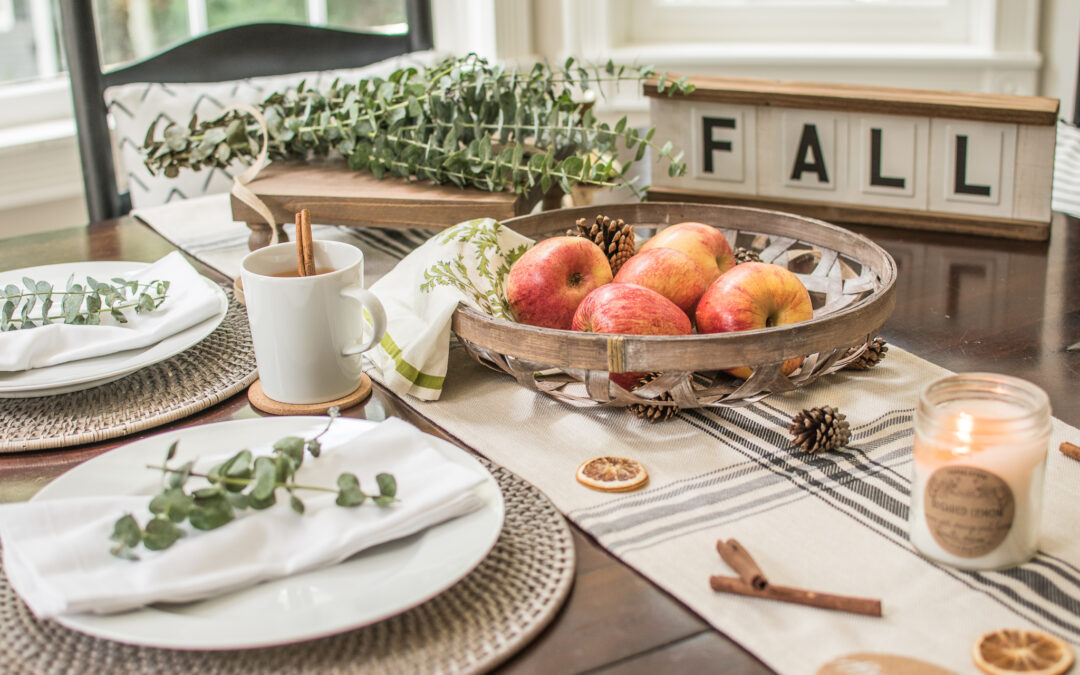
Adding fresh greens to your napkins, bowls, baskets and more bring life to your table. Our favorites are Eucalyptus, or even Baby’s Breath! You don’t have to spend a ton to elevate your table like expensive bouquets, we find some of the best greenery in the filler section of grocery florals. Check out Whole Foods for $5 bunches to fill your spread. 

2. Don’t Skip The Sweets

Whether you’re serving up a hot pie, a beautiful cake, or even just some apples in a basket, NEVER skip the sweets. Get creative with candy dishes and more, but something inviting makes every table complete. It’s will draw everyone in to make the most of the moments we spend together, and really set the mood! – A sweet one that is. 

3. Add Height For Interest

When your table feels bare, or missing that special element, check to make sure you have elements with height! Stack trays and more for a layered look, rich in depth! Get creative with your pieces, what can you stack and combine?

PRO TIP: Avoid blocking conversations by moving your centerpiece to the corner of the table and let it flow outward from there. Grab this tray in the 2019 Decocrated Winter Box.

4. Use Artwork

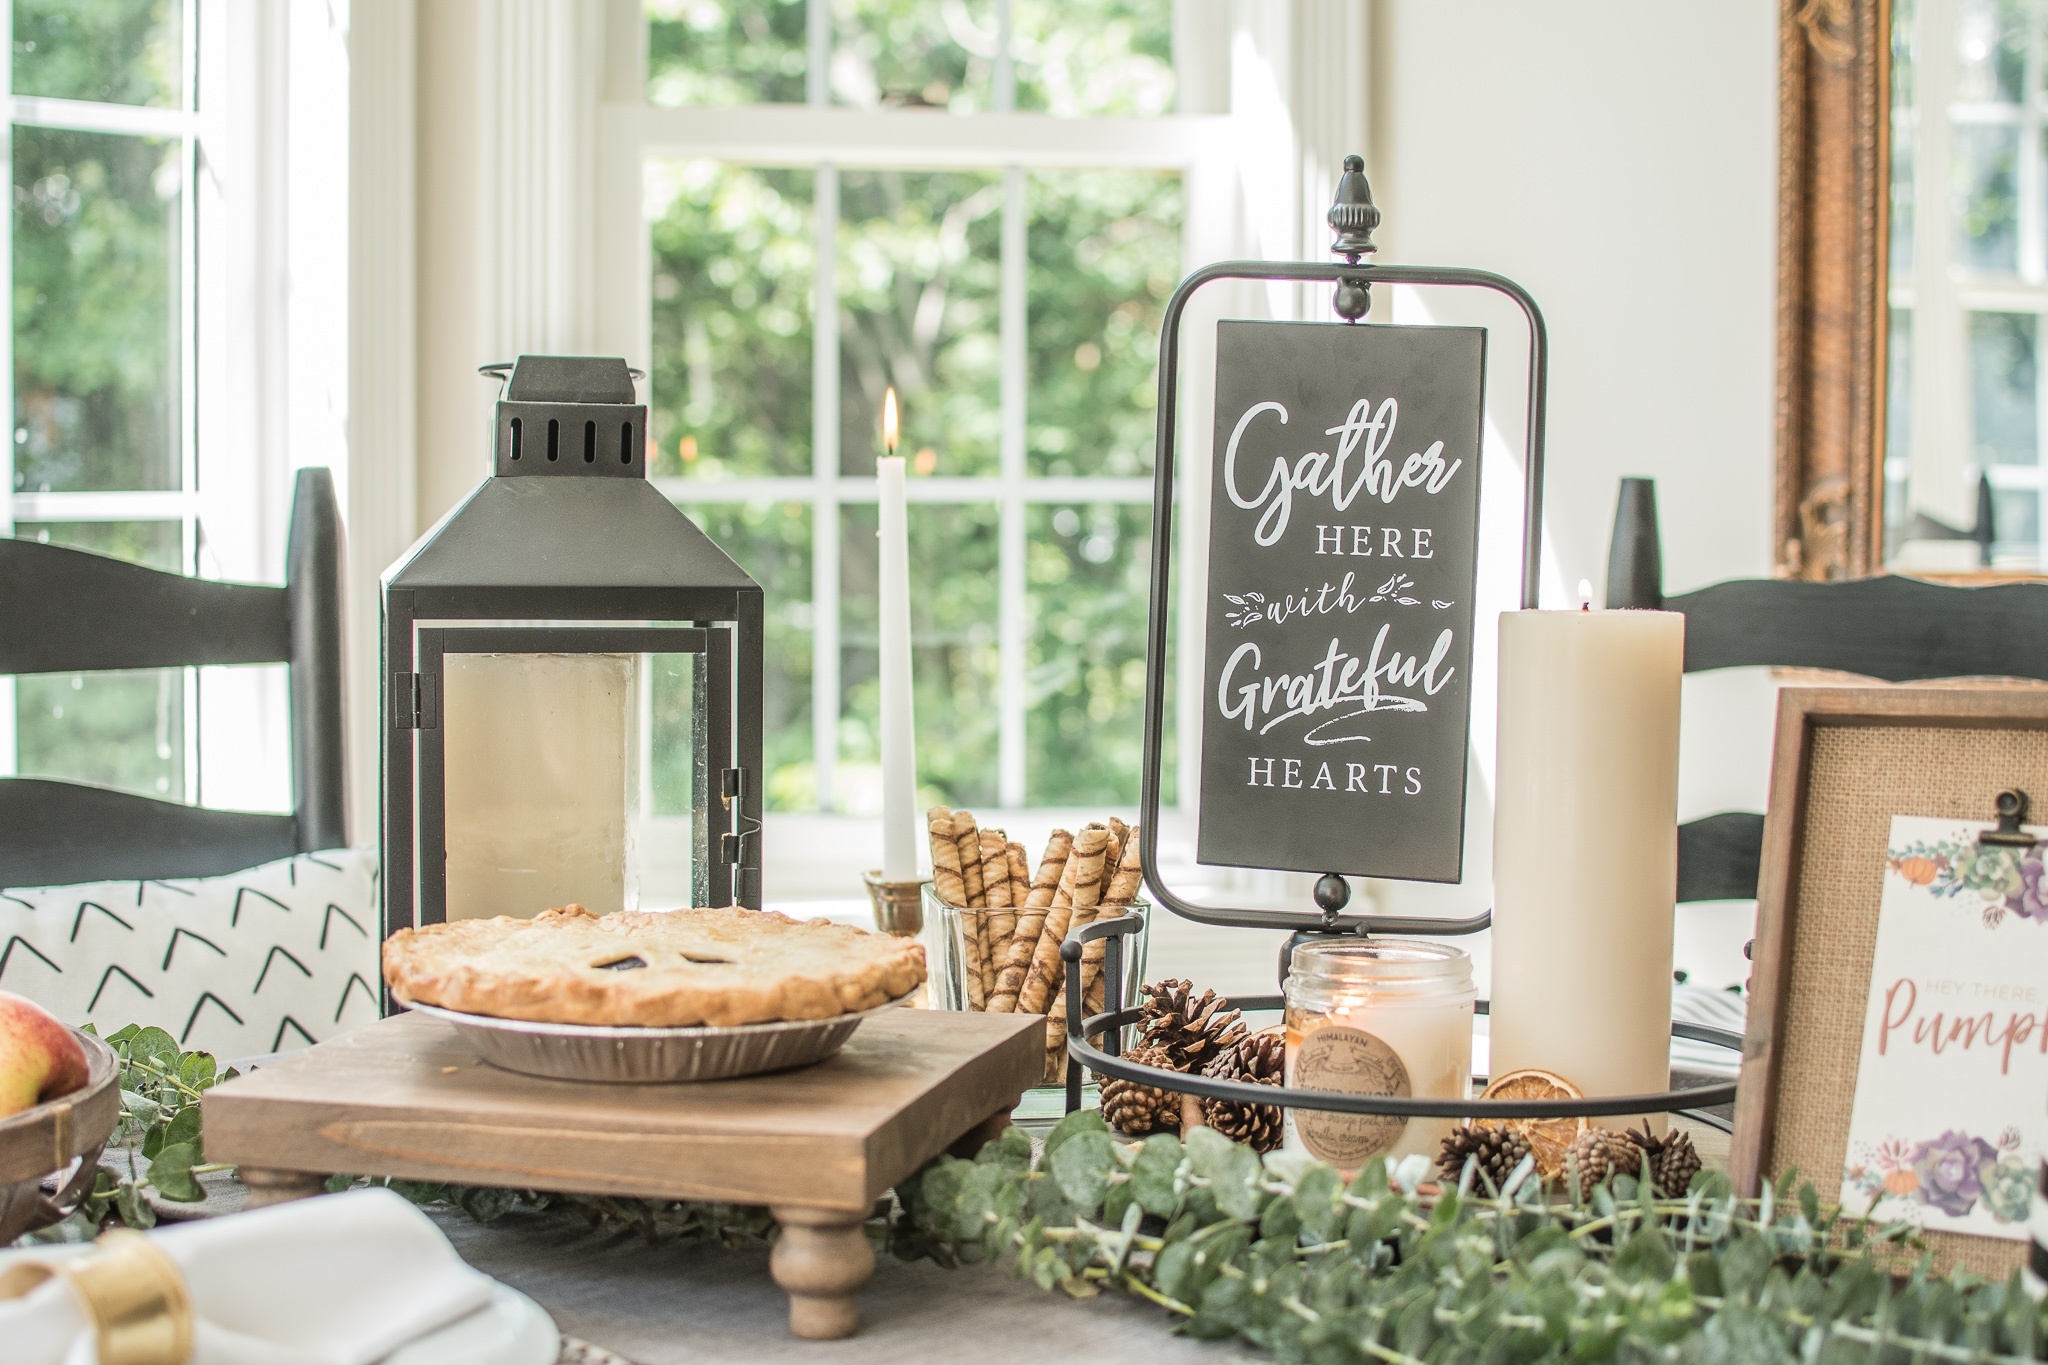
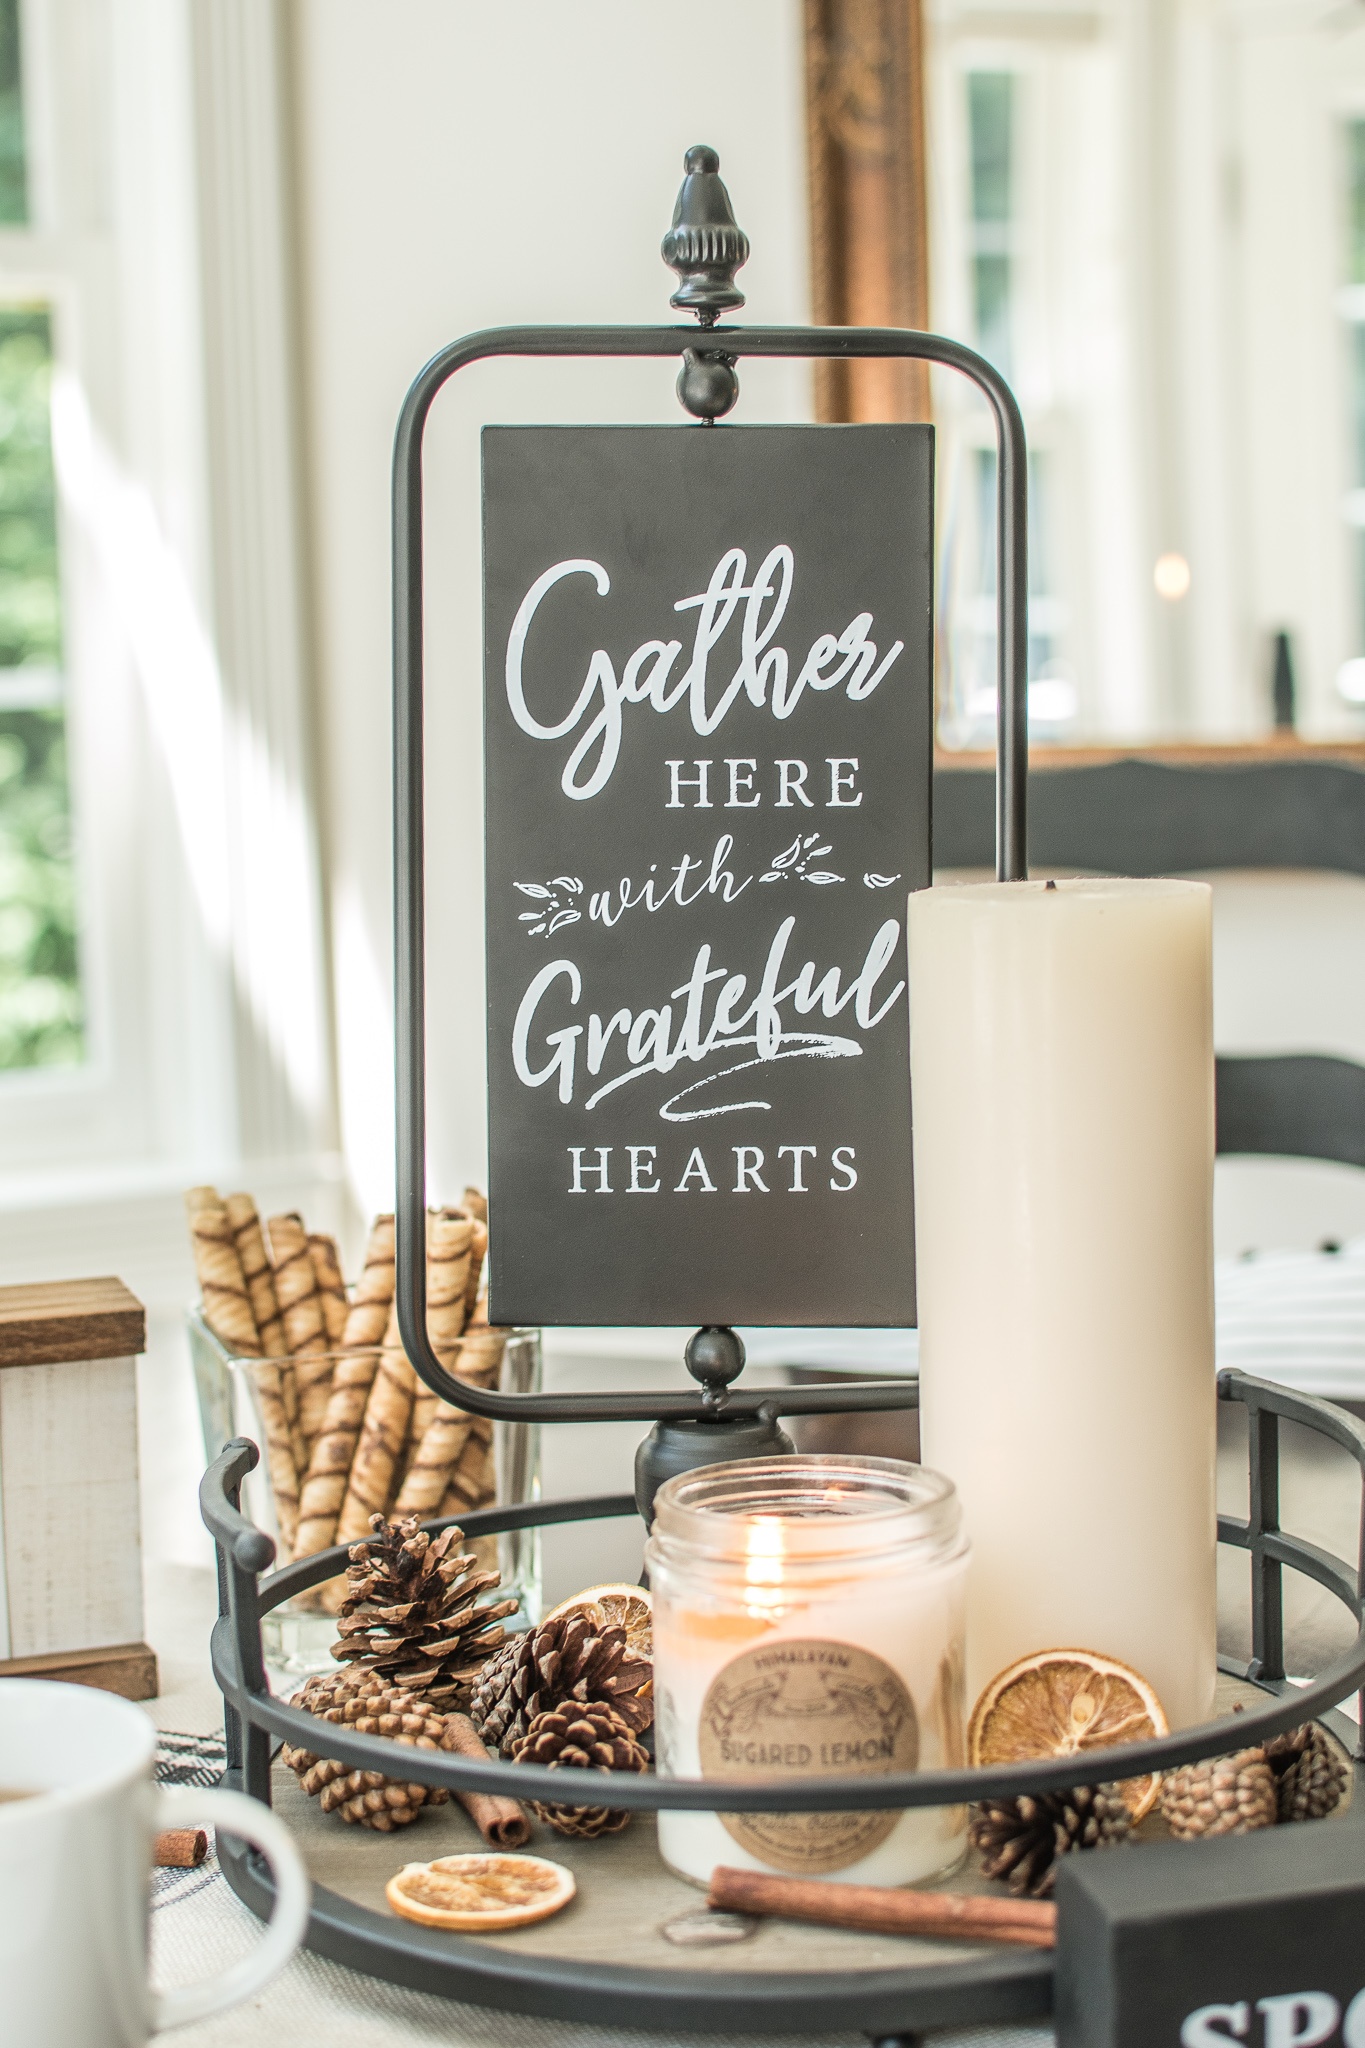
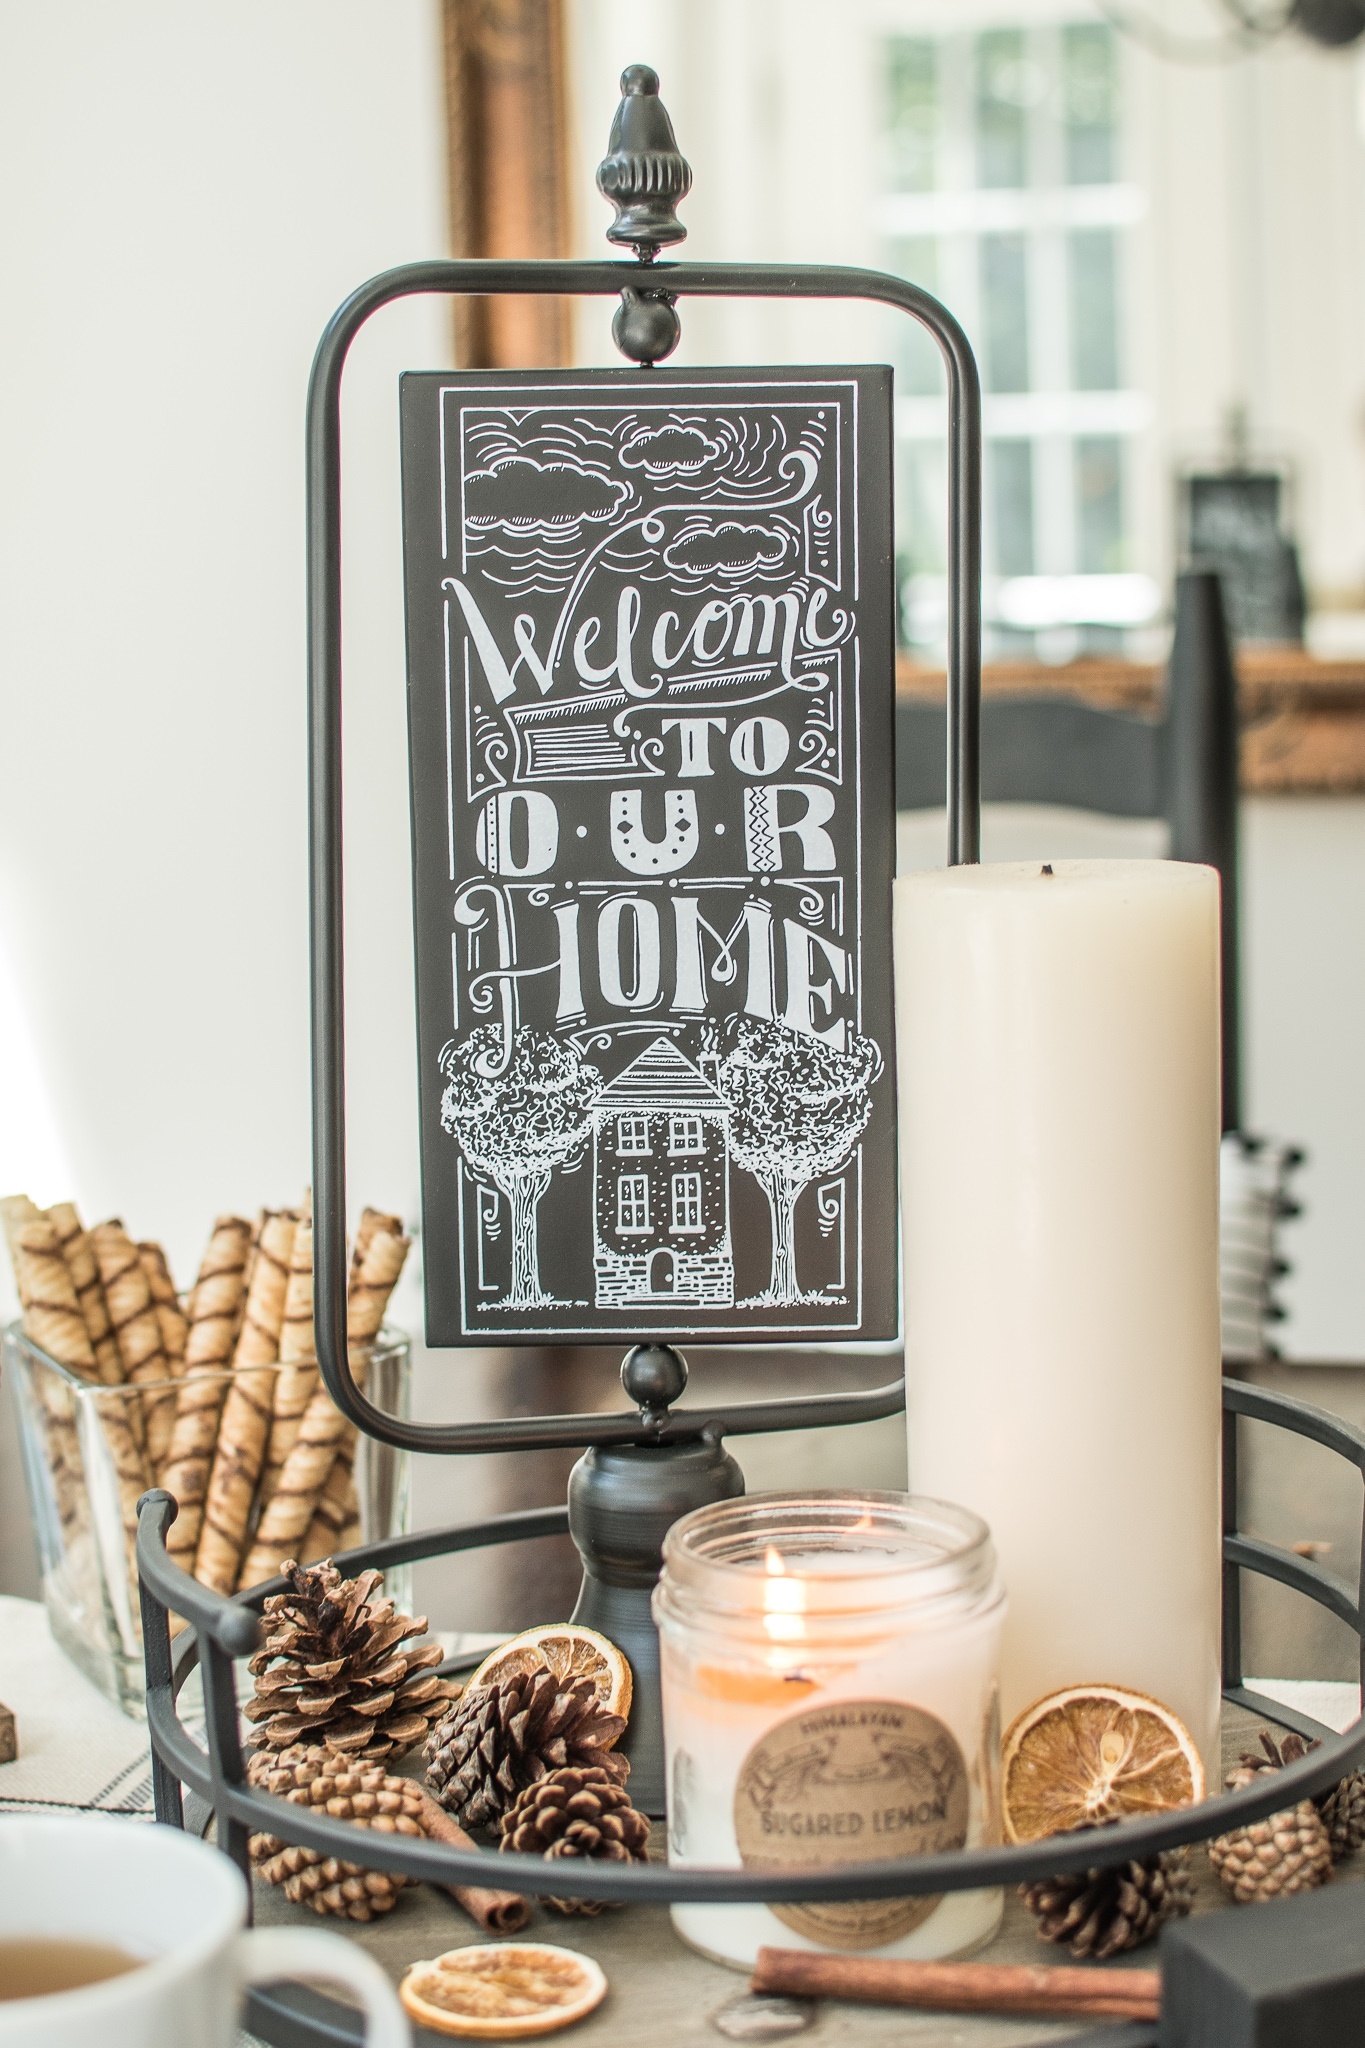
Artwork like signage elevates your tablescapes. Pull pieces from around the home like this one above, or find perfect pieces from thrift stores and more! In a pinch? Frame some 5×7 prints that match the color scheme for your table to add an elegant touch. 

5. Invest In Staples

Invest in staples that will stand the test of time, and seamlessly transition you through seasons. We recommend using neutrals that work well with any color scheme. Think napkins, runners, plates, chargers, and trays like this one from the Decocrated 2019 Winter Box. You can rearrange them effortlessly and no one will be the wiser! Don’t believe us? Scroll back up and see for yourself!

6. Make It Easy Grab

Be the best hostess by leaving must haves within arms reach. Straws, cups, napkins and more. You’ll save yourself a ton of time while hosting, plus it really pulls the table together. Don’t forget, set the table with ready-grab snacks too! This will really set the table as your anchor to draw everyone together and keep conversation flowing. 

7. Always Incorporate Linens

Never skimp on the linens, be it table runners, napkins, or even a pillow! Take a peek in the corner at the pillow from the Decocrated box (always a great source for quality fabric items that warm up every space). The rule should follow you throughout your entire home, you can never have too many cozy items, but don’t forget the tables! Use these to make your dining room especially inviting.

8. Ribbons & Ties Go Far

Use inexpensive ribbons and strings to pull together a wow-worthy table for any holiday or season. This is our favorite for Christmas and Thanksgiving. Incorporate the whole look by using the same textile throughout the table. Don’t only wrap your napkins, wrap faux presents like above, tie bread baskets and more with the same strings! For $2.99 and under, you have the perfect accessory. 

9. Set Your Table & Keep It Set

Keep your table set, even days you’re not having guests! Keeping silverware and plates ready to go not only sets the mood, extends your decor, but also makes the home feel elevated and upscale. Yes, regardless of your home size or value, keeping your tablescape will bring out the fancy for everyone! Have fun with simple napkin folds to take you through the season, just wash up and place back that night (or tomorrow morning if the kids keep you busy because they’re going wild and don’t want to sleep.) 

PRO TIP: If you have little ones, remember, involving them in cleaning and setting the table is fun! Don’t worry about it getting messed up, have fun teaching them how to learn wonderful things like where spoons or forks go, how to fold for their fine motor skills. Make it a fun family routine. 

10. Repurpose Misc. Items

Dig into your china cabinet for this one! Repurpose old items like antique baby cups, teacups and more for a unique look. Random keepsakes give your settings more life, and are great conversation pieces. Use them for garnishing stations, to hold seasonal items like cinnamon sticks, and more!

11. Layer Up In Details

Add layers to your tablescape for a dramatic look. Use multiple napkins to give your plates an elegant touch. Use multiple garlands down the table to give depth and interest, a string of lights warms up any setting. Layer sizes of decor, with larger, medium and smaller pieces. Don’t forget the finishing little (and affordable) details for each season like candy canes strewn across the runner. 

PRO TIP: Start with larger items, then add your garland, and finish by filling in spaces with your smaller pieces up front. Check around the table to be sure everything can be seen to know if your placement is just right. 

12. Use A Cohesive Color Scheme

Pick a color scheme and stick with it, this is the easiest way to guide your tables. Don’t forget to check the hues from those colors or greenery too! This is a perfect example of sticking to cool colored greenery and blues to keep a merry flow. Use at least three colors and make sure it ties in with the theme you’re going for. 

These beautiful trees are available in the Winter Decocrated Box 

The Happy Place

The Happy Place

Happy Place Popup Museum – Boston Edition

What Is Happy Place

So there’s this cool movement in big cities like LA and NYC that are making their way across America, basically pop-up museums that are fun and selfie central. When I say fun I mean for adults and kids alike. This gumballs above with my little Mary has been spotted across multiple influencer accounts, for good reason. What more fun in this generation than a place full of picture taking- memory making central. Let me tell you, vanity aside, we had a BLAST. Cookies, kisses, rubber duckies galore. Welcome to Happy Place! A fun spot to take the family, explore exciting rooms, and just feel good. 

Let me tell you, with kids from teens to toddlers, it can be hard to find a place so fun that has the whole family smiling!

Ok. Let’s dive in, I’ll be honest, this is a very visual share. Lots of fun pictures to see, not much to explain. Except… we quickly learned that we’re not allowed to stand on the cushions. Sorry Happy Place! Let’s roll. 


Flip Your Frown & Your Photo

Each room is a new experience, a place to make you smile, filled with staff happy to take a photo or assist. Even the least friendly staff are drowned out by the people around you happily waiting in line to make their own memories. I won’t say who, but one of our family members entered, eh, not-so-glee. They left with a smile too. This was the upside down room, the photo is flipped of course. It’s a wonderful place to play upon your imagination, and let your inner- child out. 

Jump For Joy

One of our favorite rooms for both adults and kids, was the leap into the pot of gold (or ball pit) that was just amazing. When was the last time you got to jump into a big pot of gold? The staff are all amazing at every stop helping you to take photos, whether you’re using your DSLR camera, or your mobile phone; they’ve got you covered!


Back Yard Finale

Now, we didn’t want to spoil all of the rooms, but the final area is a must spill! The last room features a back yard with a lemon-aid stand where you can buy something to quench your thirst and grab some popcorn before you go. There’s even a giant bubble you enter with flying confetti! The treats will cost you extra but they’re worth the fun. From bubble gum, cookies, ball pits and more, The Happy Place is a must visit that won’t disappoint! 


Final Tips Before You Go


  • Buy your tickets before you go. Peak times may cost more.
  • Find parking before you go, some of the locations do not have parking in the facility they are using.
  • Don’t stand on the pieces, be aware of the signage that . 
  • Pick a spot in the back of the line if you can, you’ll get more time to explore the rooms without being rushed from people behind you.
  • Have fun! This is one of the best experiences we have ever had. 


More Articles You’ll Love

Delicious Cranberry-Orange Moscow Mule Recipe 

Delicious Cranberry-Orange Moscow Mule Recipe 

Wow Worthy Tablescapes

Easy Holiday Cranberry Orange Moscow Mule Recipe

Easy Holiday Cranberry Orange Moscow Mule Recipe

Easy Holiday Cranberry Orange

Moscow Mule Recipe

Moscow mules are a staple for our holiday parties, because they’re easy, enjoyed by everyone, and they are always a party hit. Whether you’re throwing a quick little dinner party, or make a big batch for a crowd, here’s how to make a smash at your next gathering! Plus, no fuss hosting tips to make your drink serving a breeze. Let’s go!


Stress Free Tips For Serving Your Holiday Mules

Garnish glasses before guests arrive


– Set up an easy refill station


Get creative, display garnishes in ways that serve as decor


Make The Most Of Self Serve Stations

The best gatherings are spent socializing and enjoying each other’s company. You can balance being a good host but enjoying the party as well by creating beautiful self serve stations. They’re fun instead of lazy. Get creative by using misc. items that tie in with your decor, such as teacups and those antiques you have stashed away. Monogrammed pieces from the past make the perfect addition to hold those neatly sliced garnishes. 

More Reading For You:

Stress Free Holday Table Decorating