
by richeychelsey | Oct 17, 2018 | BLOG POSTS, Uncategorized
Trick Or Treat
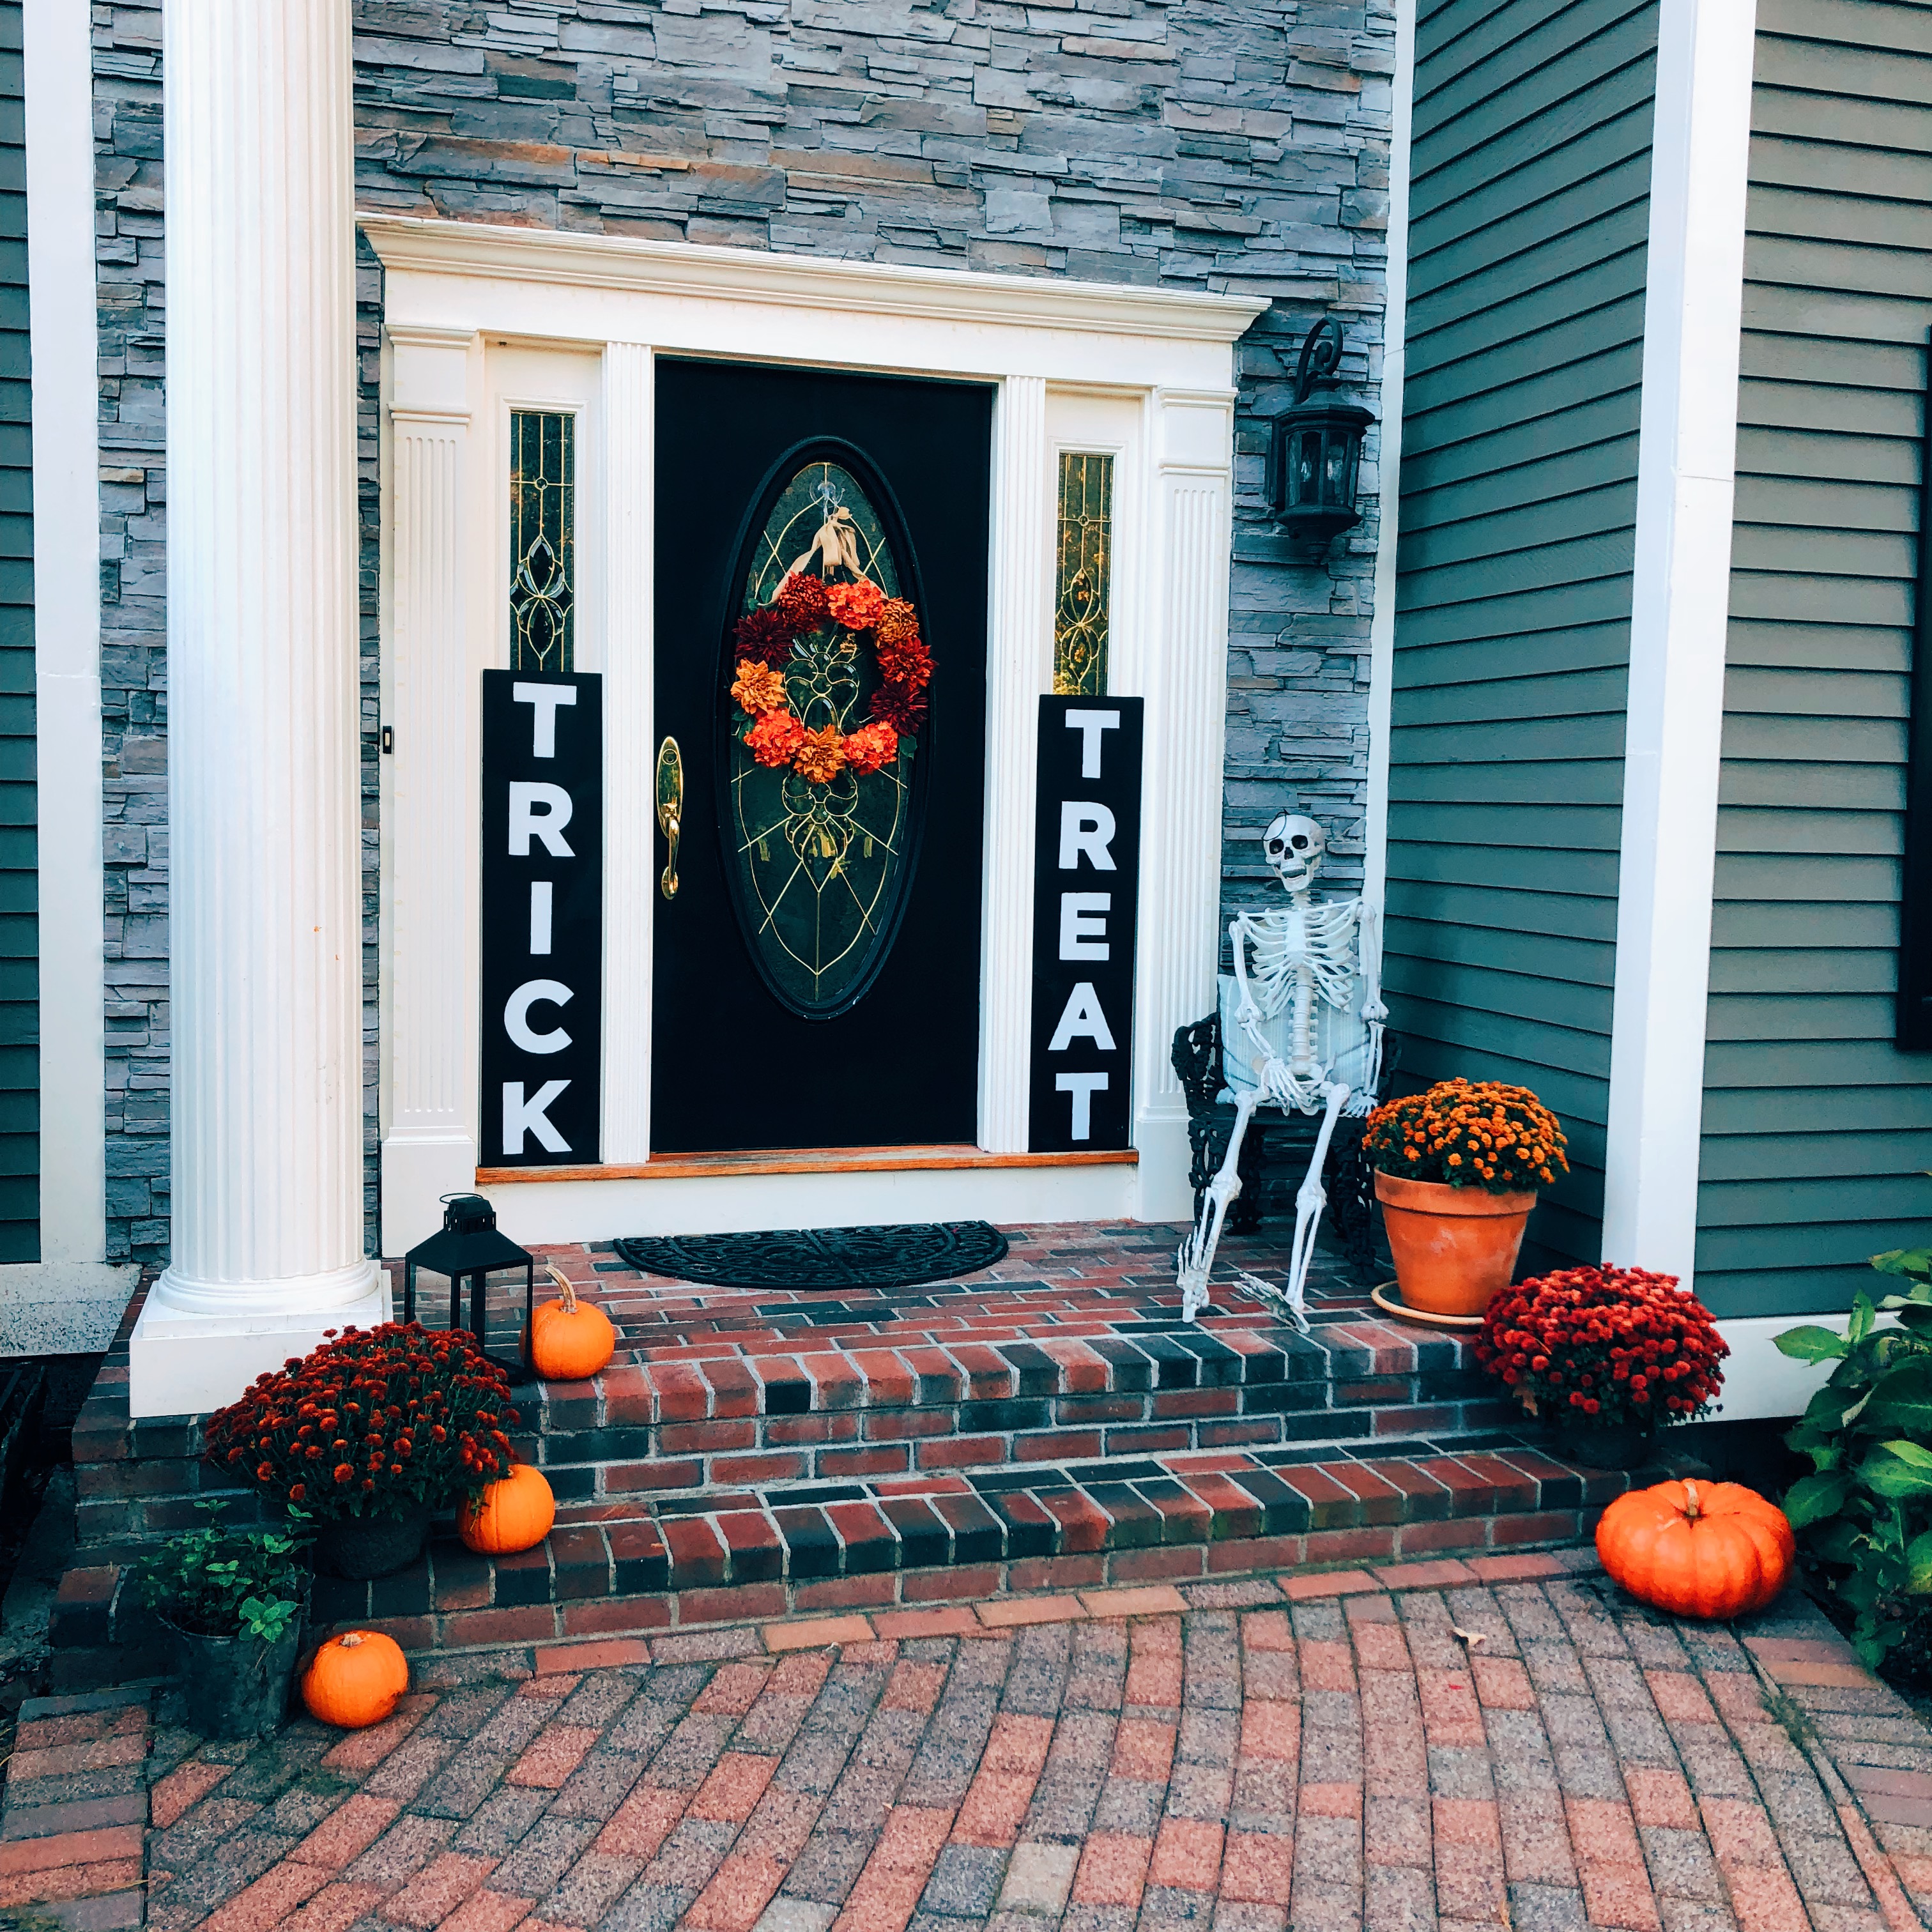
I love welcome signs at the front door, they really finish a front porch look and are surprisingly easy to make. Yes, even for someone who has never painted one before! This is a great beginner project for under $40 and under 40 minutes! When I heard of the trick or treat signs I knew I had to have them too, but buying them is ridiculously expensive and store bought ones aren’t as durable. Here is how to make gorgeous Trick or Treat welcome signs that all your neighbors will love. Plus, you’ll learn how to make signs for any season to really get that gorgeous porch year round.

What You’ll Need
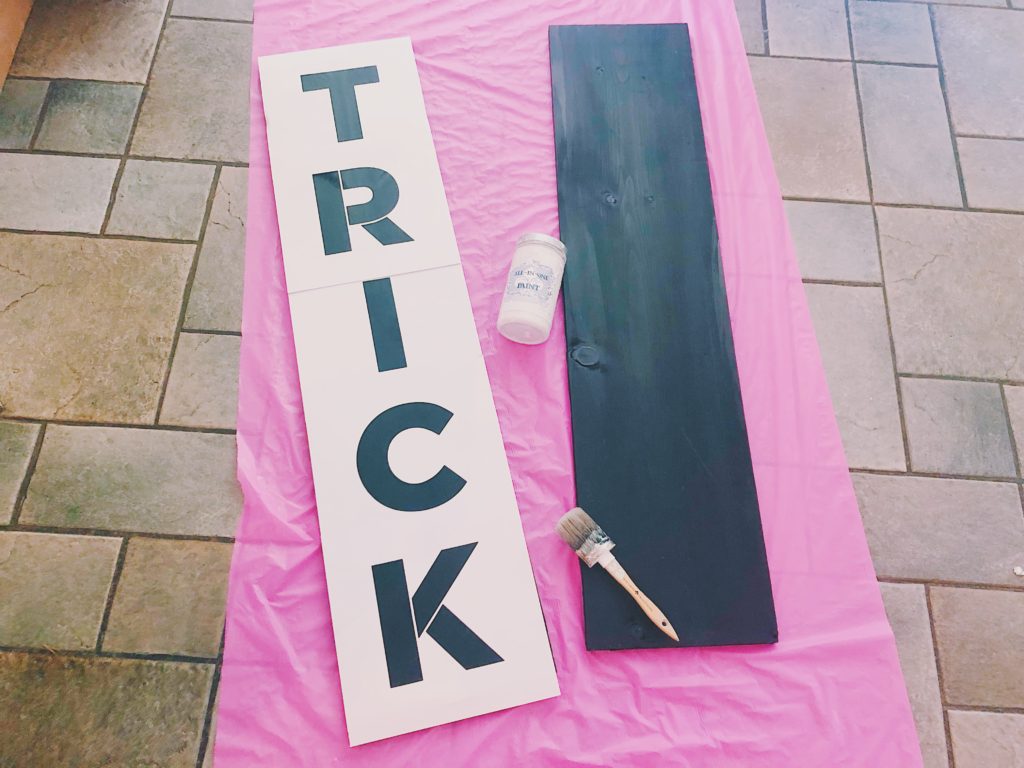
12 x 4 FT Common Board (Home Depot Always has these pre-cut)
Black & White Paint
12 in X 12 Inch Letter Stencils
Paint Brush
To keep this project on-budget you can use Folkart Home Decor Chalk Paint that I linked above, good product. I am using Heirloom Traditions Chalk Type Paint in Colosseum (their white shade) from a previous project I did because I have it on hand. I already had black exterior paint in my basement that was used for my front door, so I grabbed that and saved even more money. I do love to crafting on a budget!

A Little Background
Do you know what is best for painting on? Giant rolls of the plastic tablecloth from my daughter’s birthday party 6 years ago! I just can’t get rid of the stuff but it does make cleanup a breeze! Paint the front and sides of your signs with the black paint, two coats is plenty. Try to avoid paint seeping onto the back so you can use them for other holidays, Thanksgiving is coming up next! This is an easy project, paint a coat and come back to it later.
Stencil Time
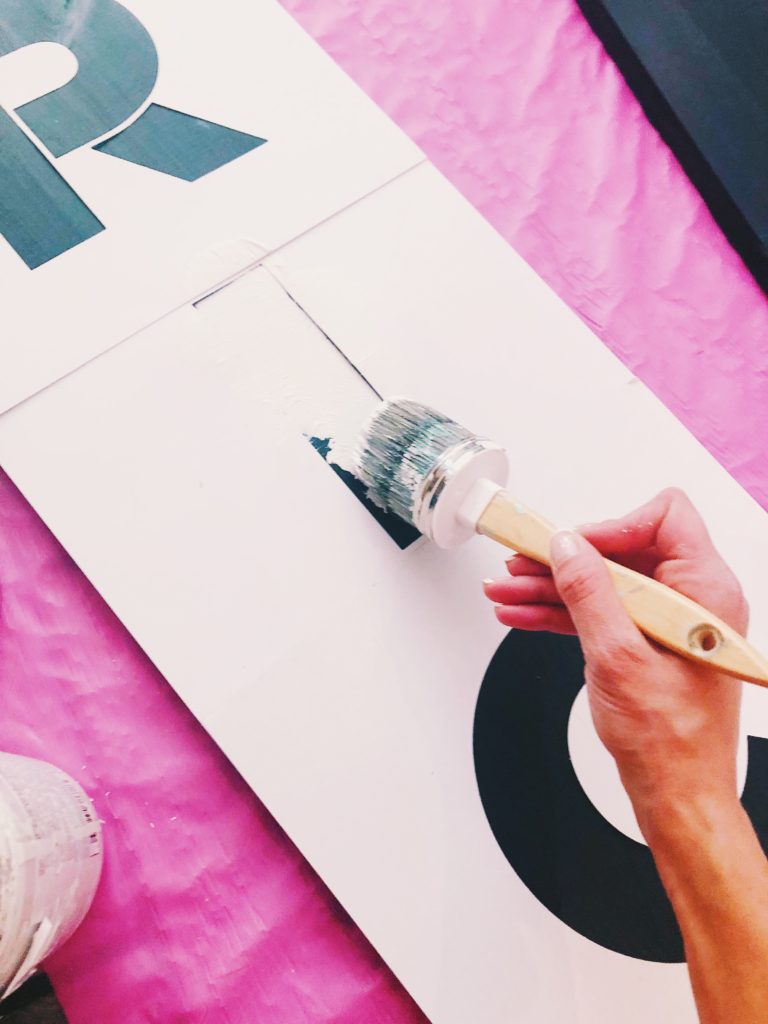
You should have just enough room to overlap stencils without them crossing over the other letters. The first and last letters hang off the signs just over a half inch each. Once you have your stencils laid out and center, on to the fun part! And I have all the tips to make this look professional.
Final Steps
Begin painting your letters over the stencil. You need very little paint on the brush or it will run underneath or saturate the stencil. Paint the edges of the letters from the stencil inward with steady swipes, this creates crisp outer edges. For your second coat, stipple the paintbrush up and down. No worries if you slip up, just come back with a small brush and touch up the edges.
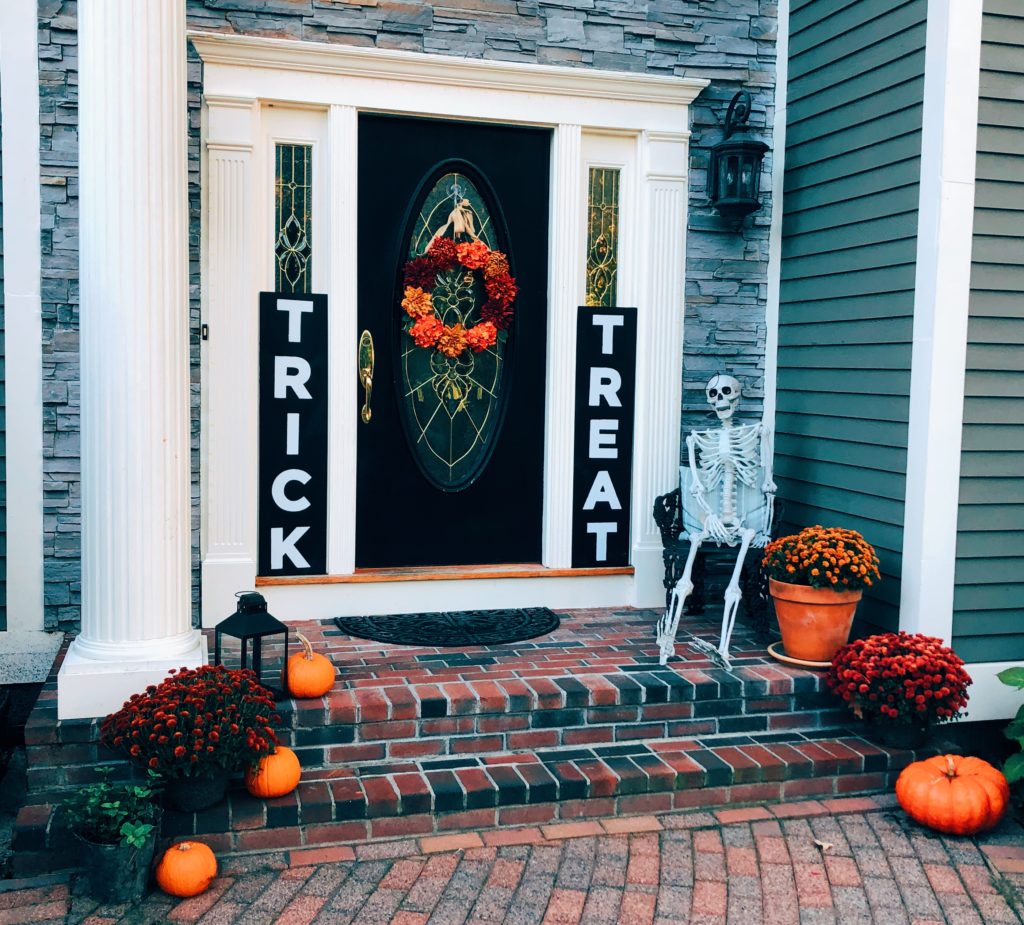
Set Them Out And Watch Your Neighbors Fall In Love
Viola! Your front porch will be gorgeous and I can’t wait to see your signs! Save your stencils for future projects and use the back side of these signs for Thanksgiving and Christmas. My JOY sign I created last year held up through plenty of snow, no need to top coat! You’ll have to subscribe to see that this winter! Don’t Forget to finish your look with this same wreath tutorial I have above by clicking HERE, another great project under $40 and under 40 minutes like this.
Your neighbors will be in awe of your porch and have no idea how simple it was to create. Unless you use this step by step for a totally perfect craft night with the ladies and wine.
Happy Painting,
Chelsey
by richeychelsey | Oct 11, 2018 | BLOG POSTS, Uncategorized
These Treats Are Perfect To “Boo” Your Neighbors
Happy Halloween! It’s the season to make spooky treats and share them with neighbors! This Halloween we are making Marshmallow Monster Pops! You know by now that I love treats that impress, but ones that are quick and easy to make. You’ll have a blast making these with the kids and sharing them with all your friends. This year, we are passing them out for Boo Treats!
If you have never been Booed, it will be your new favorite neighborhood tradition! A Boo is when you secretly pass out treats to a neighbor or two and they continue the fun by doing the same to someone else. The fun is guessing who Booed who, and the kids always love getting their secret treats! When you get Booed you hang the Boo Ghost in your window for everyone to see, and it continues until all the neighbors have their very own Boo! You’ll need treats, and copies of the Ghost & Instructions (always include the instructions for your neighbors who may not know)! I made some just for you, just click the link below and print your ghosts.
Now, here is how to make the super simple Marshmallow Monster Pops!
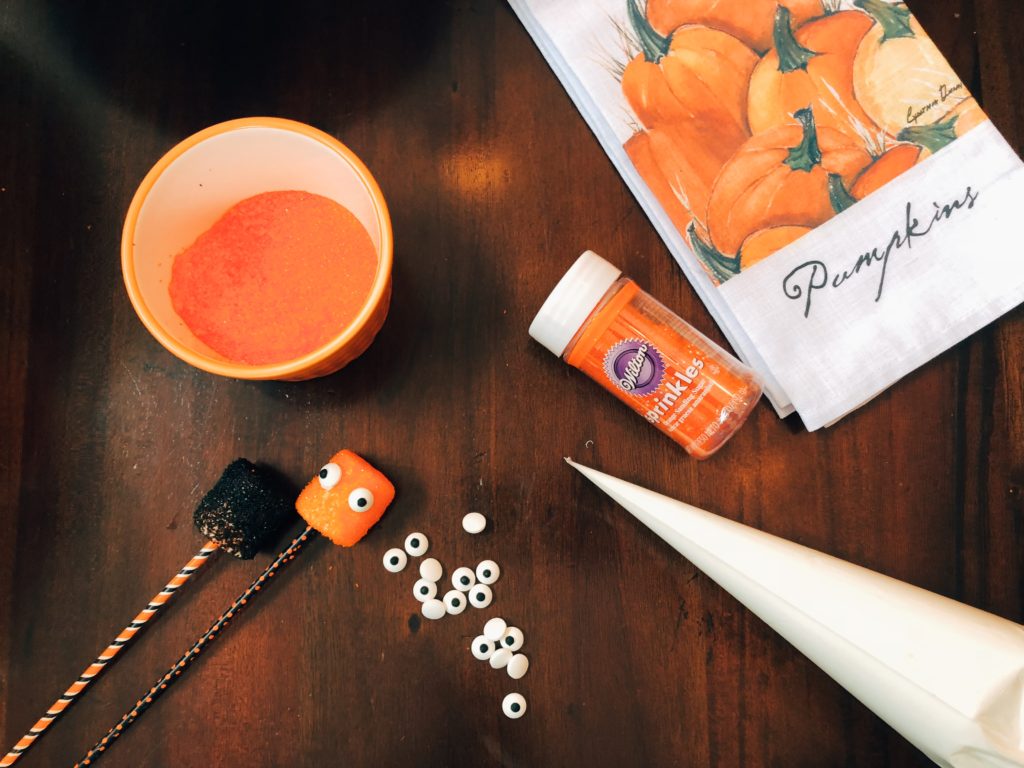
What You’ll Need:
Stick ‘Em On There
These candy sticks are pretty easy to find now, either in holiday baking sections or in your local craft store. They are usually near the lollipop or candy making sections too. You can order them online by clicking HERE.
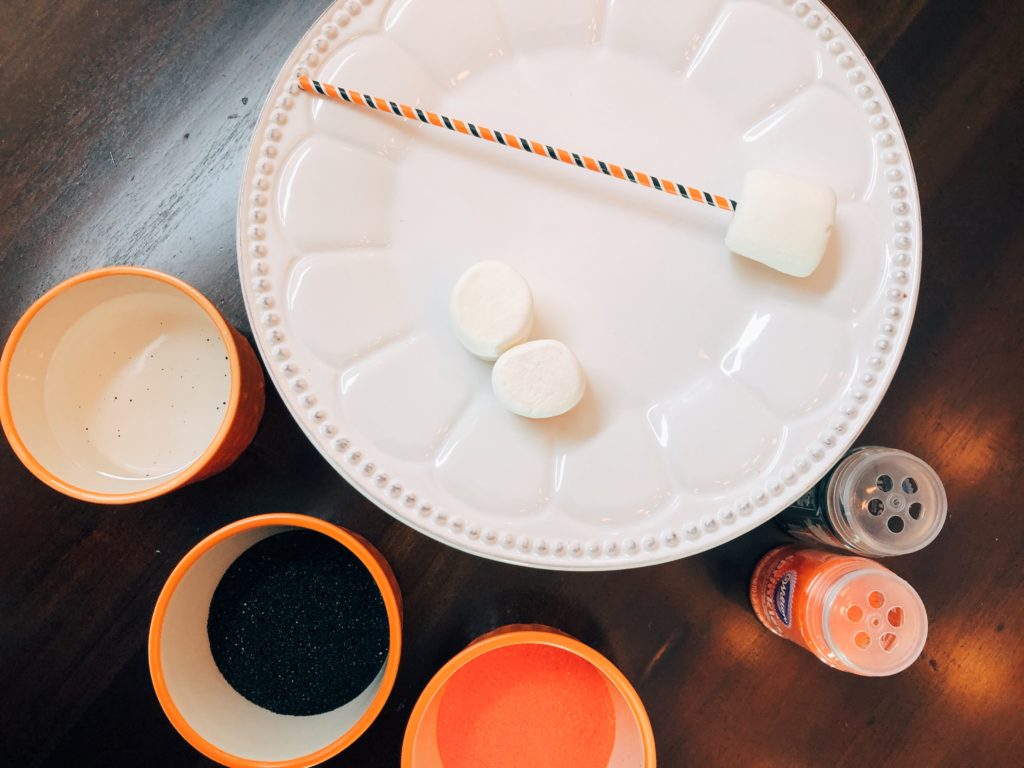
I cut the edges of the sticks at an angle to make a point that slides into the marshmallow easier. Twist the stick back and forth until the stick is in the center of the marshmallow but not sticking of out the other side like above.
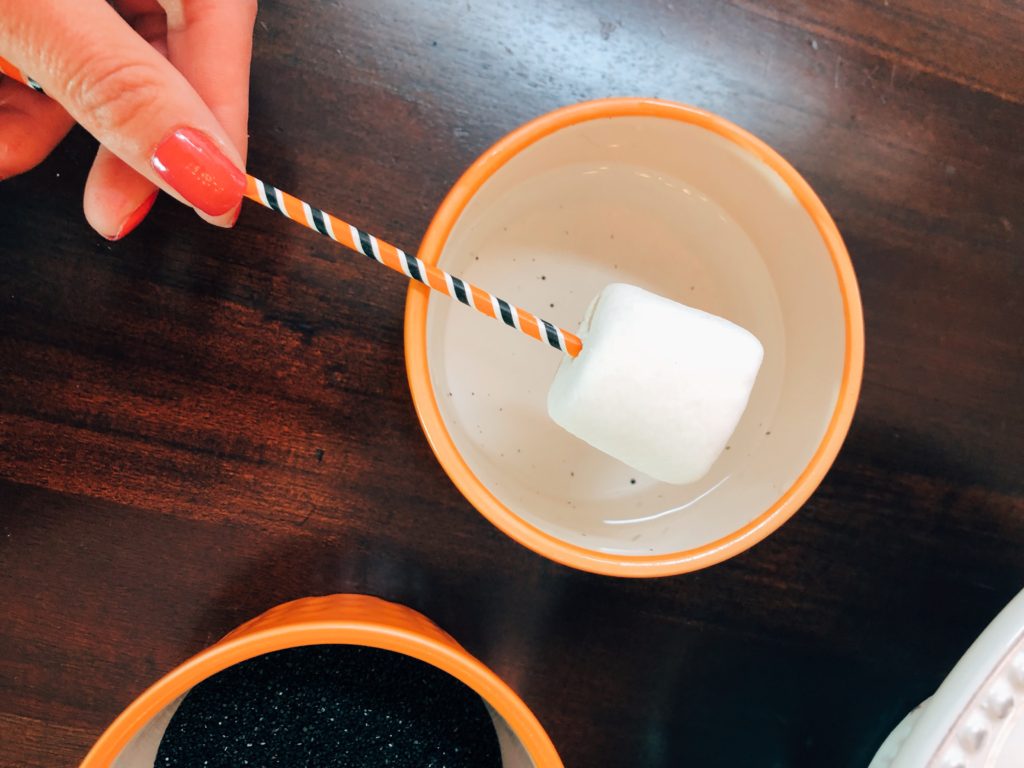
Coat & Sugar Your Pops
Lightly coat your marshmallows by spinning them gently into the water. I graze the top of the water dish, don’t dunk them. Then spin your marshmallow pop into a bowl of the sugar sprinkles, like these Wilton Sanding Sugar Sprinkles. You can order sprinkles HERE.
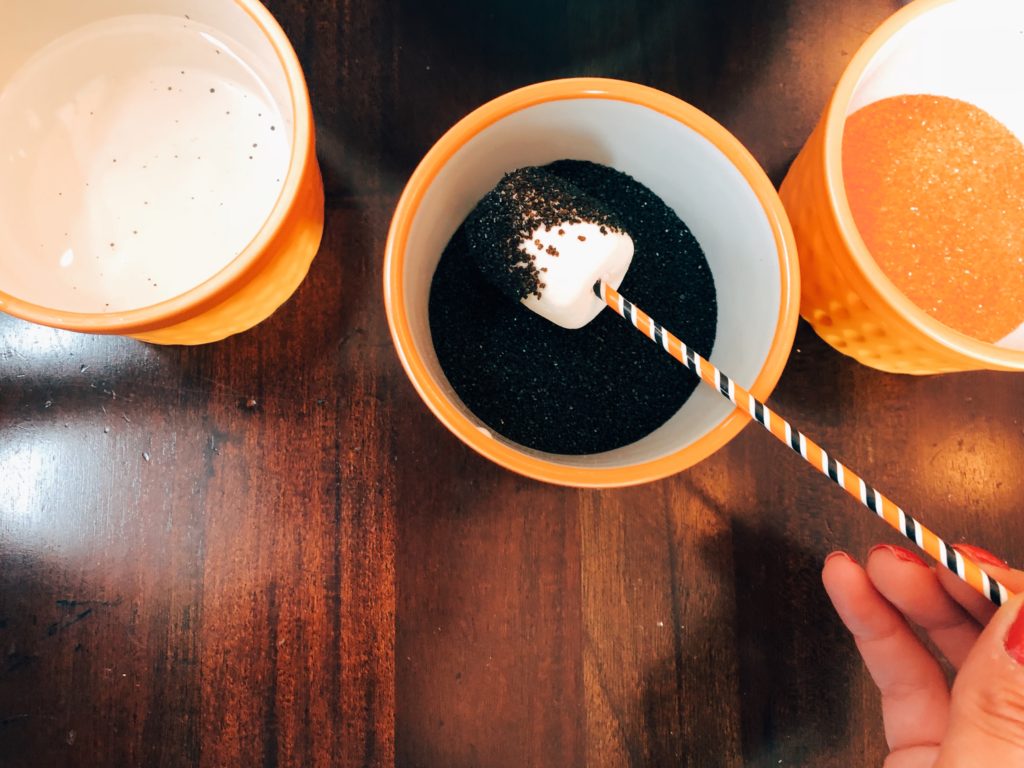
Today we alternated between black and orange sprinkle sugars, but you can use any color you’d like! My sister was the first to teach me how to make these, she uses all different colors and always makes them for her parties! They always look pretty and are sure to please guests. Plus, they really take just under thirty minutes to make if you do them without the kiddos, but where is the fun in that? Plan for an hour and have some family fun,
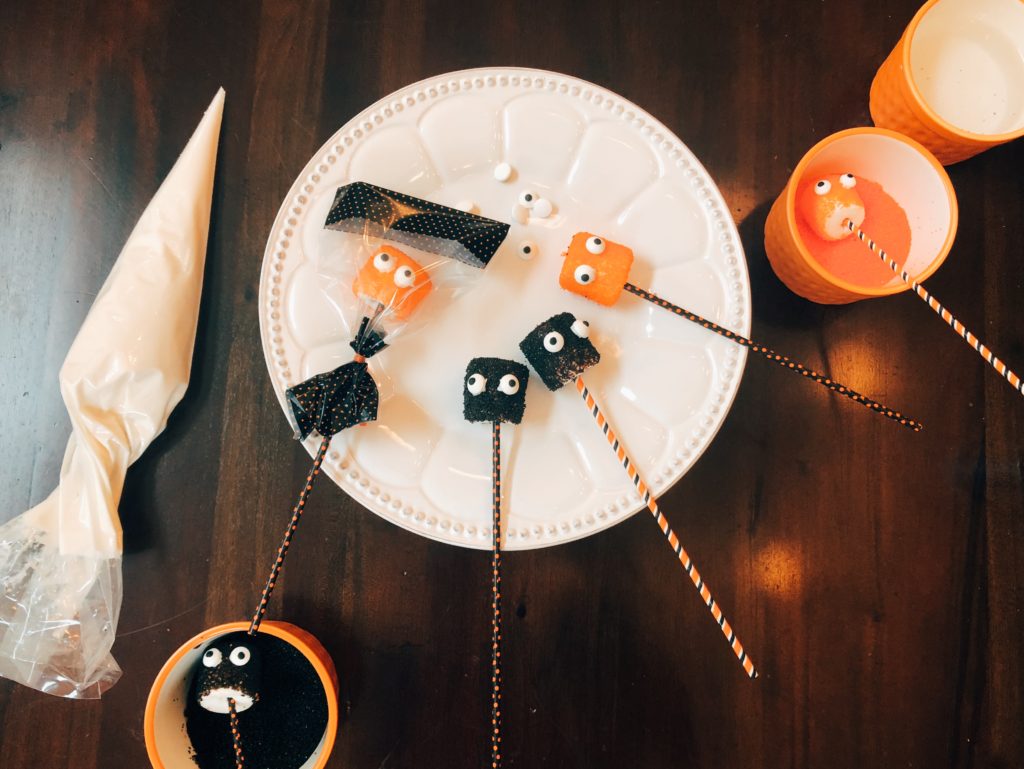
Let Them Dry & Give ‘Em An Eye
Finish off your treats by piping small dots of frosting and topping the dots with a candy eye. Most grocery stores carry the candy eyes now, but you can order them HERE. You can use your finger to frost the candy eye and then place it to the marshmallow pop if you prefer, I just love using piping bags! To keep this treat simple I also used a pre-made Pillsbury Vanilla Cake Frosting. No need to complicate something simple.
I also finished each Marshmallow Lollipop with individual candy bags, I found these at Target but you can order these HERE. I always keep these treat bags on hand because they spruce up little treats and make desserts into pretty gifts. Bonus, they matched the sticks.
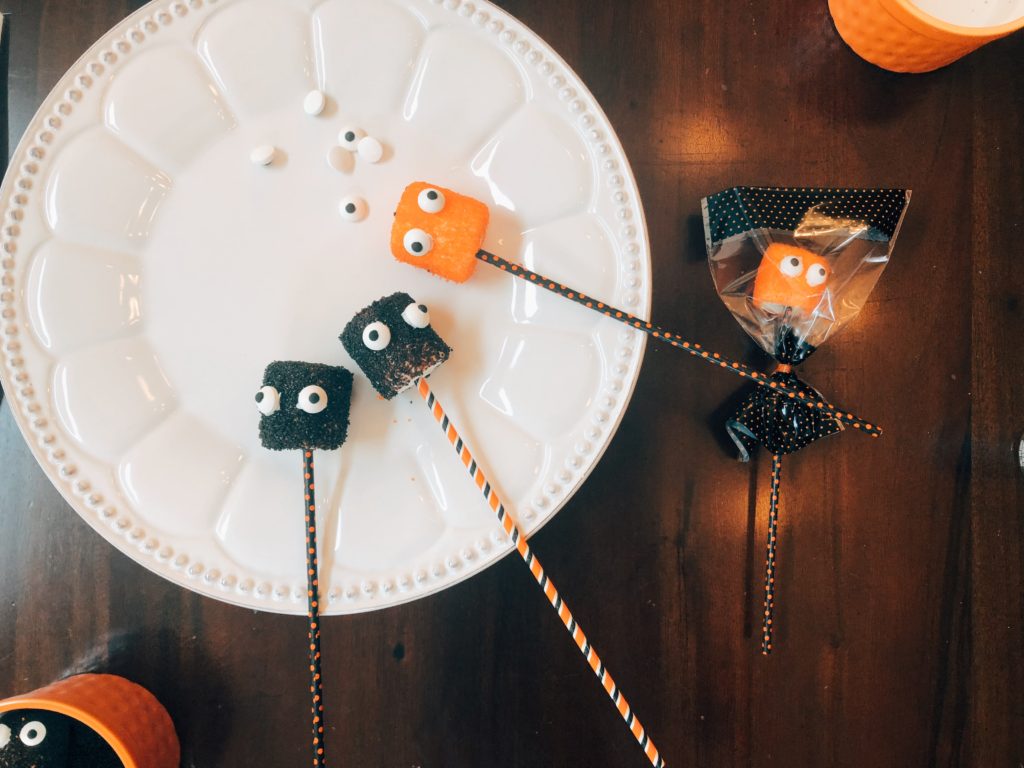
Here is another peek of the ones my three year old spun in the sugar. Aren’t they so cute? We will be passing out our treat once the rain here stops tonight, no need to let these wash away! What colors will you make?
Before you go, make sure to download your free You’ve Been Booed Printable and subscribe for more fun ideas! Next week I’ll teach you to make ridiculously beautiful and easy front porch signs.
Happy Halloween!
Chelsey
by richeychelsey | Sep 30, 2018 | BLOG POSTS, Uncategorized
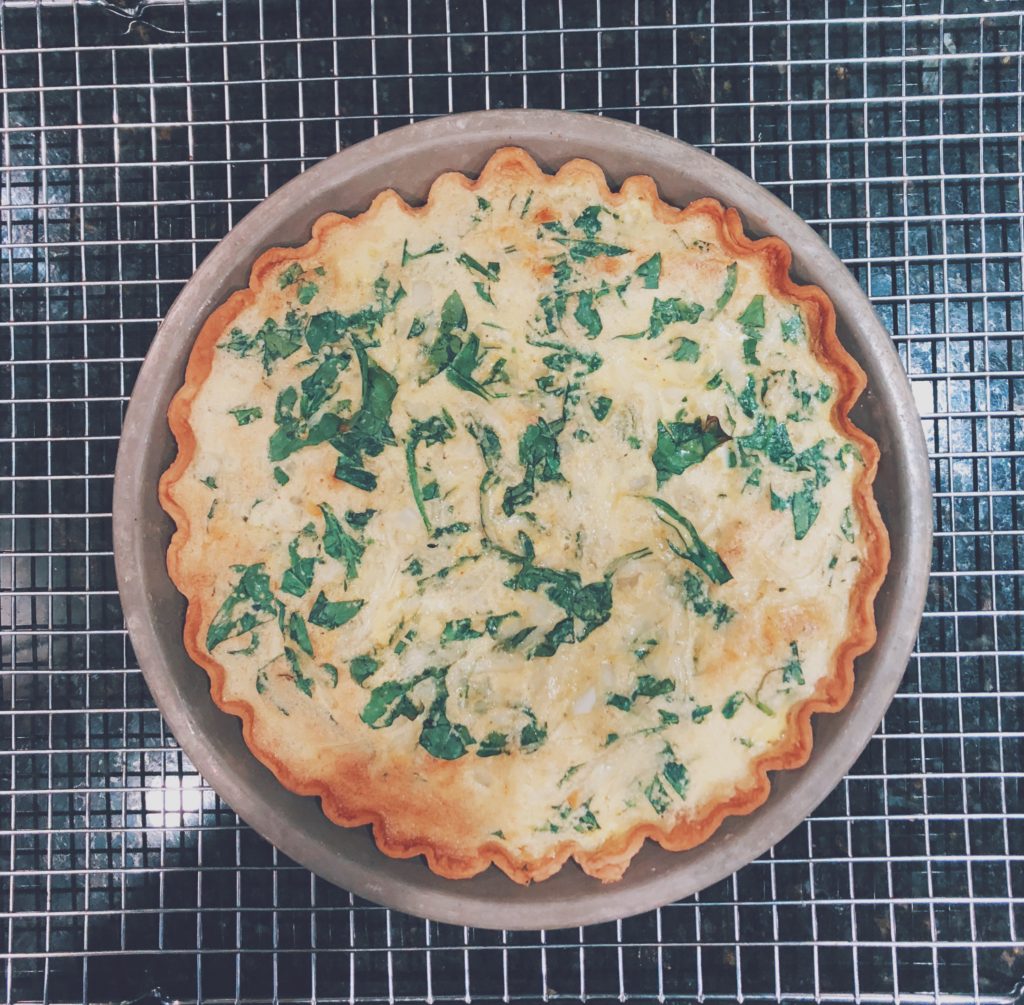
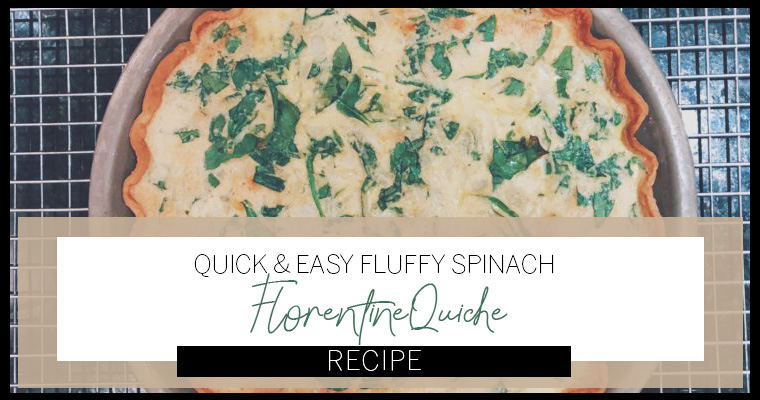
You’ll crave this easy to bake Quiche Florentine after your first bite. I am always looking for recipes to impress my family with, but as a Mom, sometimes we struggle with fitting homemade foods into our schedules. That is why this will be your new favorite recipe, it is quick to prepare and you can refrigerate until you are ready to serve it the next morning. Your family will love it, you’ll save time in the morning, and feel good knowing they are eating something homemade and good for them. Don’t forget to save this post for later when they want it again!
Ingredients For Your Grocery List
1 Tbs Vegetable Oil
2 Tbs Flour
1 Package Pillsbury Premade Pie Dough
1 1/2 C Chopped Spinach
1/3 C Chopped Onions
4 Eggs
1 C Shredded Swiss Cheese
2 C Half & Half
1/4 Tsp Salt
1/4 Tsp White Pepper
1/2 Tsp (Heaping) Paprika
Kitchen Supplies You’ll Need
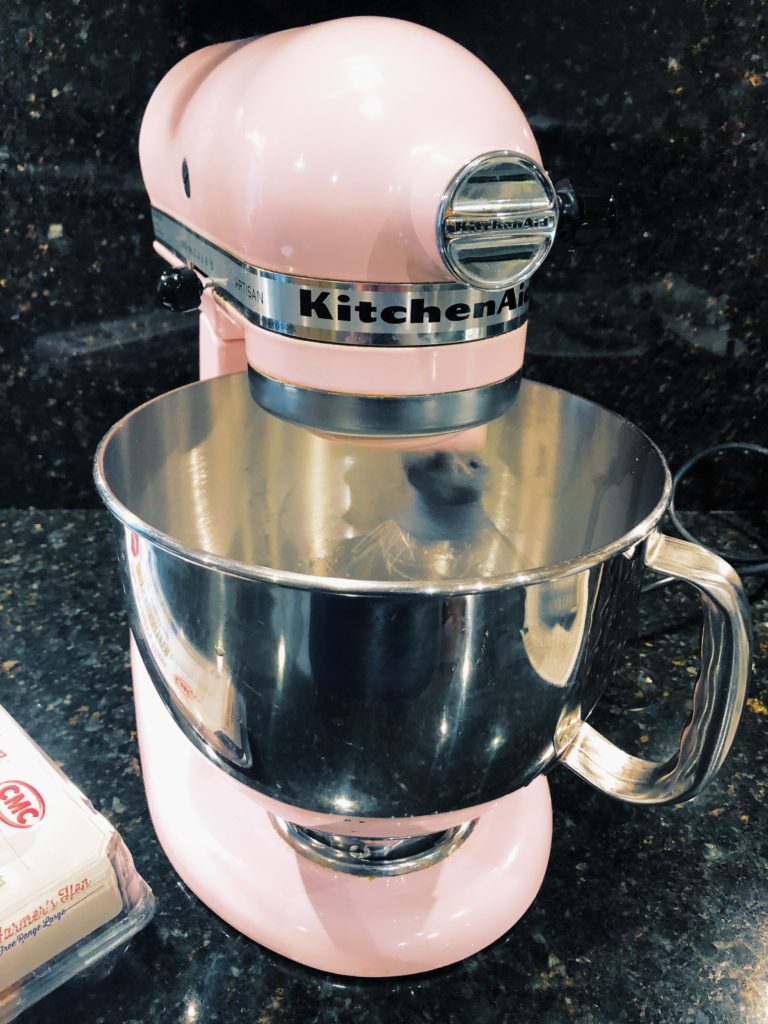
- Mixer
- Spatula
- Pie Dish
- Fork
- Napkins or Dish Towel (To Dry Produce)

Prepare Pie Tin
I have always found the old school way of preparing pie tins with oil then flour to be the most reliable. Pour a tablespoon of vegetable oil into the pan and coat the entire interior with your napkin. You shouldn’t see any excess oil drops or puddles, just a thin coat. After, drop a tablespoon or more of flour into the pie tin and turn it to coat it thoroughly. Give it a gentle tap over the sink to release excess flour before moving to the pie dough.
Prebake Pie Crust
If you have a family recipe for pie crust, feel free to use that. For this quiche, I have found the Pillsbury Prebaked Crust to be delicious and a huge time saver. Lay your pie crust into your tin gently. With your fork, poke about 15 holes into the bottom of the crust to prevent the bottom layer from bubbling up. Some people use pie weights to hold the base down, I like this method because it is simply easier. Prebake the pie crust at 450 Degrees for 10-12 minutes. While your crust prebakes, prepare the filling. Reduce oven temperature to 425 Degrees.
Chop Produce
Chop onions and spinach. Vegetables tend to release a lot of water when they bake so pat them dry with a paper towel or dishcloth. The less water they retain, the fluffier your quiche will be. One of my favorite tips is to sprinkle a light amount of flour onto the veggies before patting them dry, this pulls more moisture from spinach leaves etc.
Separate & Whip Eggs
Separate your egg whites and yolks. Whip the egg whites until they hold firm peaks that don’t settle. This will give volume to your quiche and again, make it soft and light. If you have trouble with the peaks, make sure there aren’t any traces of yolk or water in the bowl, that will usually prevent the peaks.

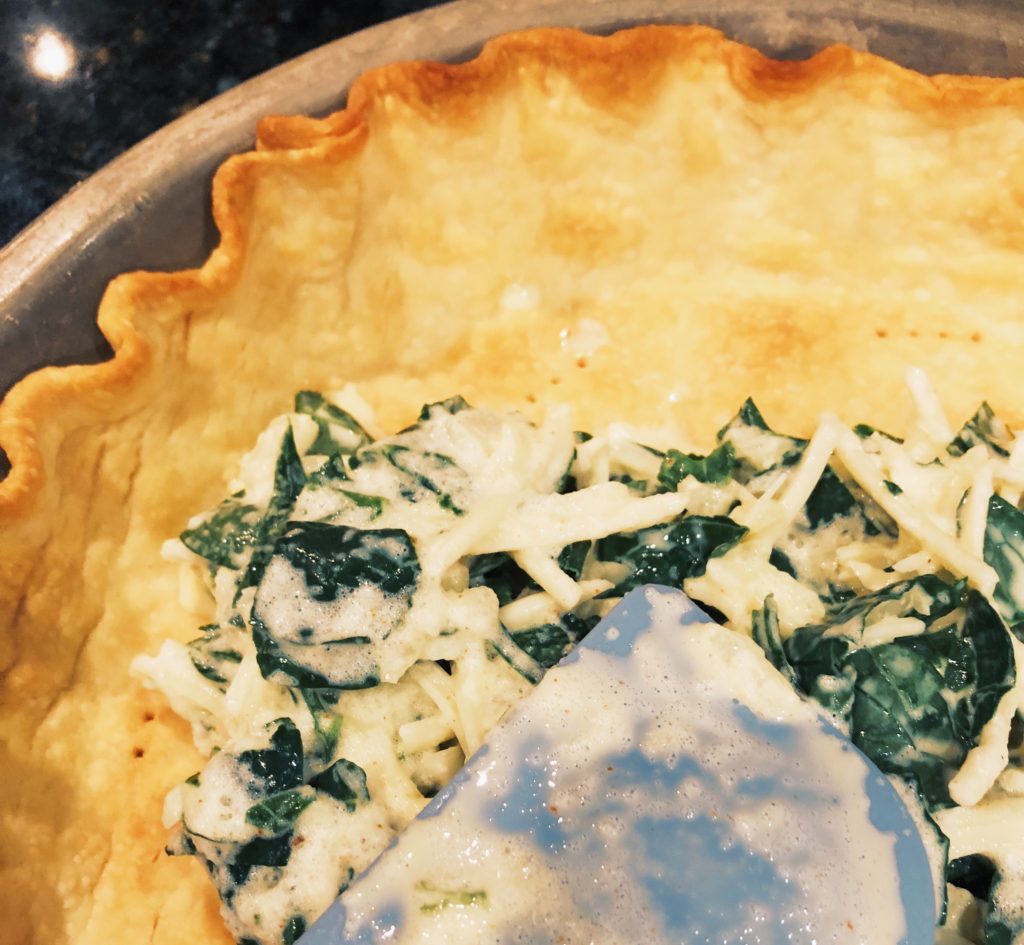
Mix Filling
Whisk your half and half and eggs together in a large bowl until fully combined and bubbles form. Add in paprika, salt, white pepper, shredded swiss, onions, and spinach. Once you have them fully combined, fold in your egg whites. Careful, if you mix them in instead of folding, your quiche will be dense. Fold them until they combine entirely. Slow and steady.
Bake Girl Bake
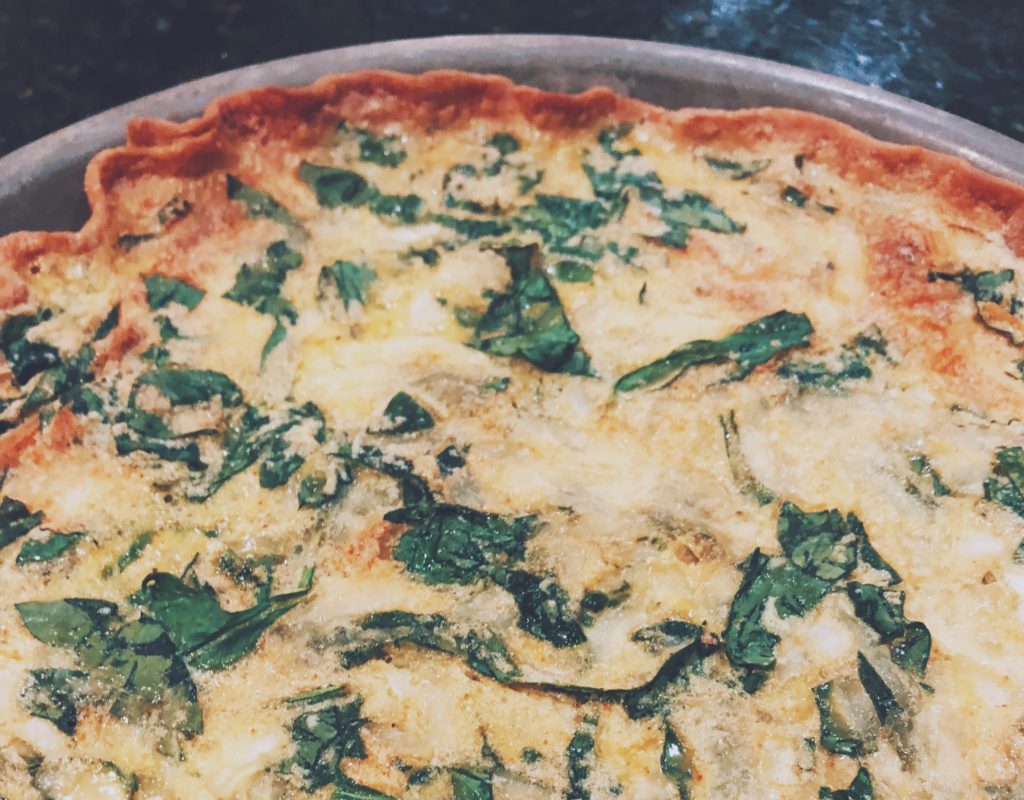
Cover the pie crust edges with foil to prevent them from overcooking, then fill your pie. My foil is never pretty but it gets the job done. Bake your quiche at 425 Degrees for 15 minutes. Then reduce temperature to 300 Degrees for 30 more minutes. Your pie is done once a knife can be inserted in the middle and come out clean, without runny eggs especially.
Storing Your Quiche
If you and the family even have leftovers, it should keep nicely in the refrigerator for up to three days when covered. I like to make these when I have time in the day, but store them until breakfast the next morning. They are perfect for when you have guests or family from out of town too. You can warm the pie covered in foil at 200 Degrees for 30 minutes, or just nuke a slice in the microwave for about 30 seconds at full power.
Overall
I love anything that saves me time and is better for the family. I am not a morning person, so with recipes like these, I get to sleep in a little but still be rockstar Mom. I would love to hear what other ingredients you would add, or your quiche baking tips that I may have forgotten. Comment below or send me a message in the contact form up top. I can’t wait to hear your thoughts!
Happy Baking!
Chelsey

by richeychelsey | Sep 11, 2018 | BLOG POSTS, Uncategorized
How To Make This Beautiful DIY Fall Wreath Your Neighbors Will Love

Don’t you just love Fall? All of nature’s bright, warm and welcoming tones. The set of mums I picked up for the porch last week inspired this fall wreath. To help you make your own, I created this step by step easy tutorial just for you. You can truly create whatever your heart desires, on an actual affordable budget. When comparing similar wreaths online, they ranged from $120-$240! This tutorial cost under $40. You’ll probably be driving to your hobby lobby in a few hours to make your own. Here is how to make your very own Pinterest worthy wreath, in just 30-40 minutes (even with a toddler).
What You Need
Let’s talk about what you will need, it isn’t much. I recommend shopping at A.C. Moore and Hobby Lobby for the best prices. Both of these stores have great coupons online, don’t go into the store without one. They pretty much price things to be used with their coupons. Just show them the coupon on your phone. At Hobby Lobby, their florals go on sale every other week, bonus savings!
- Hot Glue Gun
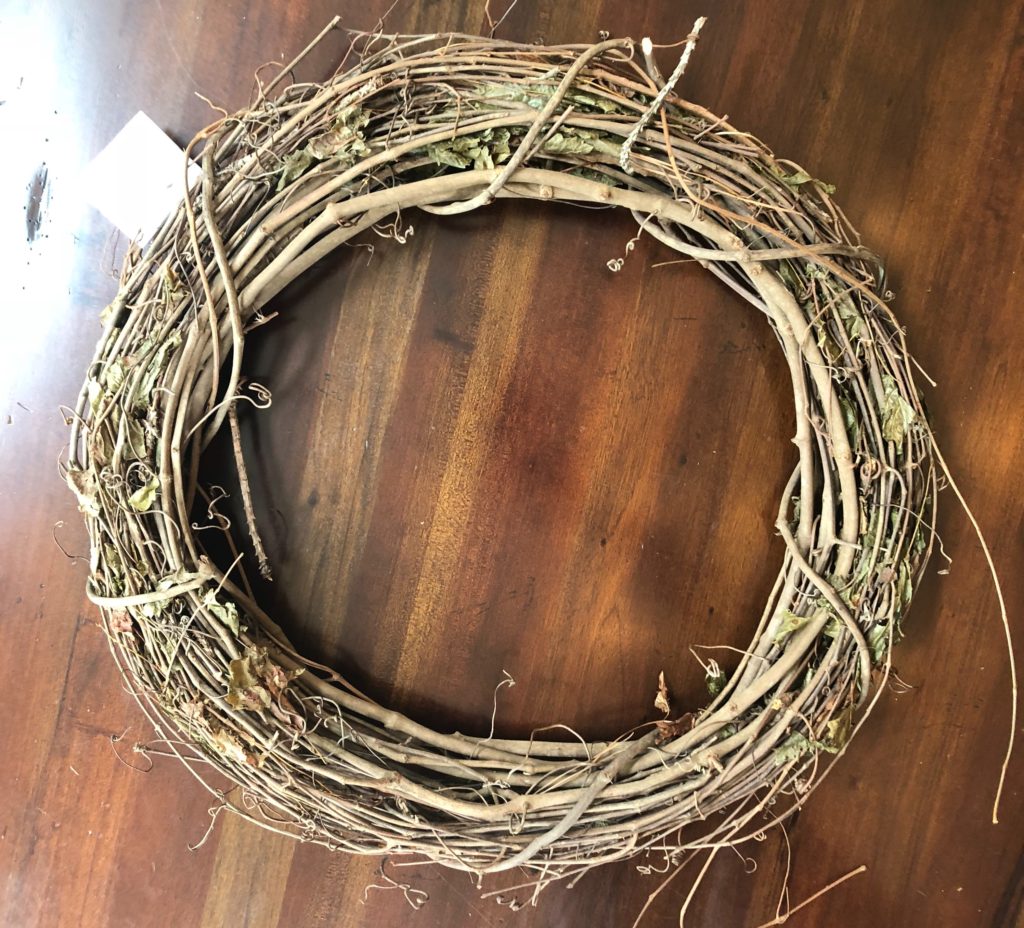
- 18″ Grapevine Wreath
- 24″ Ribbon – Jute Ribbon
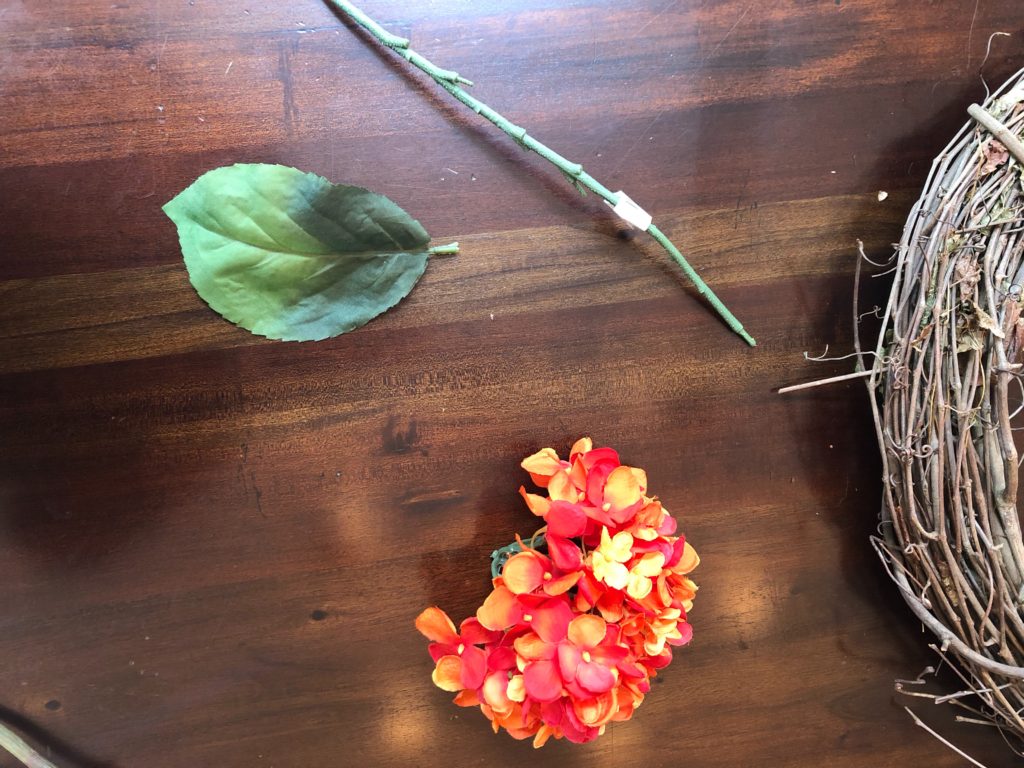
- 10 Flowers – I used artificial Hydrangeas, Zinnias, and Dahlias
- Hot Glue Sticks – This project used ten 8 inch sticks
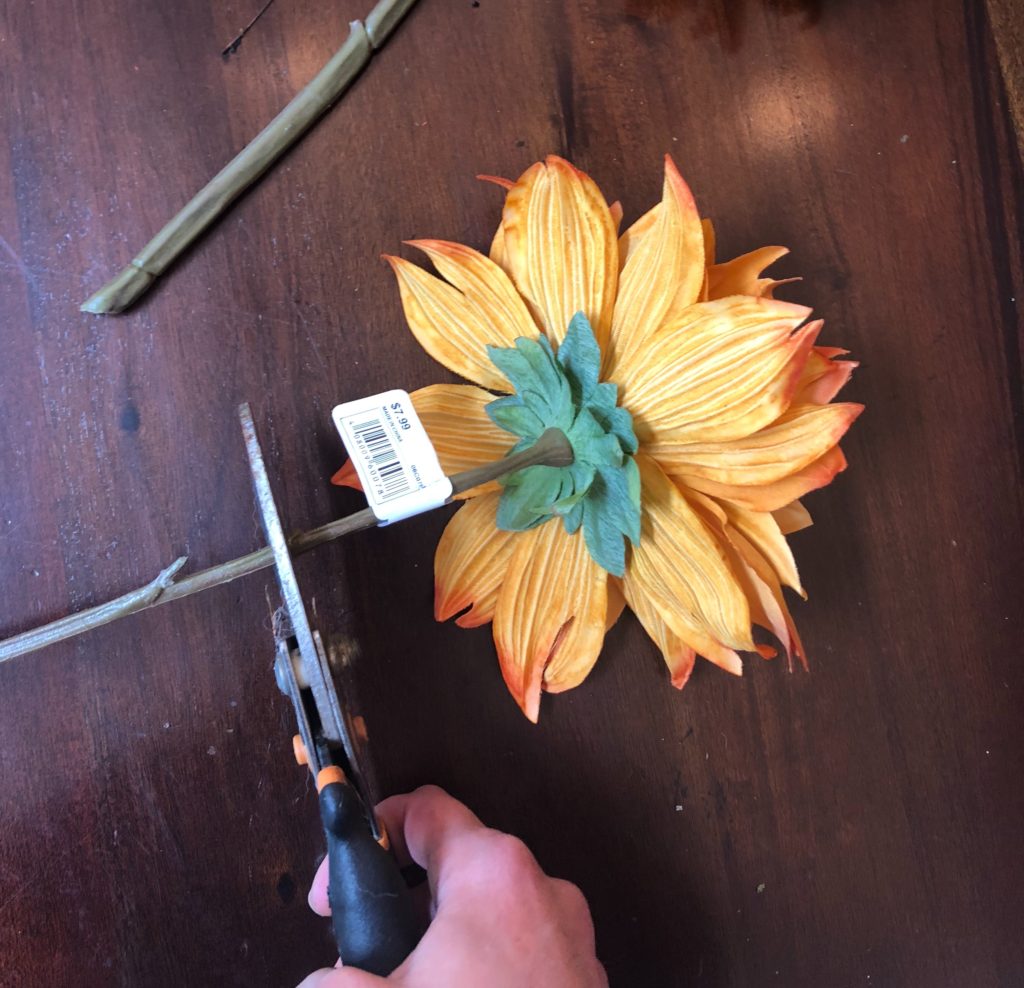
- Sharp Scissors or Wire Cutters
Prep
Pull the stems off your flowers, you won’t need them. Hydrangea flowers usually pop off too. Some are hard glued to the stems, cut them or they fall apart. Leave about three inches of stem to stick into the wreath, see below.
Plug in your hot glue gun, while it warms, work on placement. Before you glue anything, lay your flowers on the wreath and rearrange them until you fall in love with your design. Make note of the distance between flowers to ensure even placement as you glue your flowers to the wreath.

Plan & Design
When planning your design, keep in mind that odd numbers and groups of threes are more aesthetically pleasing to the eye. Choose colors in the same tones like warms or cools, or even color families like these sunset colors.
Pro Tip – Take a photo of your arrangement to reference before you start to glue. I came back to this photo about ten times as I secured the flowers to the wreath. It is easy to forget your planned placement, do yourself a favor and snap a pic.
Glue
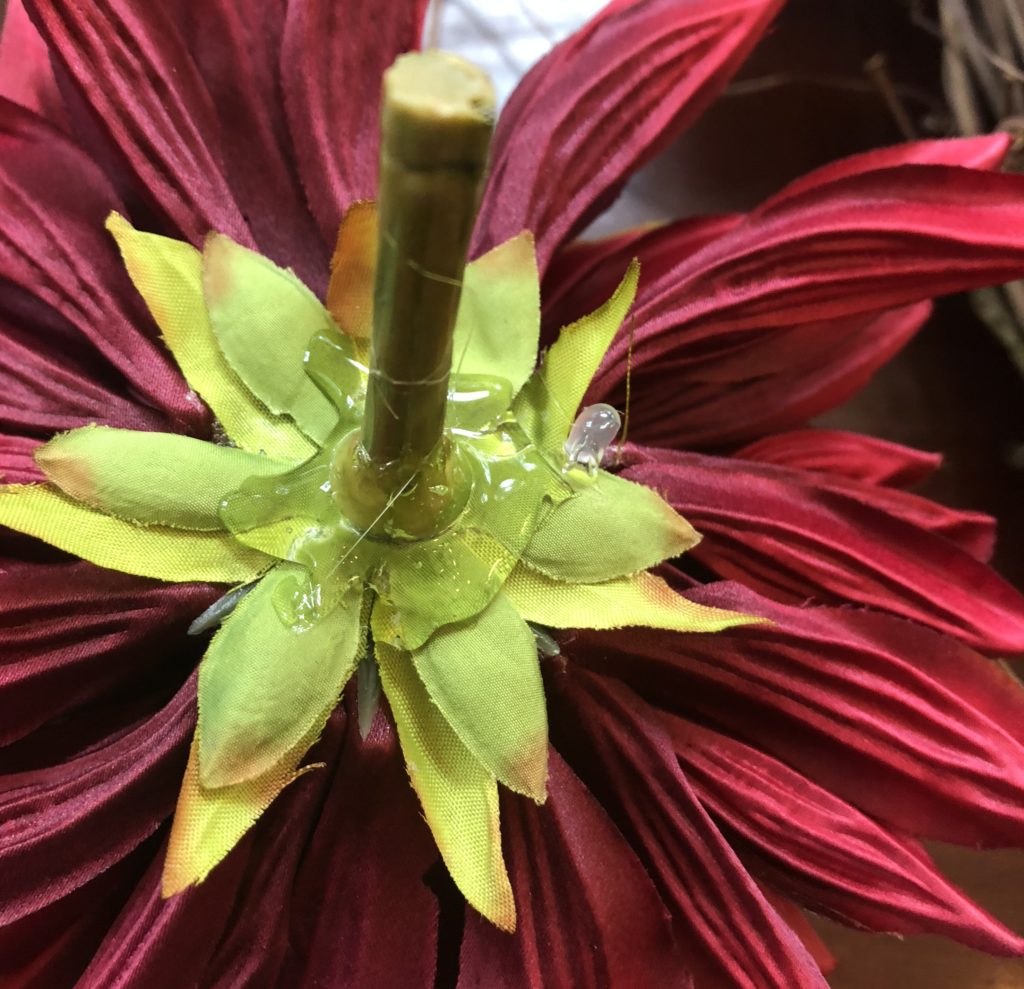
Add hot glue to the stem and base of the flower, like above, then quickly pop it into the wreath.
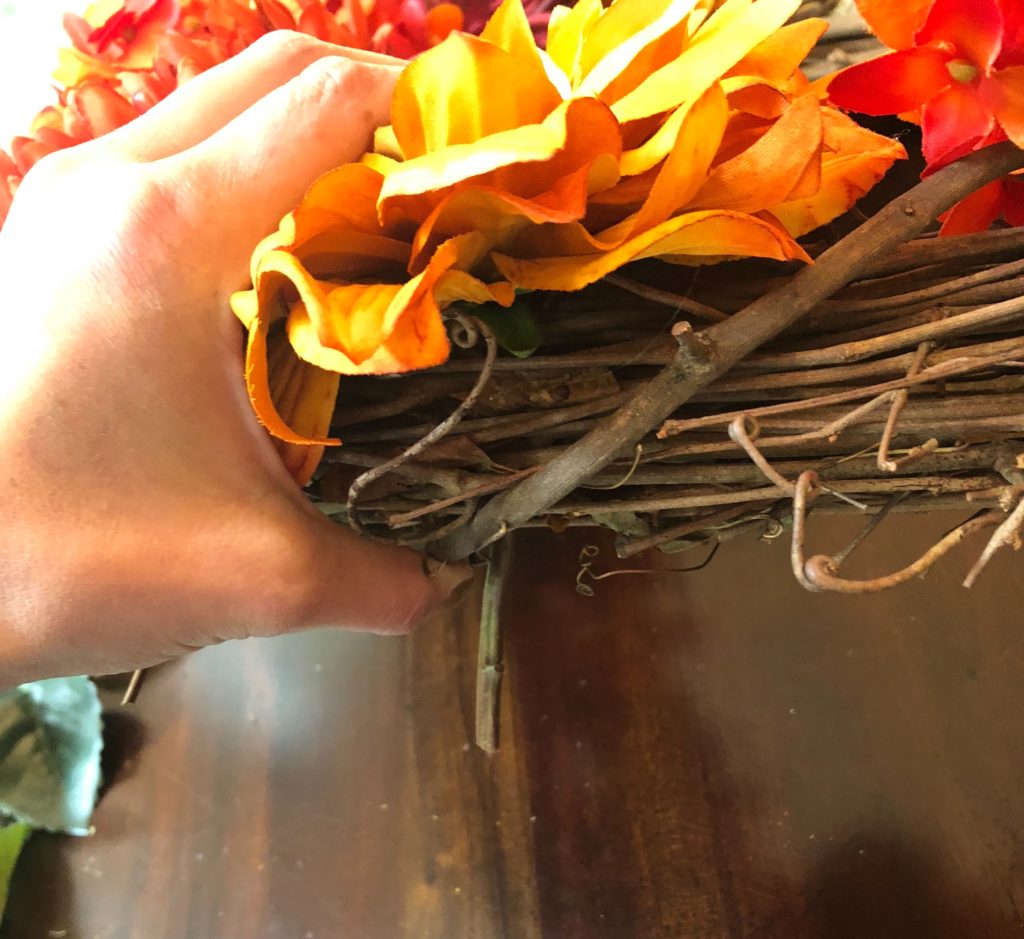
Insert the stem of the flower into the wreath, sometimes it needs a little wiggle to go through. I left a larger stem on this flower to show placement, but mine are usually shorter. If your stem is coming out through the back of the wreath, cut it to be flush so it doesn’t push the wreath off your wall or door. If needed, go through your flowers again and cut the stems so they do not come out the back, it is easier to cut them before they go into the wreath than after.
Finishing Touches
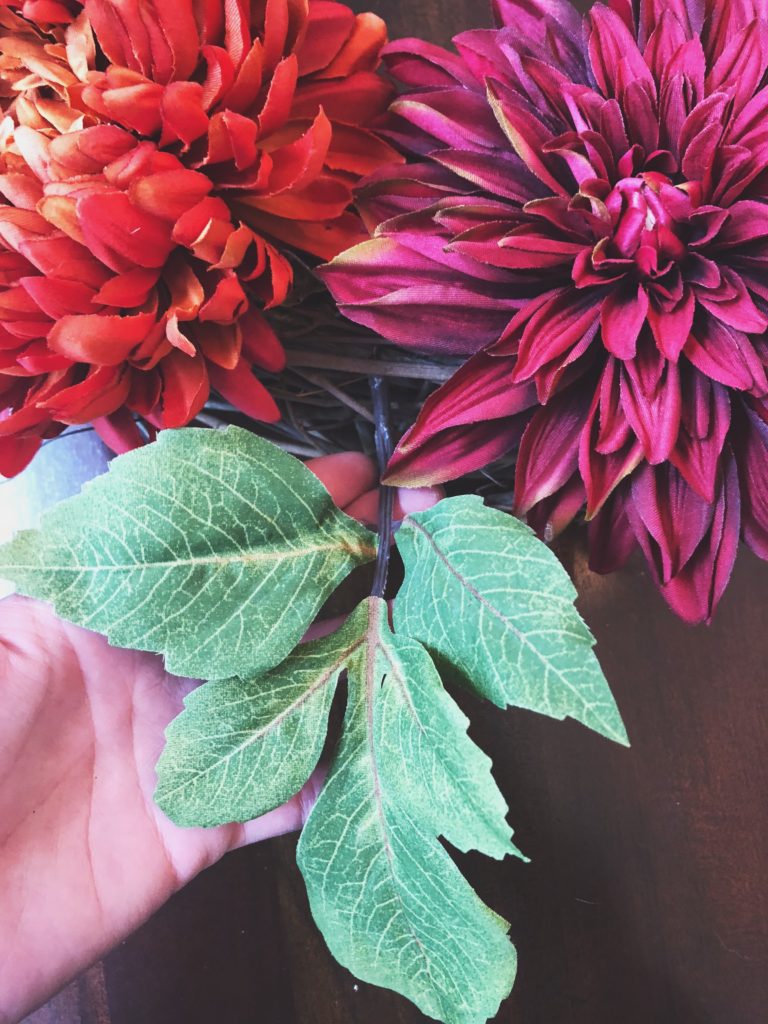
Use the leaves that we pulled from the floral stems to cover gaps between flowers. This wreath was given three leaf stems, just enough to add color without overpowering the reds and oranges. Add glue to the tips of the leaf stem and tuck it into the grapevine. Place them at an angle to flow with the curve of the wreath, instead of sticking straight out. I like to hide the stem of the leaves underneath the flower petals next to the space we are filling.
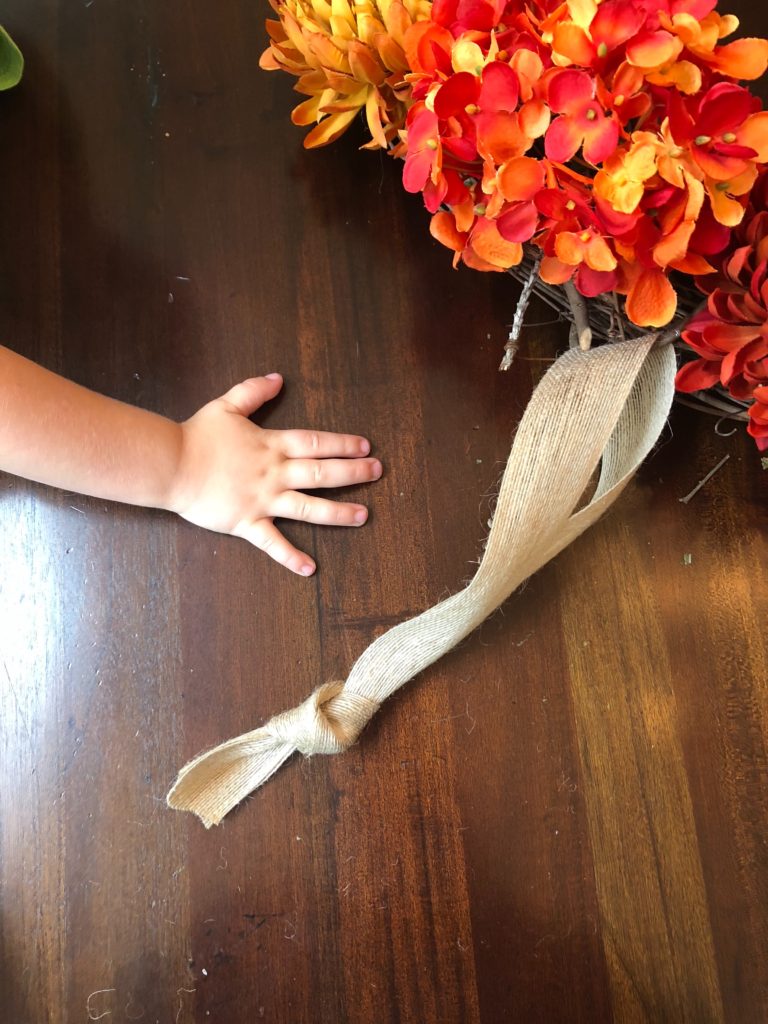
Tie A Bow
You’re almost ready to hang up your beautiful masterpiece for the whole neighborhood to see! Take the jute ribbon and attach it to a sturdy branch in the grapevine. There are usually larger branches that spiral through the wreath, find one of these. Measure the length for your door and tie off the ends. You can also add bows, I tied a separate quick bow and hot glued it to the top knot, nothing fancy.

Hang It For Your Neighbors To Enjoy
Isn’t it gorgeous? You will never look at a wreath the same way again now that you know how easy it is to make your own. Especially when you see those price tags for $100+ and you can make the same one for under $40. If you’re wondering when you can set your fall wreath out, right away! The glue sets fast. I don’t recommend command hooks to hang them outside, mine always fall off. For metal doors, you can find magnetic hooks. For glass, these suction cup hooks are fantastic and about $3 from Joanns fabrics.
What colors would you use? Would you choose different flowers? Make sure to tag me on Facebook & Instagram with your creations at @chelseybychelsey or send me a pic of your creations to be featured! Stay posted for the full Fall Porch DIY On a Budget, I’ll teach you to make beautiful front door signs under $20 and more!Subscribe to the monthly newsletter and don’t forget about the giveaway to be announced soon! It’s not too late to sign up.
Happy wreath making!
Chelsey

by richeychelsey | Sep 8, 2018 | Uncategorized
Hey Girl! Get excited because I am finally spilling some awesome hair secrets. Even better, my amazing hair stylist joined in to help me teach you what she taught me. It took a long time for me to learn which products to use, how in the world to keep waves and curls in. I know you probably have a lot of hair questions as well, be sure to ask! Plus, I’ll reveal my all time favorite, magic handed hair stylist with you in the end! Here are your new favorite products that work, save you time, and did I say they actually keep your hair in place? Ok, here we go.
First- let’s talk product. How, in the world, do we get beachy waves to stay put? Even those curls or ends, and bangs! I have super fine hair, and nothing at the grocery store kept my curls and waves in without being heavy and crunchy. You know when hair goes flat after you spent all that time on it? I decided to finally splurge on salon product because I realized that the stuff at target was not giving me hair like my stylist does. To my surprise, these were actually easy to use. Really easy.
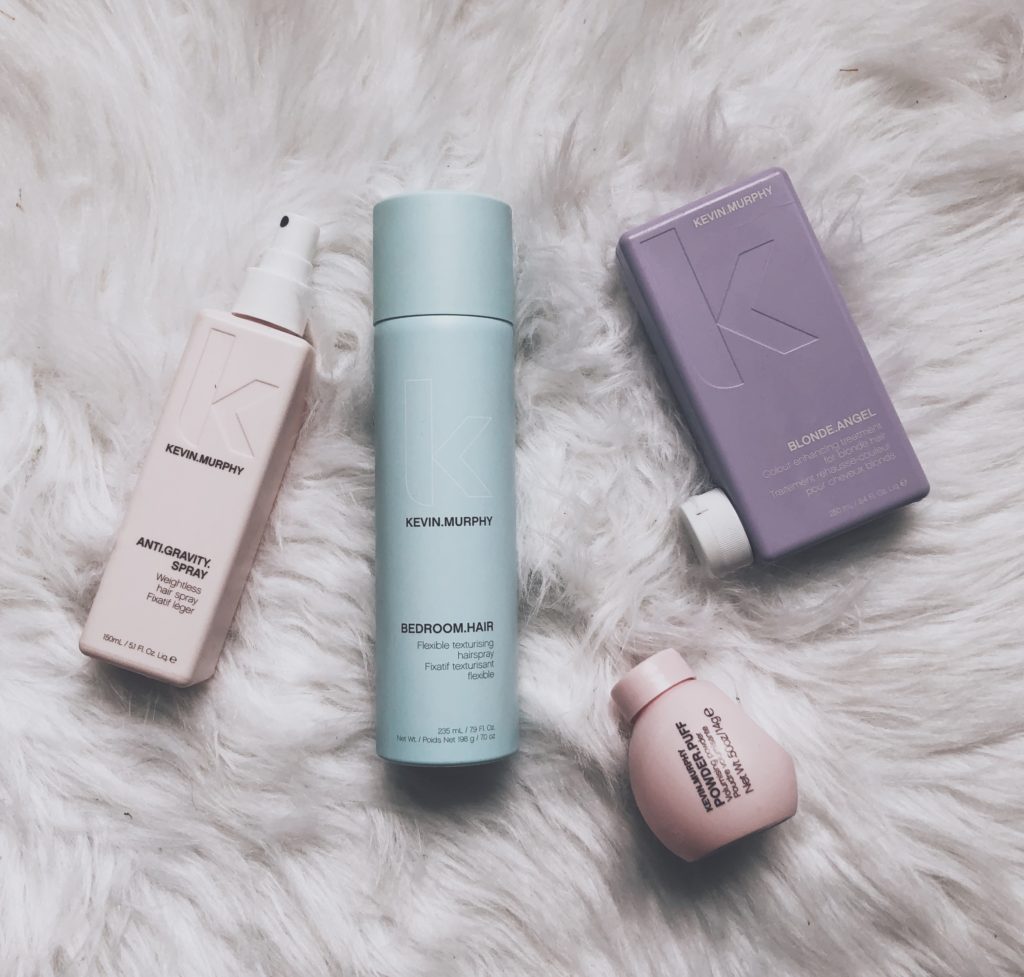
So here we are, and I have never regretted the splurge. Kevin Murphy hair products, don’t forget the name because you’ll start seeing them everywhere in salons. Let’s talk about what they do.

Kevin Murphy Bedroom Hair Spray
This isn’t just a hairspray, it’s kind of a combination of spray and dry shampoo and texture magic. They referred to it at the salon warmly as hair crack. It doesn’t weigh my hair down but keeps my waves in for a couple days. I can re-spray when I need to the next day, and honestly, I have never tried or seen anything like it before. If you can only get one product, make this your priority. Especially if you have struggled to keep your curls and waves in, this is for you girlie.
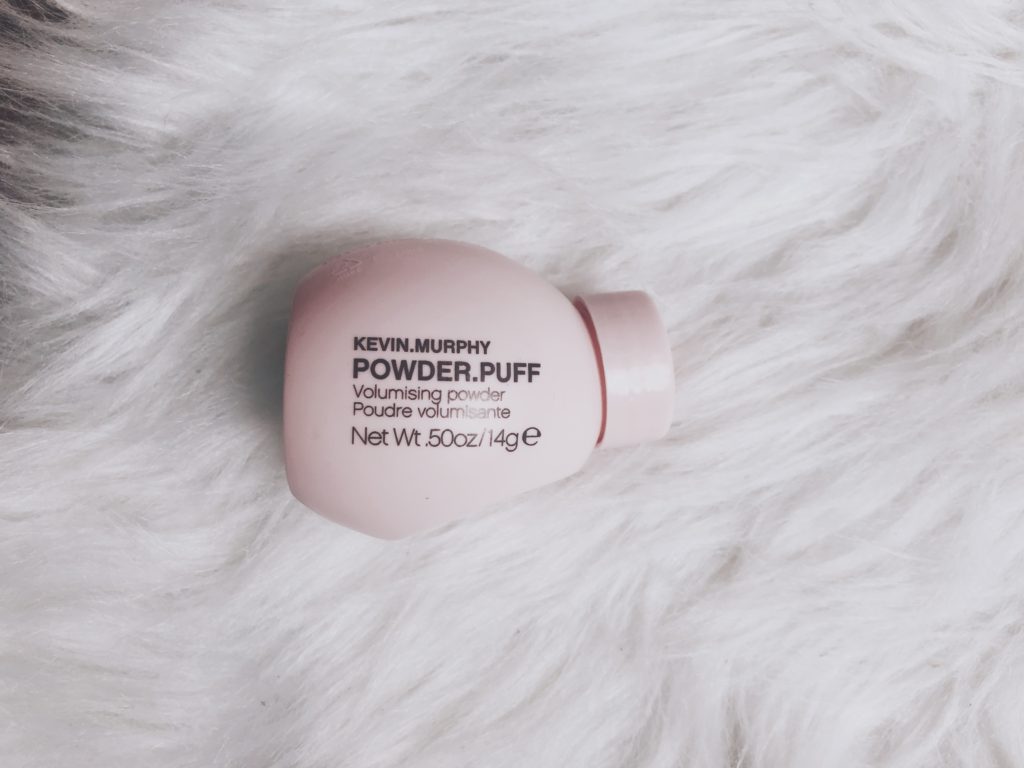
Kevin Murphy Powder Puff
I almost wish you were here to show you in person, so let me explain. This cute little weightless ball is filled with powder. It dissolves and disappears into your hair when you shake it in. From my stylist exactly, ” It creates volume, dry matte texture, it’s a metamorphosis product. It is a setting lotion encapsulated in a sphere of powder.”
Basically, in your hand, it is a powder. When you rub it, it turns silky and vanishes. It holds your hair and roots however you would like them, invisibly. Magic, I think. This is how I finally can have full looking hair because I don’t have a lot This is how I keep my daughter’s wavy and thick hair stay where she would like it to stay. This works for everyone.
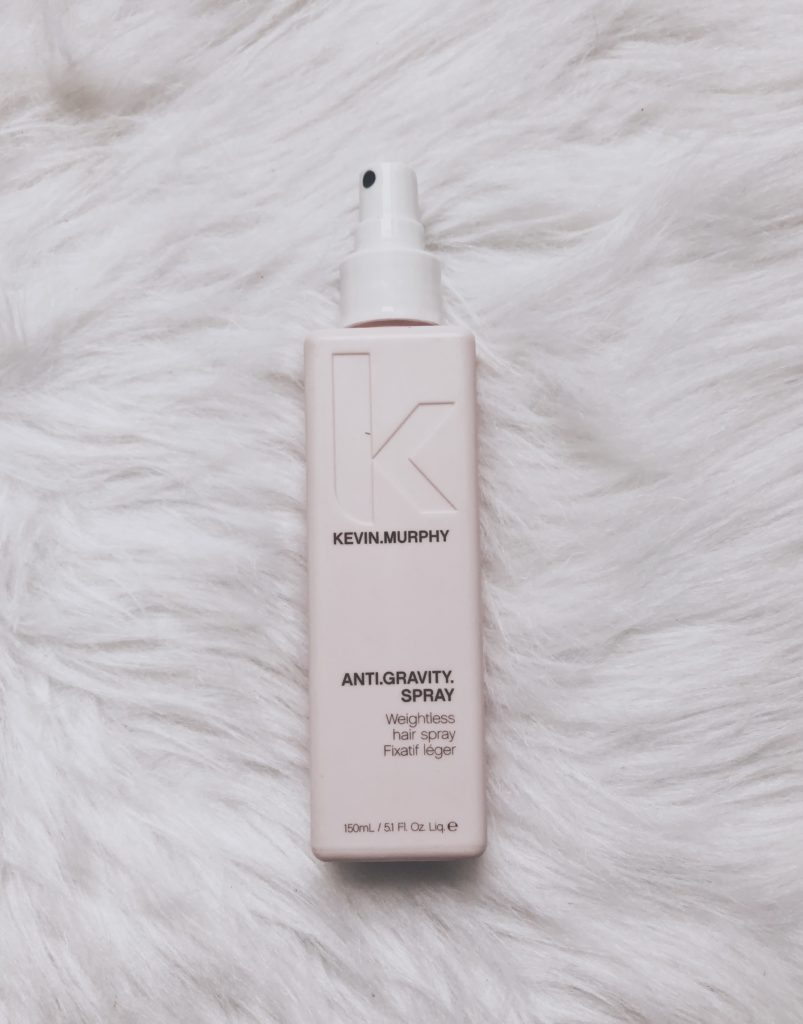
Kevin Murphy Anti . Gravity . Spray
This is another one of those “hair sprays” but not your traditional hair spray. I use this when my hair is wet, so yes it is technically a spray for hair, but it does so much more. For one, it contains lavender, so it smells TO DIE FOR. But as my stylist explained, it’s a natural astringent. It cuts dry time significantly and prevents that lovely frizz we can get from heat styling. Bye fly aways.
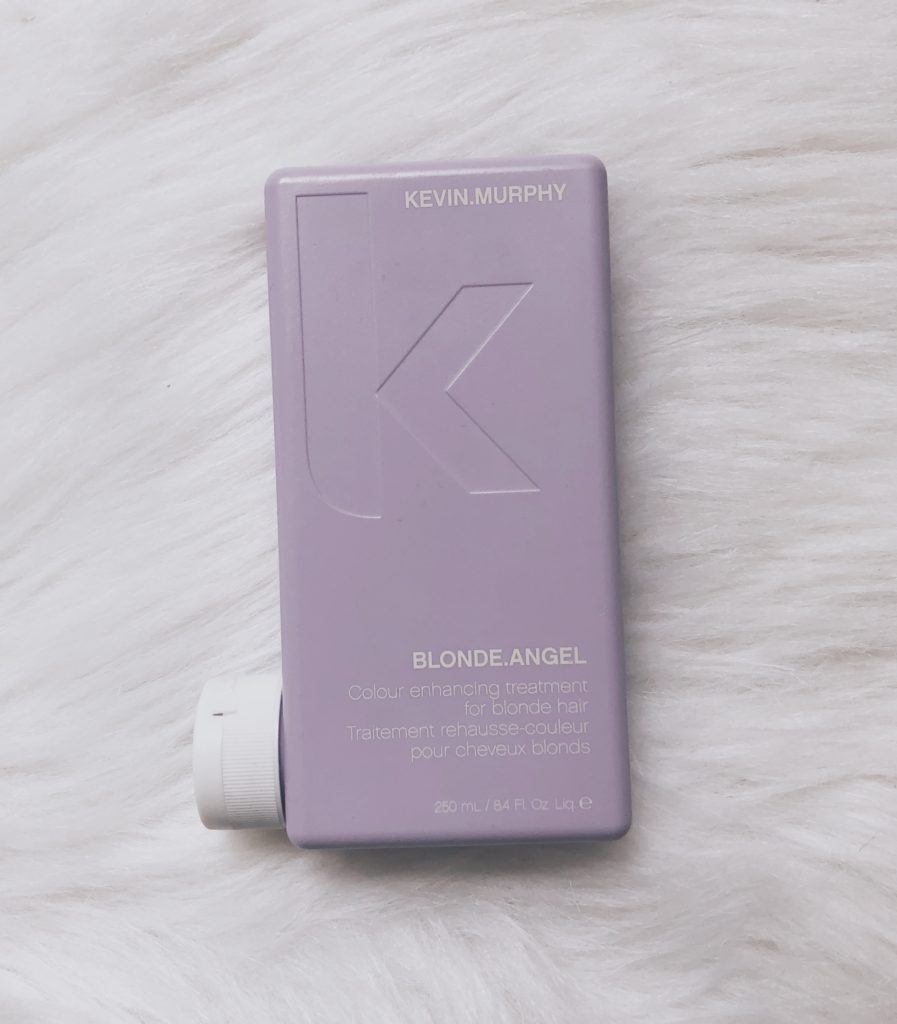
Kevin Murphy Blonde Angel
The last product I’ll share with you today is this conditioner. I skipped my shampoo because I’m not positive that I love it quite yet and I only share my favorites with you. This gem keeps your hair blonde and stops any brass from showing over time. It hydrates your hair, has loads of vitamin A & E for repair and protection, keeps it shiny, it is an angel. It does a lot more but is the first conditioner that treats my hair from all the bleaching without weighing it down. Love it.
The Finished Look

Happy Styling & Happy Fall!
Chelsey