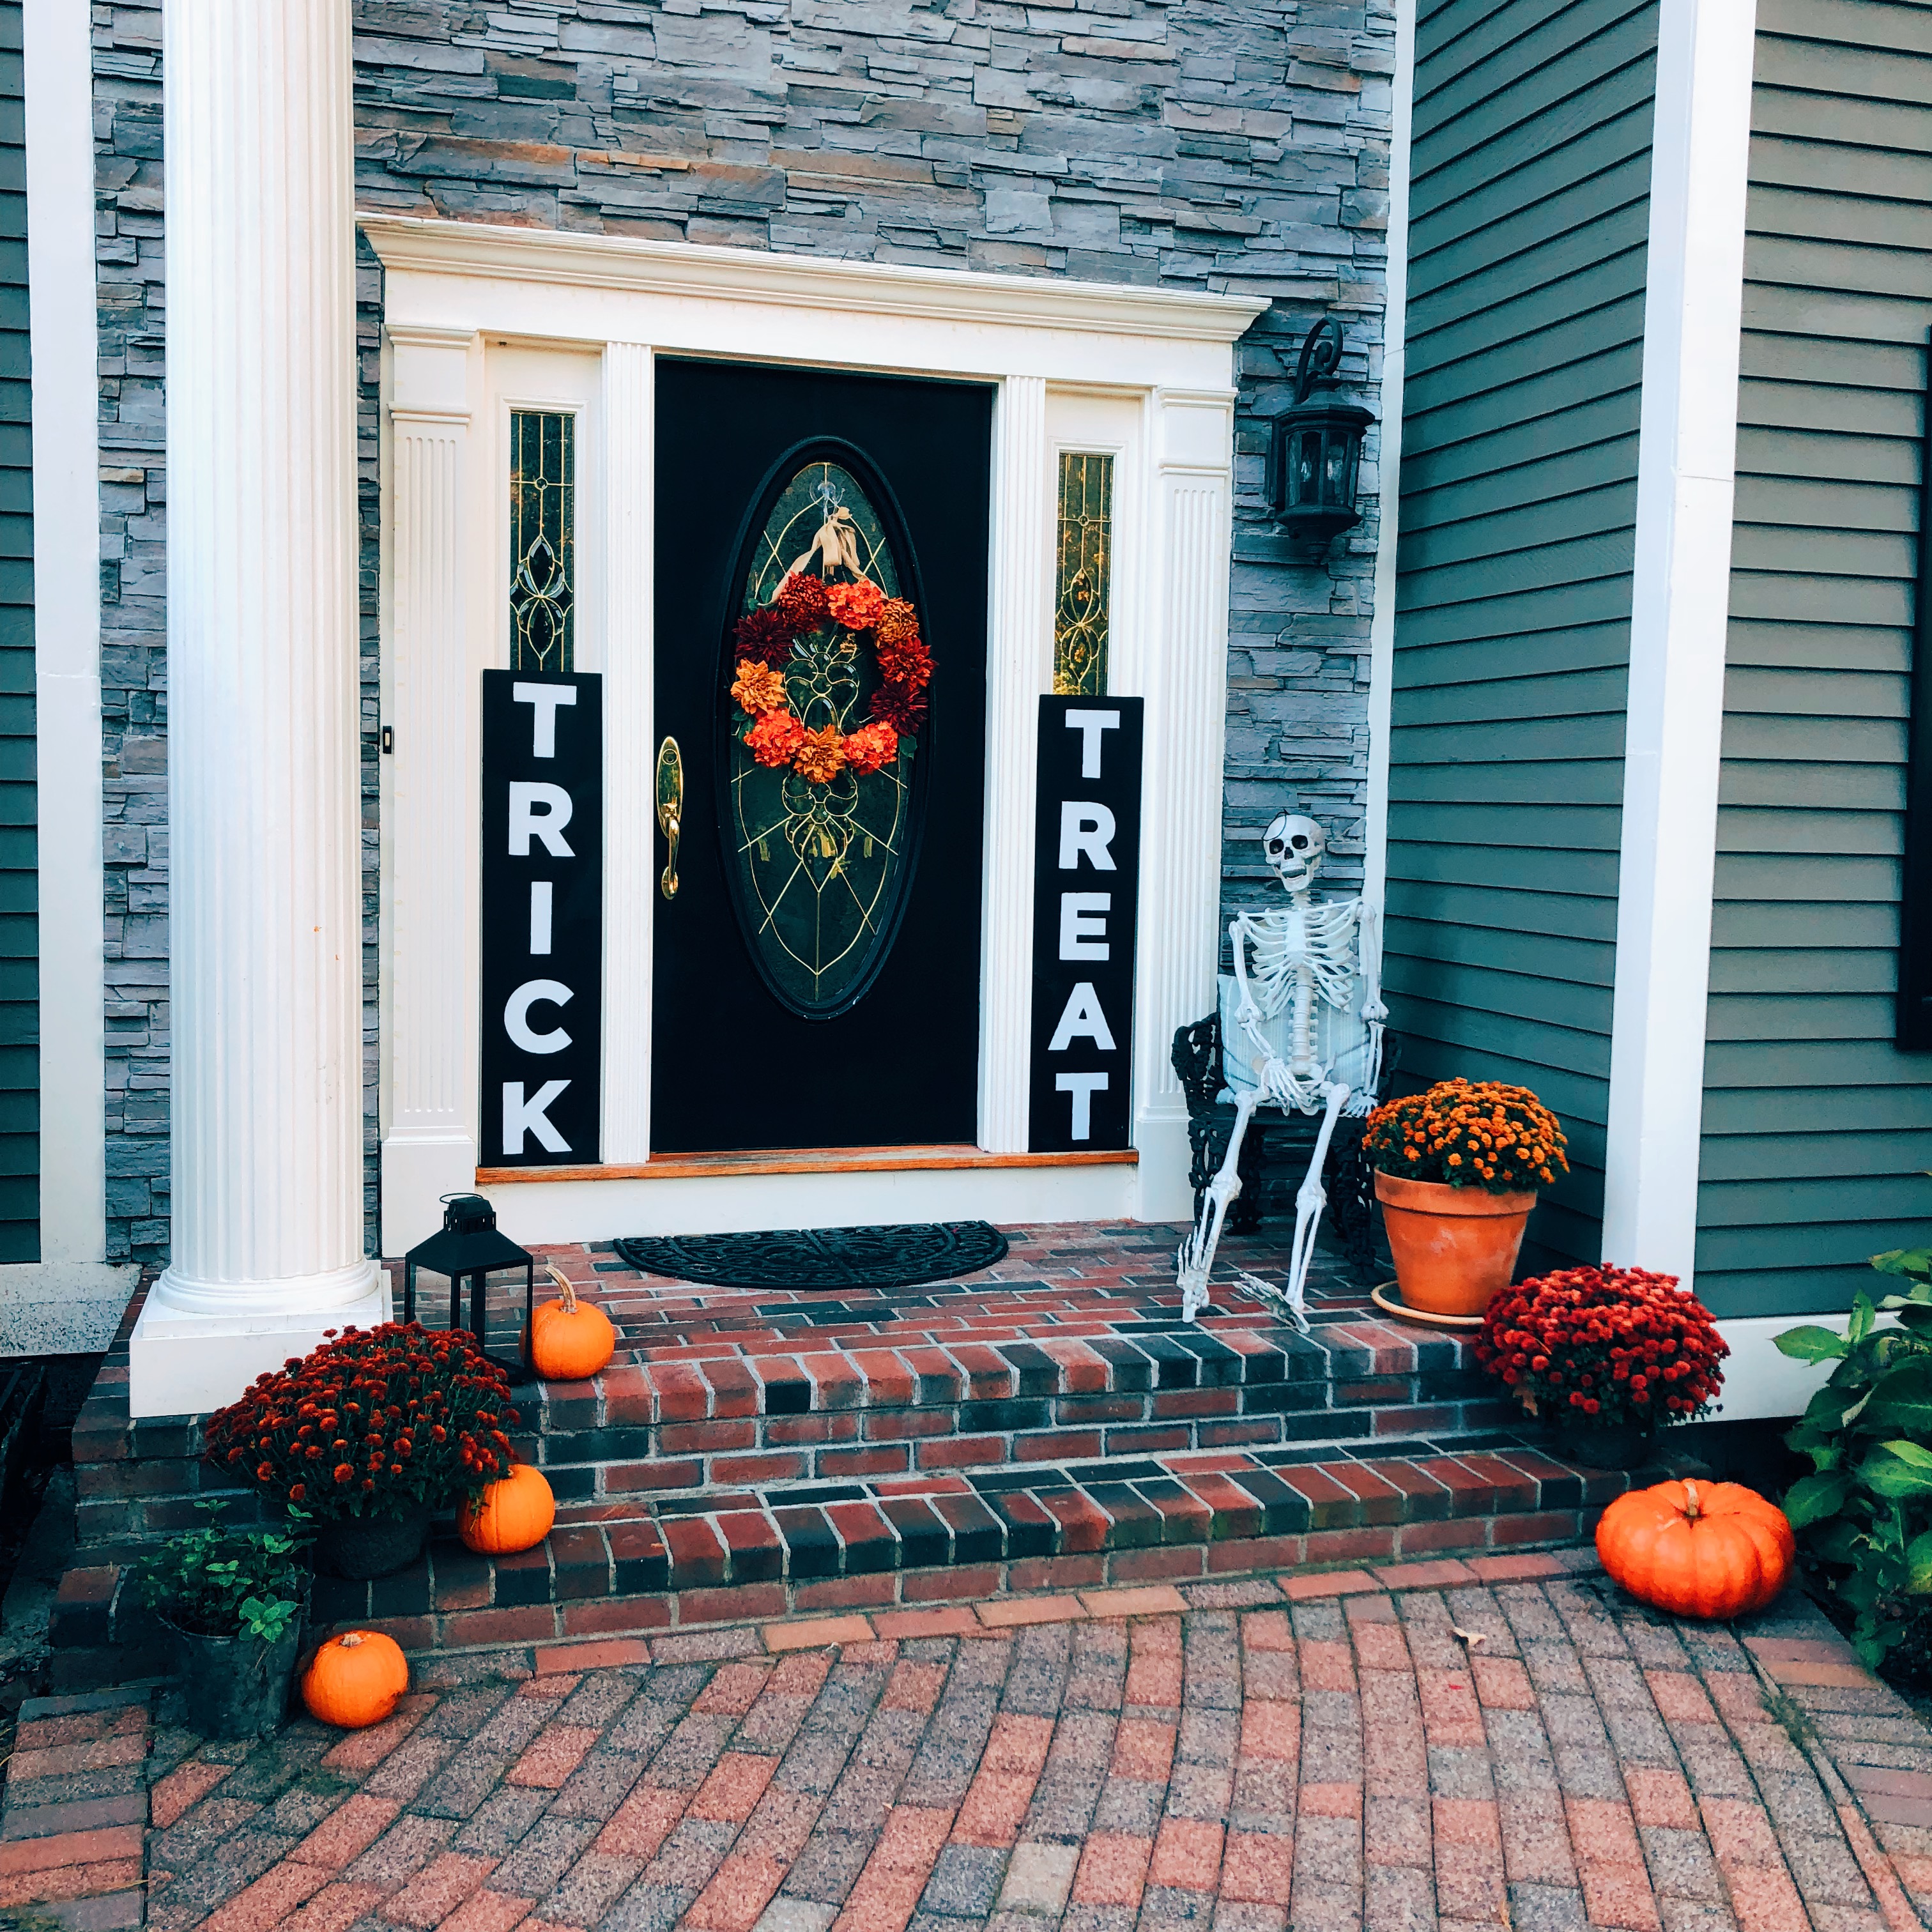
Trick Or Treat
I love welcome signs at the front door, they really finish a front porch look and are surprisingly easy to make. Yes, even for someone who has never painted one before! This is a great beginner project for under $40 and under 40 minutes! When I heard of the trick or treat signs I knew I had to have them too, but buying them is ridiculously expensive and store bought ones aren’t as durable. Here is how to make gorgeous Trick or Treat welcome signs that all your neighbors will love. Plus, you’ll learn how to make signs for any season to really get that gorgeous porch year round.

What You’ll Need
12 x 4 FT Common Board (Home Depot Always has these pre-cut)
12 in X 12 Inch Letter Stencils
To keep this project on-budget you can use Folkart Home Decor Chalk Paint that I linked above, good product. I am using Heirloom Traditions Chalk Type Paint in Colosseum (their white shade) from a previous project I did because I have it on hand. I already had black exterior paint in my basement that was used for my front door, so I grabbed that and saved even more money. I do love to crafting on a budget!

A Little Background
Do you know what is best for painting on? Giant rolls of the plastic tablecloth from my daughter’s birthday party 6 years ago! I just can’t get rid of the stuff but it does make cleanup a breeze! Paint the front and sides of your signs with the black paint, two coats is plenty. Try to avoid paint seeping onto the back so you can use them for other holidays, Thanksgiving is coming up next! This is an easy project, paint a coat and come back to it later.
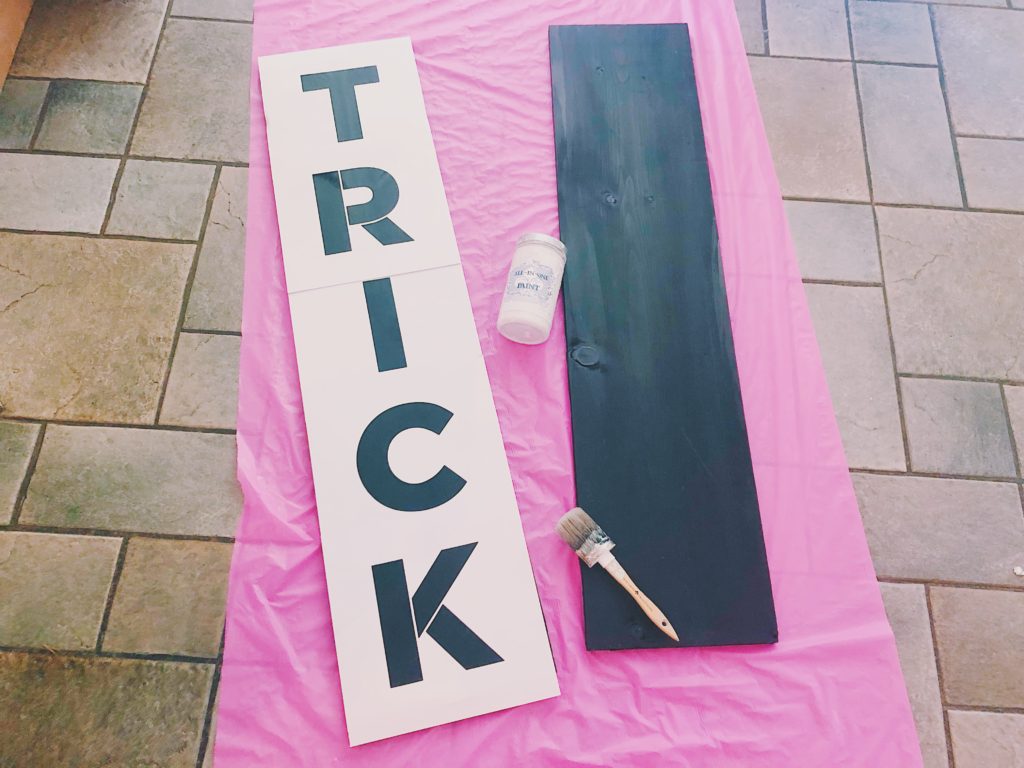
Stencil Time
You should have just enough room to overlap stencils without them crossing over the other letters. The first and last letters hang off the signs just over a half inch each. Once you have your stencils laid out and center, on to the fun part! And I have all the tips to make this look professional.
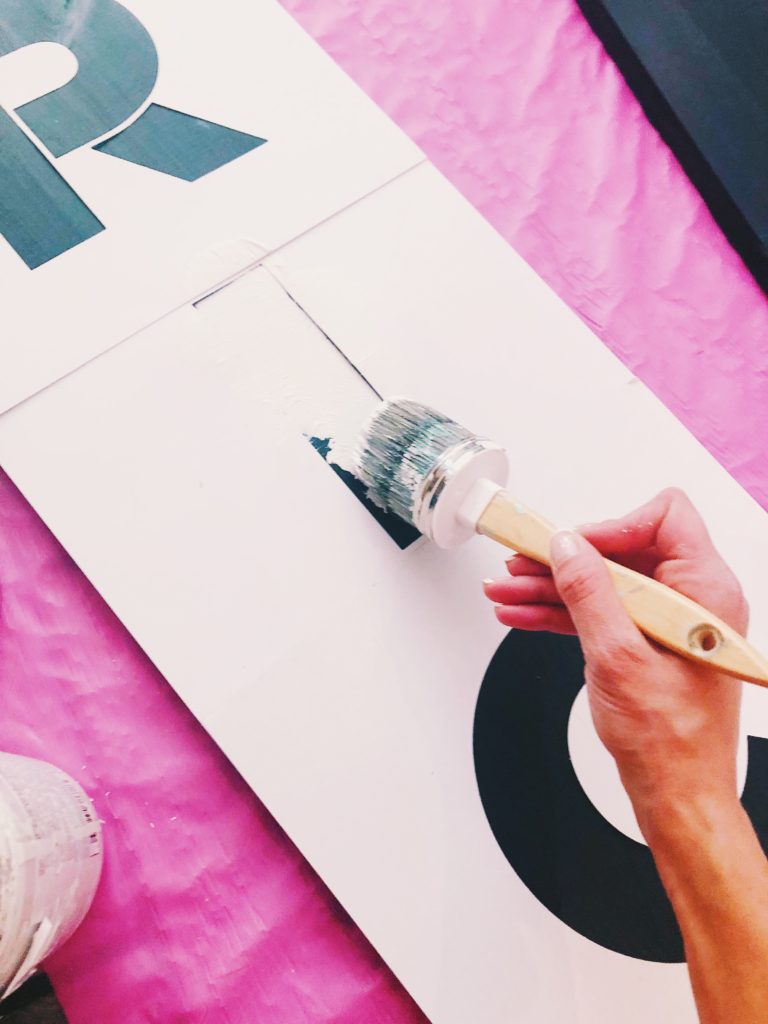
Final Steps
Begin painting your letters over the stencil. You need very little paint on the brush or it will run underneath or saturate the stencil. Paint the edges of the letters from the stencil inward with steady swipes, this creates crisp outer edges. For your second coat, stipple the paintbrush up and down. No worries if you slip up, just come back with a small brush and touch up the edges.
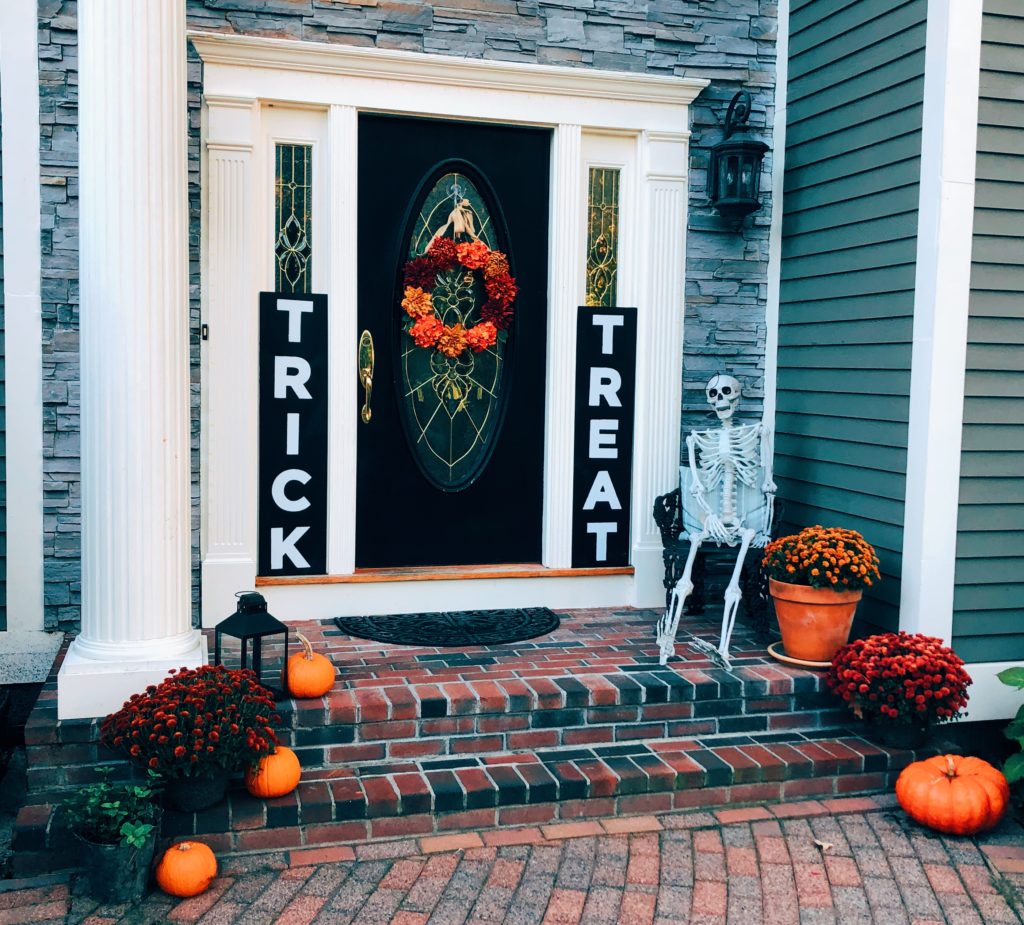
Set Them Out And Watch Your Neighbors Fall In Love
Viola! Your front porch will be gorgeous and I can’t wait to see your signs! Save your stencils for future projects and use the back side of these signs for Thanksgiving and Christmas. My JOY sign I created last year held up through plenty of snow, no need to top coat! You’ll have to subscribe to see that this winter! Don’t Forget to finish your look with this same wreath tutorial I have above by clicking HERE, another great project under $40 and under 40 minutes like this.
Your neighbors will be in awe of your porch and have no idea how simple it was to create. Unless you use this step by step for a totally perfect craft night with the ladies and wine.
Happy Painting,
Chelsey