by richeychelsey | Jul 26, 2018 | BLOG POSTS, Uncategorized
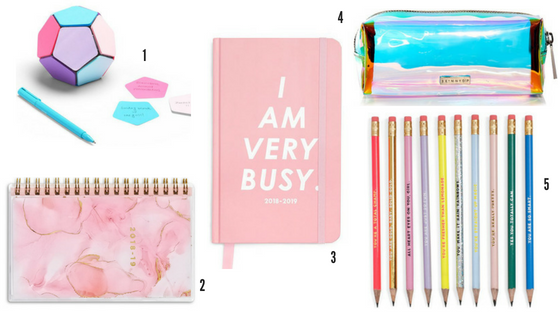
It’s that time again, school shopping! This year’s supplies are so cool that I’m ordering some for myself too. Who knew supplies could be so fun to shop for? These will have you totally organized for a super successful start to the year. Here are the must-have school & office supplies that we need right now.
Stay Organized with Chic Planners
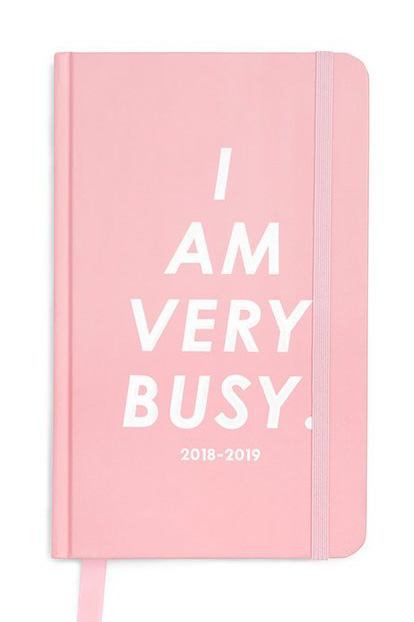
I have been on the hunt for the perfect planner, and have finally found it! These agendas have plenty of room for notes, and space for creativity! They fit perfectly into handbags and backpacks too. Love them!
Cost: $20+
Save & Plan

Sometimes we splurge, sometimes we save; there are planners to die for in every budget. We love these more affordable planners at Target! They give you plenty of room to plan, and they save the bank! There are so many beautiful designs this year, it makes us wish we needed more than just one.
Cost: $6+
Posh Pencils
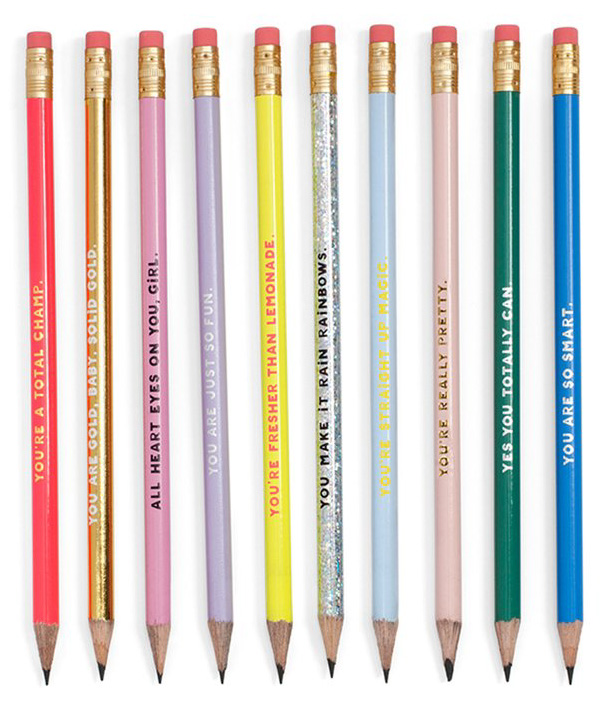
Does your pencil motivate you? If not, you’re doing it all wrong. These quoted pencils from Ban.Do are so adorable, they might not get lost this time. We can hope!
Cost: $10
Keep It Together With Pouches

This year is all about holographic supplies, and we are just crushing over these pencil pouches! They’re super chic, and you can see what you’re looking for. What more can we ask?
Cost: $7.99
Stick To It

There are sticky notes, and there are these AMAZING sticky notes. We died over the cute ball they come in, both an accessory and a functional way to take notes! Plus, you’ll never have to dig for that little post-it pad again, you won’t want to put it away!
Cost : $12
Final Thoughts
We are just in love with this year’s totally adorable & must have supplies. Have you ordered any of these yet? Which are your favorites? Do you love something that needs to be on here? Let me know! I love to hear from you all and hope supply shopping is a blast this!
by richeychelsey | Jul 16, 2018 | BLOG POSTS, Uncategorized
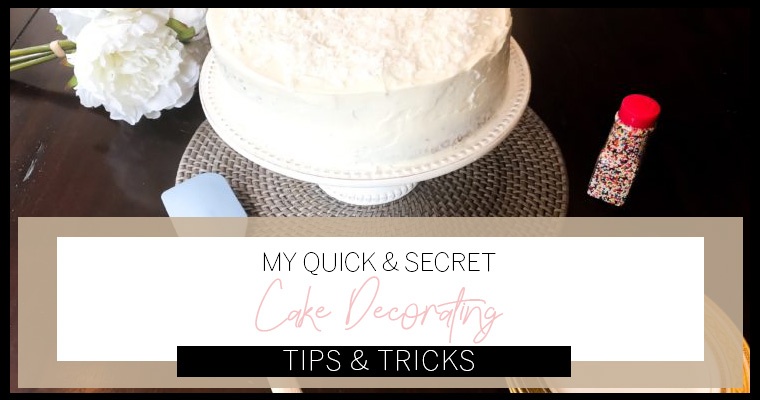
I just love a freshly baked cake, don’t you? Here’s the thing, I’m a mom, we don’t have a lot of free time in general. When I need to make a cake, it has to be quick, but still look super pretty. Whether you are new to cake decorating, or like me and in a pinch, my secret & easy cake tricks will make you look like a professional. Literally, your family and friends will be blown away. Here is how to make a Pinterest worthy cake, in less than two hours like it’s no big deal.
What You Need-
- Vegetable Oil
- Flour
- Cake Mix
- Frosting
- Cake Pans
- Cooling Rack
- Frosting Spatula
- Paper Towel / Napkin
First We Prep! Old School Style
There are a lot of sprays that promise your cake won’t stick, but I like the good ole’ fashioned way the best! Grease and flour. For each nine inch round, drop in a heaping tablespoon of vegetable oil, coat the pan all the way up the inner sides with a paper towel or napkin. Drop in a tablespoon of flour for each pan and turn them until thoroughly coated. Then simply give them a gentle tap over the sink to remove the excess flour. If one spot isn’t covered, rinse and do it again. Simple, but quite possibly the most important step. You need them to come out in one piece, this gives them their crisp sides.
Let It Cool Properly Before You Think of Touching It
Remove your cakes from the oven, they’re still baking from the heat of the pans and their internal heat. Lay them on a raised wire baking rack, or somewhere that air can travel below and above the pans. Do not even think of touching them until they are fully cooled (minimum 30 minutes usually). When they are done, give them a gentle tap on the sides until they release from the pans, turn them out and lay them on a flat surface. To make sure they are cooled, lay them on a clean counter; if you see condensation or steam around the cake, place them back on the rack to cool some more. Easy peasy. If you decorate when they are warm, you’ll have a heaping mess of frosting disaster.
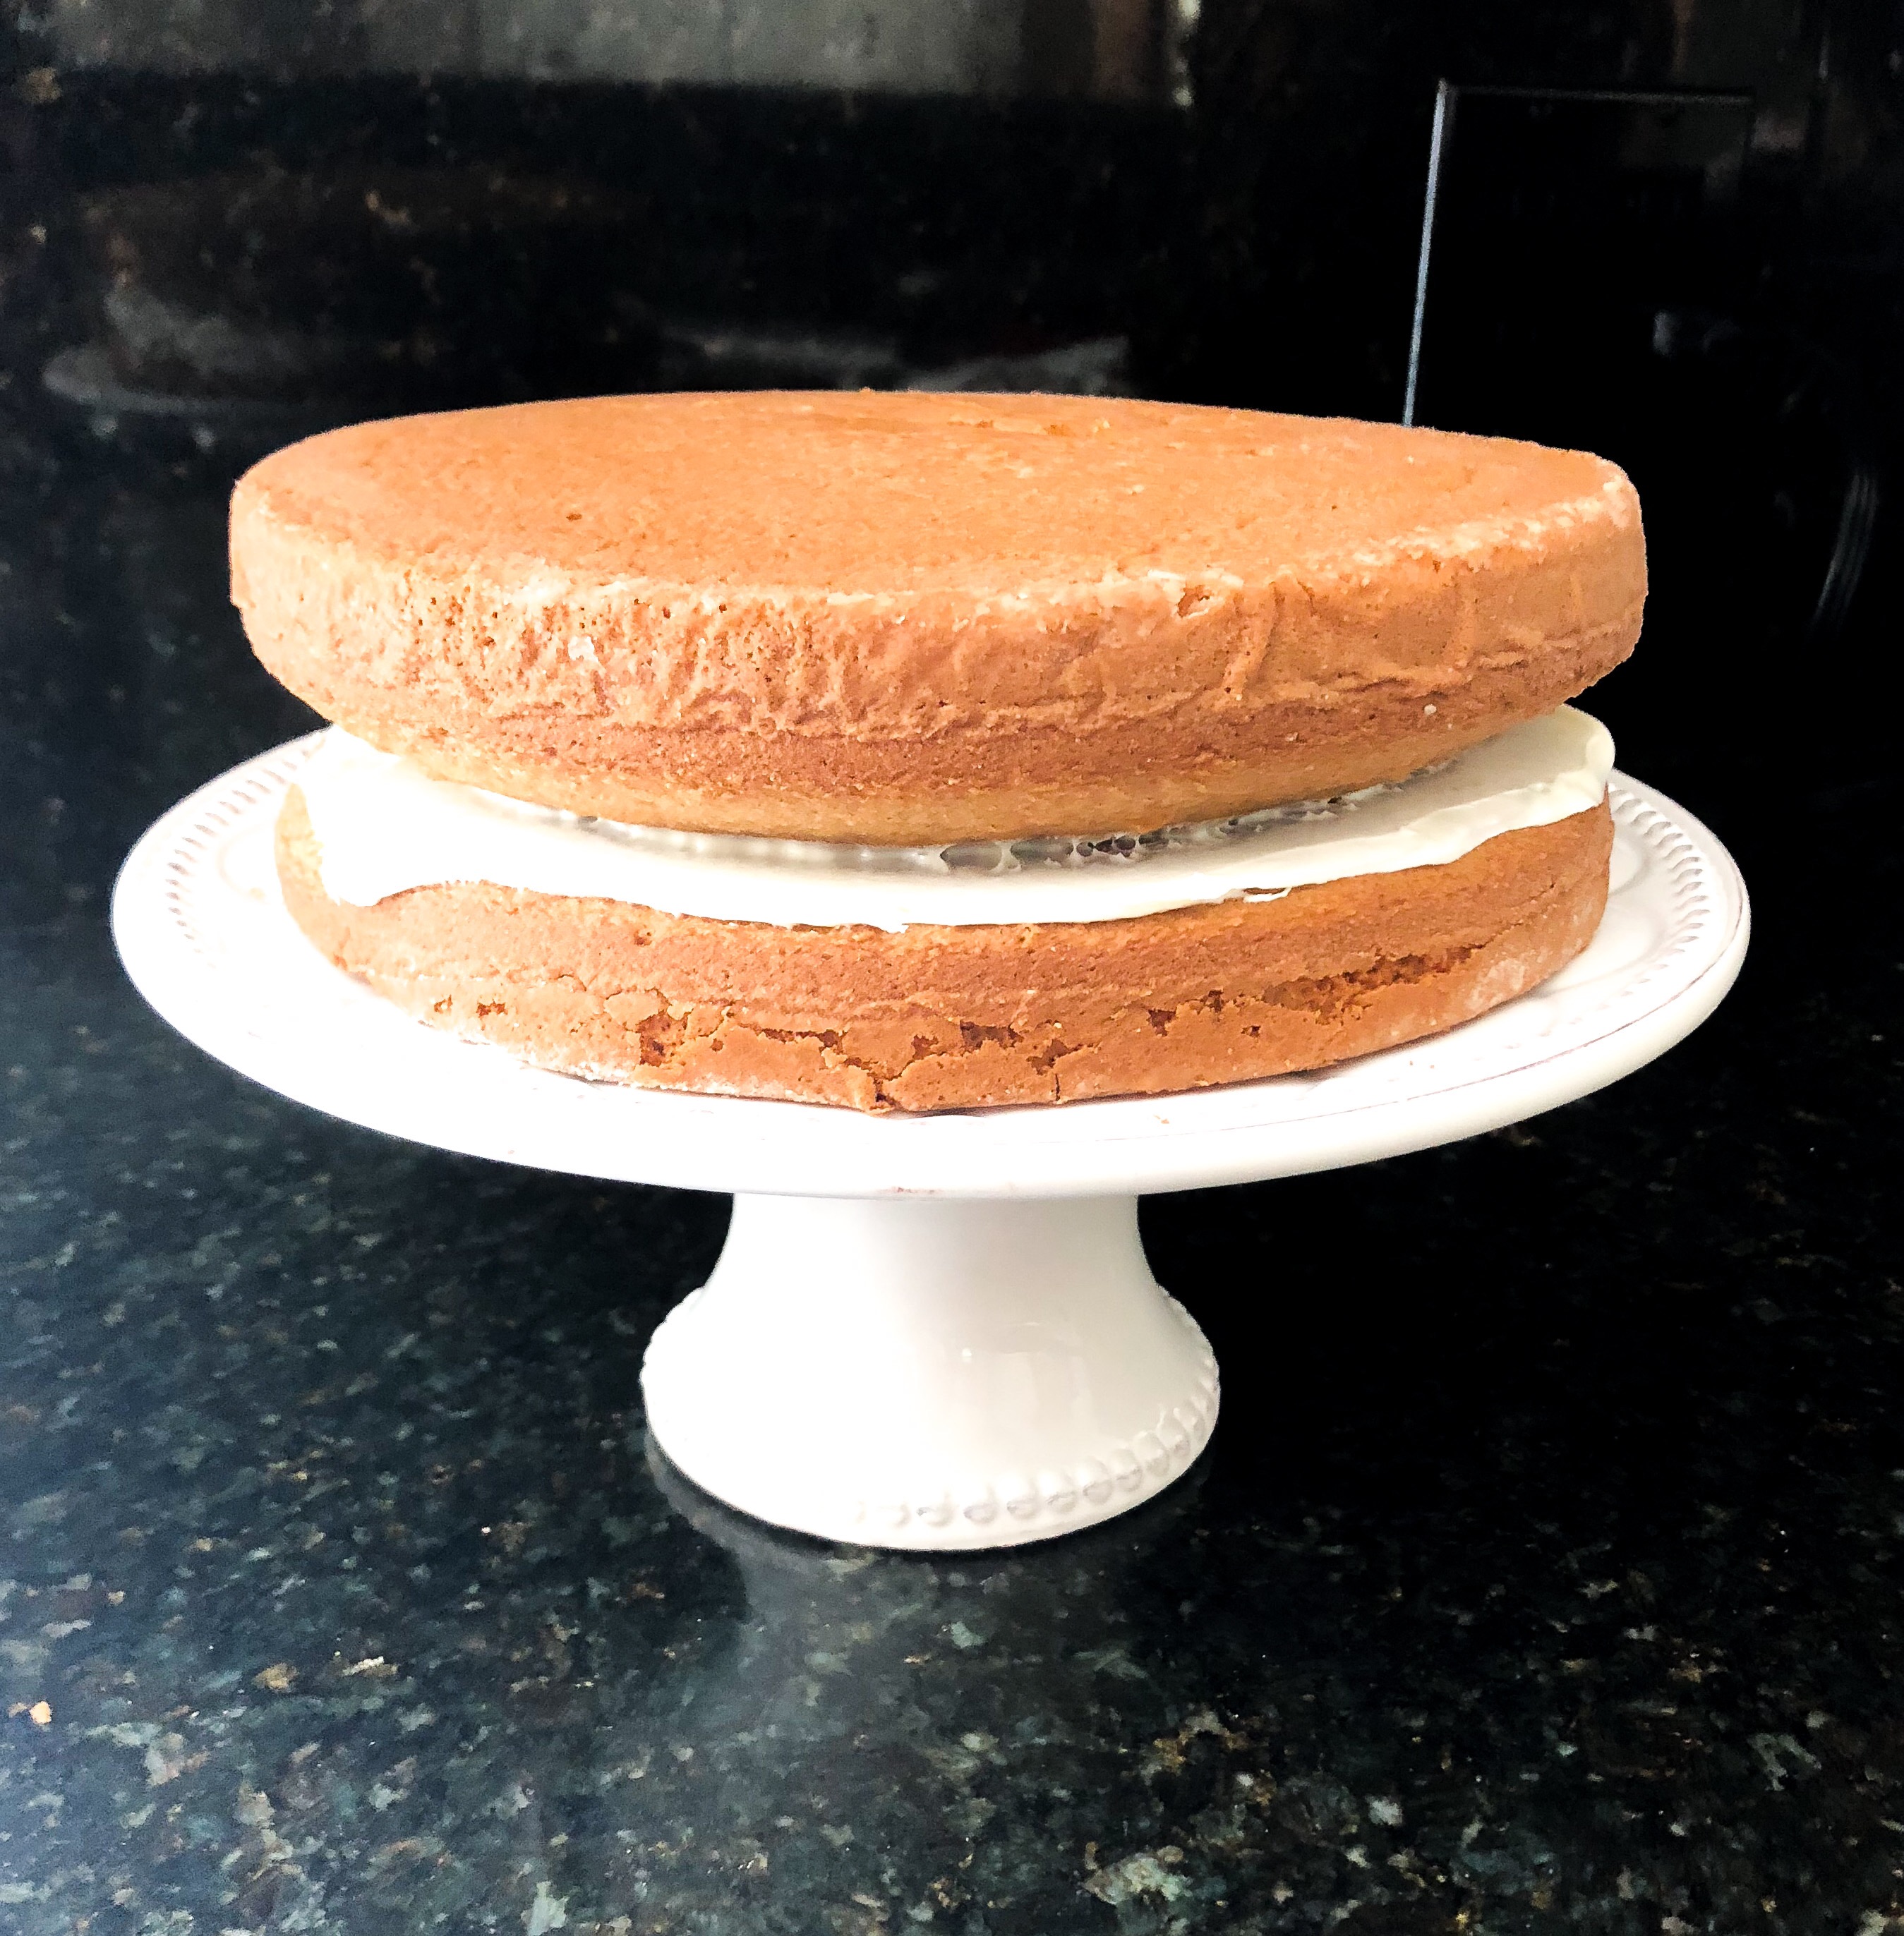
Sandwich Layers Crust Side Out – UPSIDE DOWN!
This is my secret tip for no fuss, quick and pretty cakes. Typically I would cut the cakes to level them, but we don’t have time for that. Lay the first cake on the plate upside down. Frost just the top where the cake layers meet, then lay the other cake upside down on top. The crusted sides help you achieve an expert look. Start frosting with a thin layer, pulling excess to the sides and down.
Take Frosting Breaks To Chill
Chill, not you, the cake. Once you apply a thin layer of frosting to the cake, place it in the icebox. When your frosting and cakes are cold, the next layer of frosting will glaze over like glassy butter. The warmer your frosting is the harder it is to work with. Alternate between frosting and cooling to achieve that polished look with crisp sides.
Hot Rinse & Smooth Technique
Another secret! When you finish frosting the cake, run your cake spatula under hot water, then wipe it dry. While the spatula is hot and clean, make long swipes across the cake to get that flawless smooth frosting. Between swipes, rinse and wipe clean again. Remember, if the frosting gets too warm to work with, give it another five in the fridge.
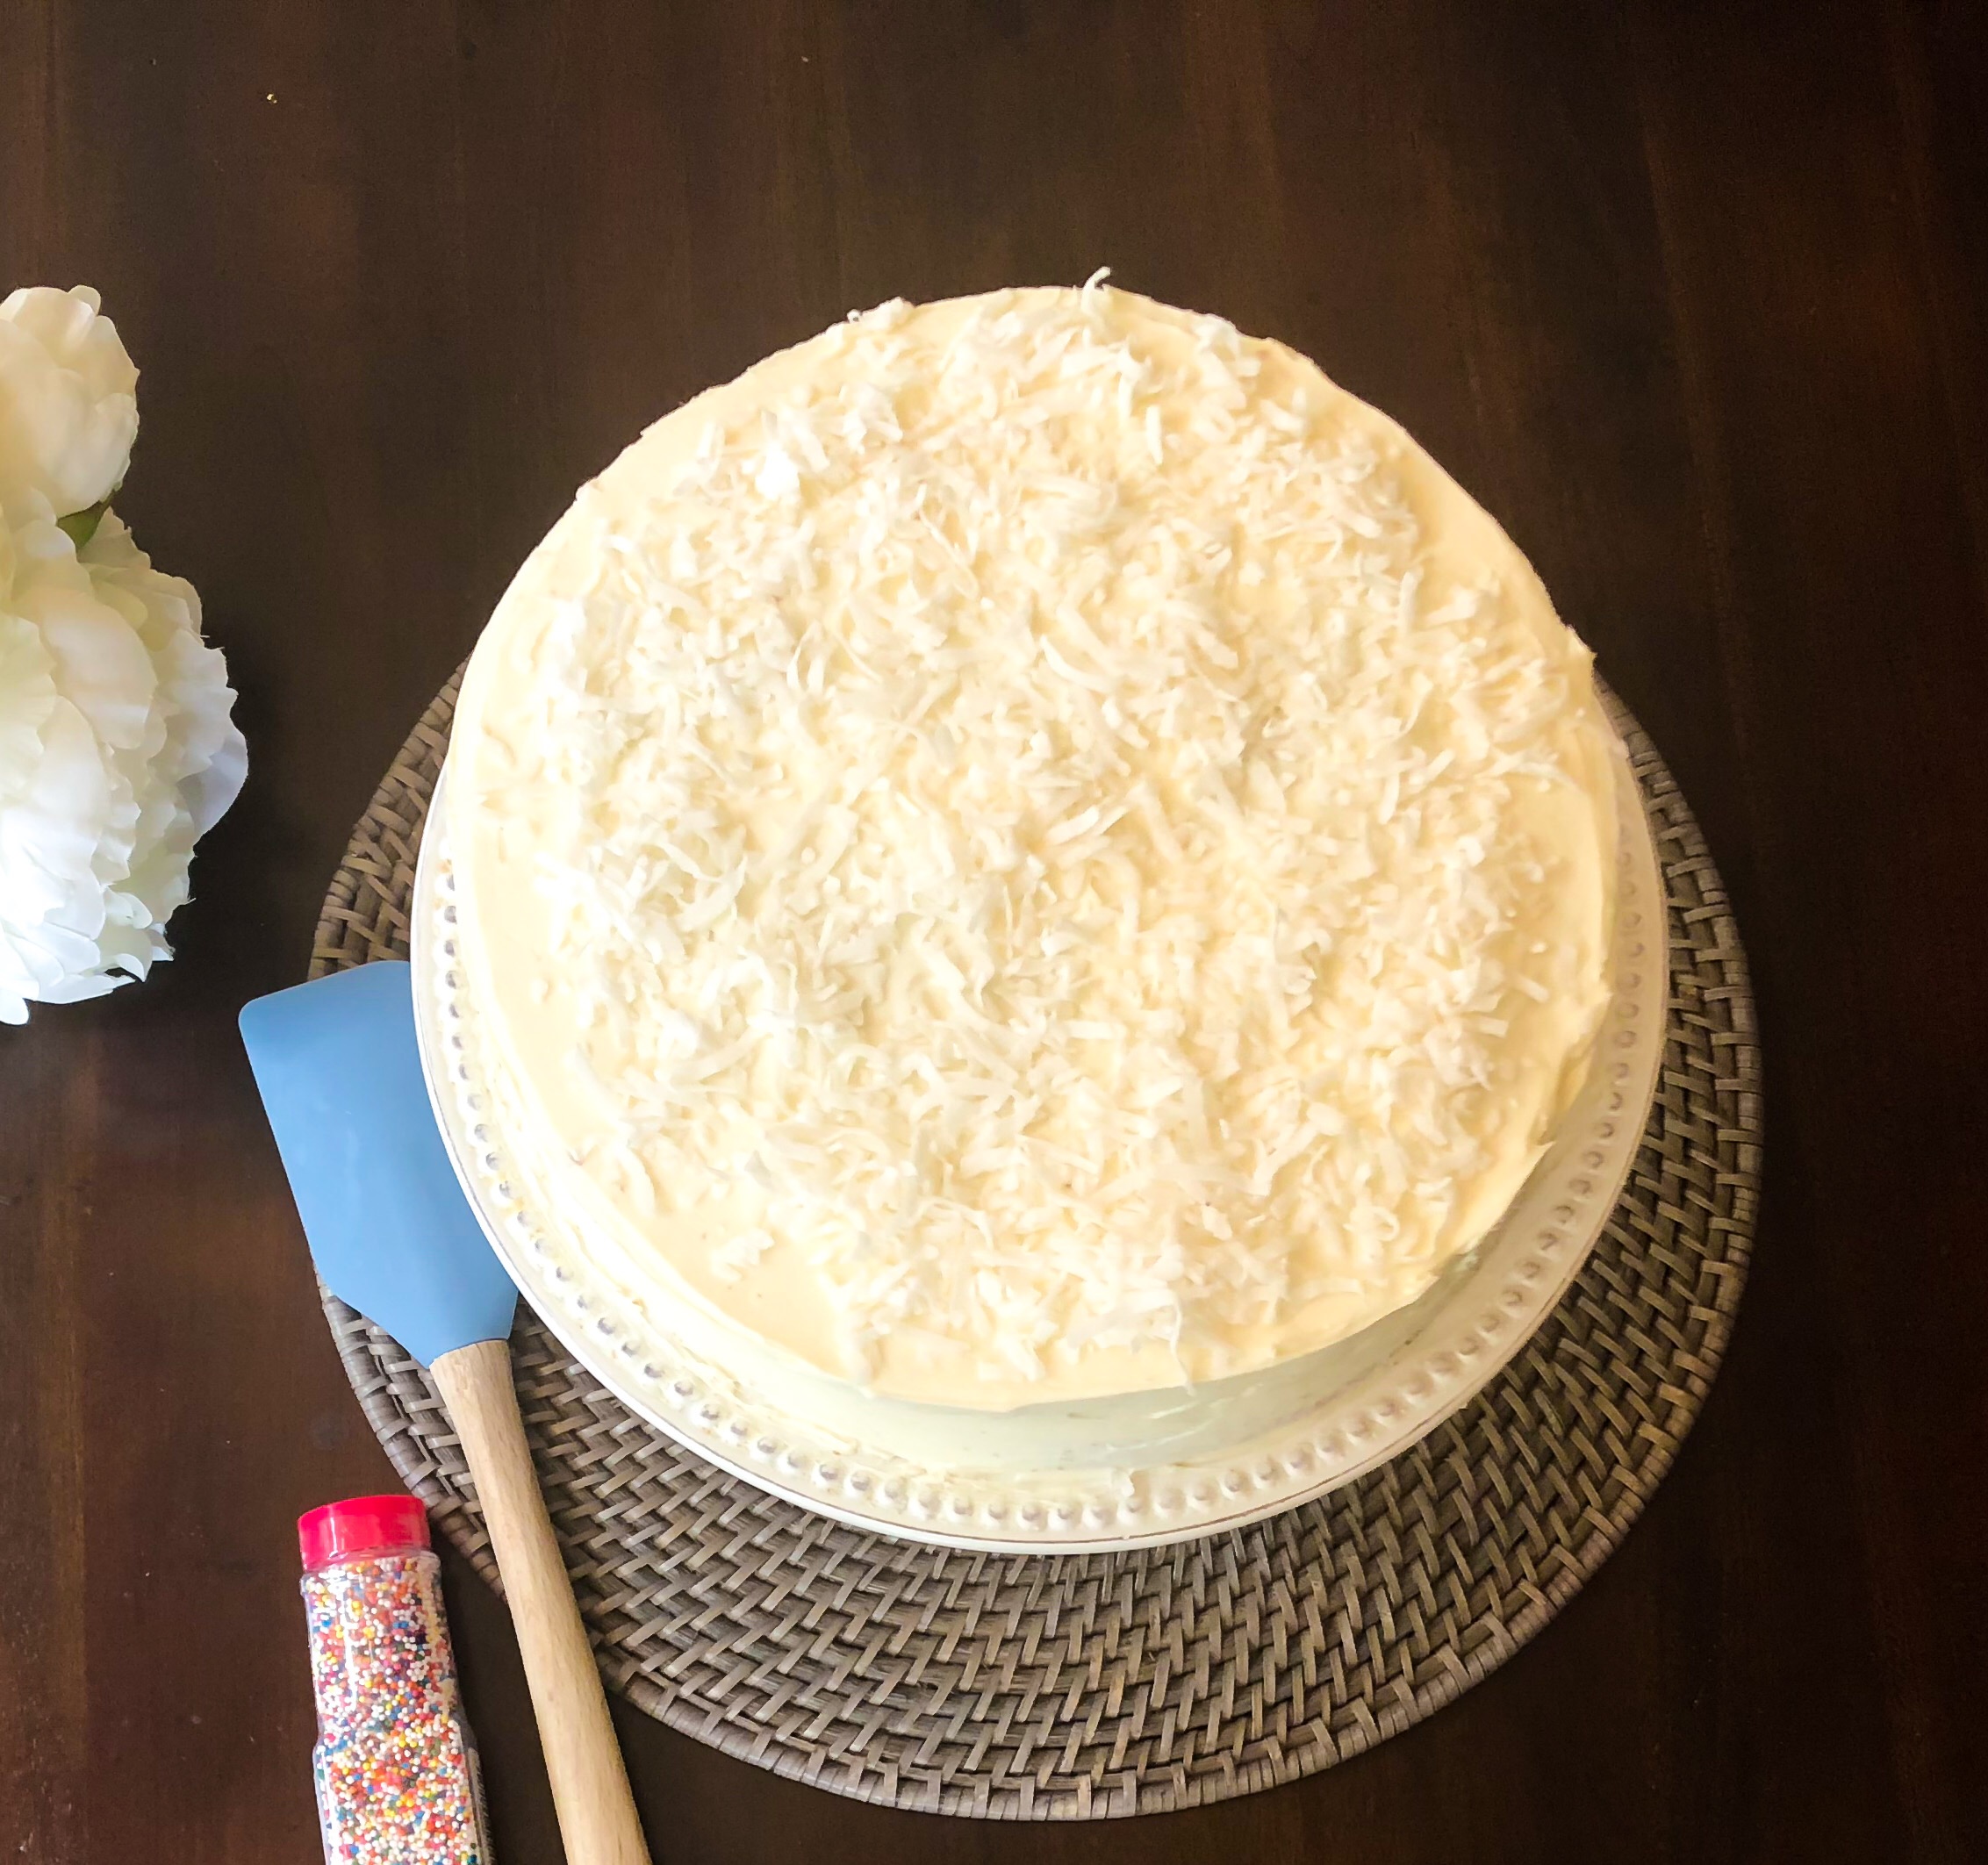
Final Touches
Sprinkle time, no cake is complete without a garnish of coconut or color. I always keep sprinkles on hand in the pantry, something for every occasion. You never know when you’ll need to celebrate! No sprinkles? You can top your cake with chocolate chips, fruit (dry it thoroughly first), or even shave a chocolate bar with a potato peeler for a curled chocolate topping. The possibilities are endless. What is your favorite topping?
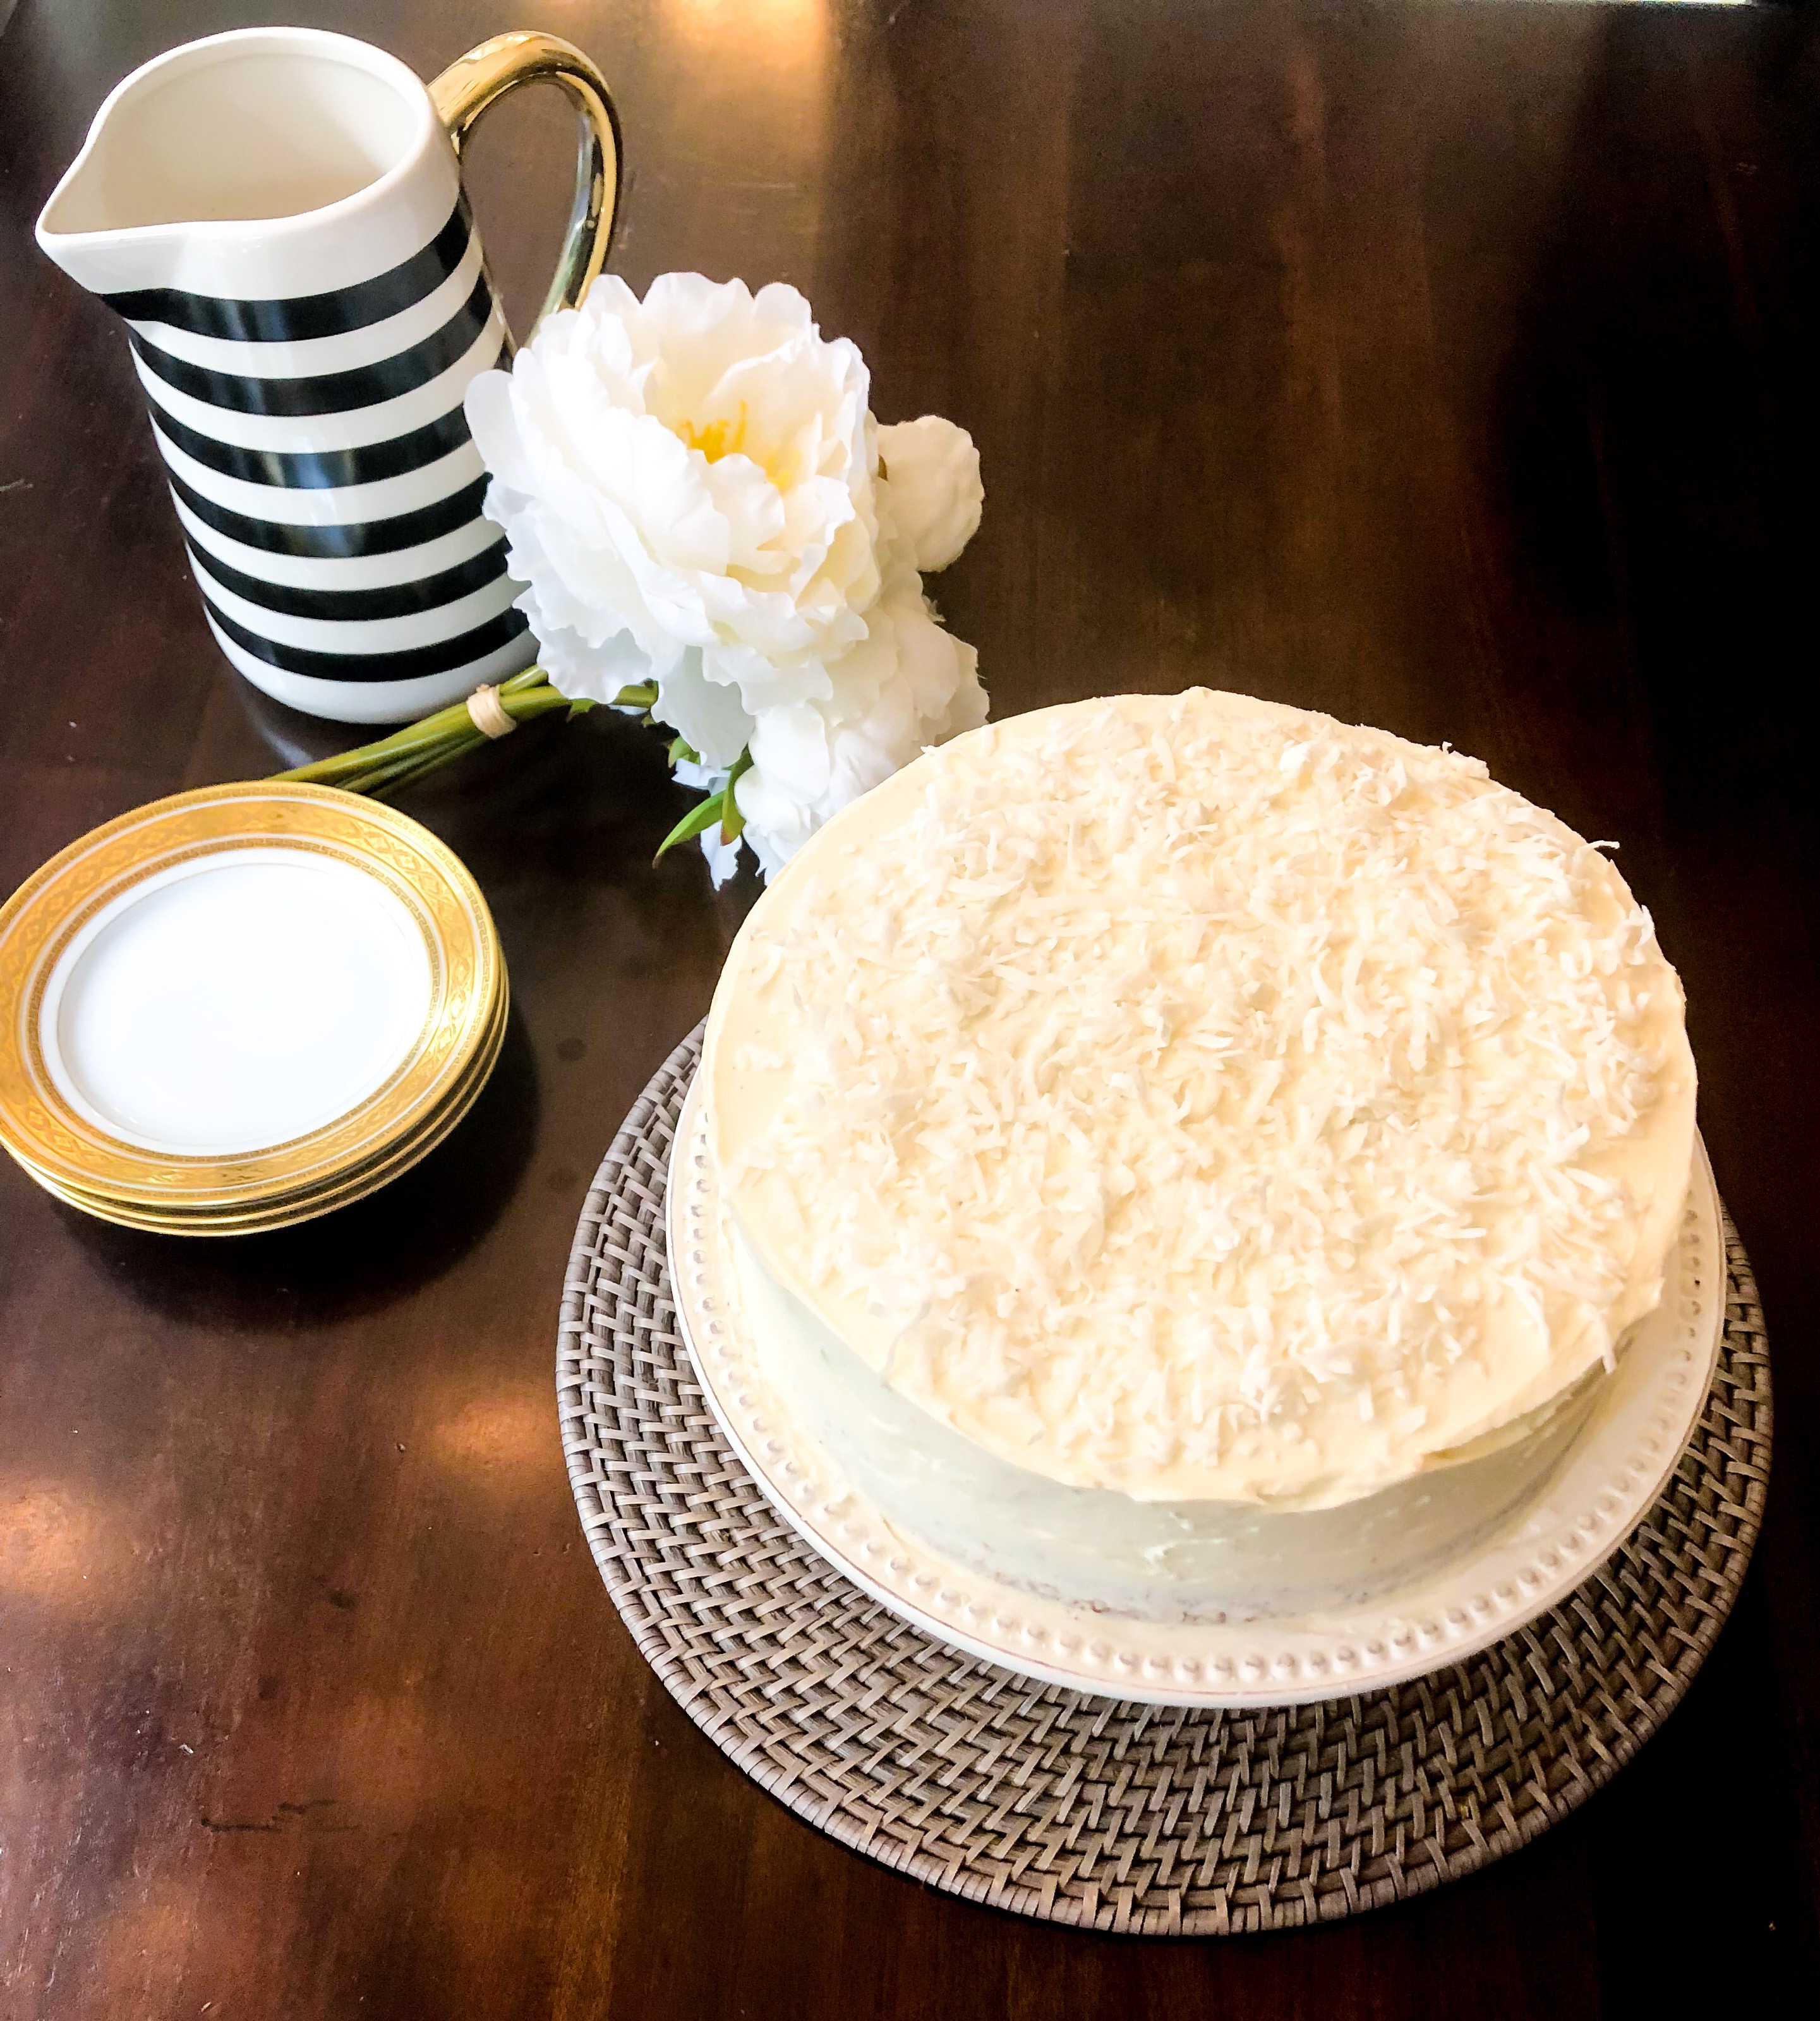
Take Away
The key to a pretty cake is in the prep, patience, and attention to detail. They should take more than two hours and everyone will be impressed! With just a few tools, these secret techniques, you’ll have beautiful cakes in no time.
What do you think? Do you use any of these techniques or have any secret tricks of your own? Share them with us in the comments! Don’t forget to send this to your friends that need it, or that love to bake!
Happy Cake Making,
Chelsey
by richeychelsey | Jun 23, 2018 | BLOG POSTS, Uncategorized

Meal kit delivery services are popping up everywhere, they are by far one of the biggest fads of 2018. The lure is tempting, easy to follow instructions, perfect portions, everything you need without the grocery shopping. The most popular new services are Hello Fresh and Home Chef, they are also incredibly similar. After months of testing, I have found one to be clearly superior. Here are the differences, and which one you need to try asap!
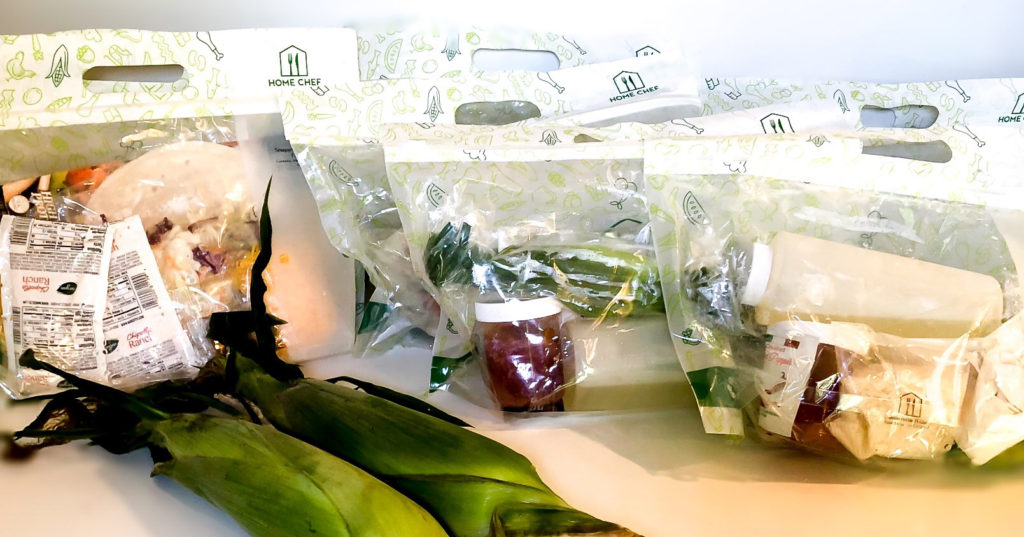
PACKAGING
Both Home Chef & Hello Fresh have updated their packaging to entirely recyclable materials, which is nice because there is so much of it. The only thing seperating Hello Fresh would be their miniature name brand condiments such as jams or balsamic jars, much cuter than HC plain bottles. The flavor is the same, but the tiny jars just make each shipment so fun!
Winner: Hello Fresh
PORTIONS
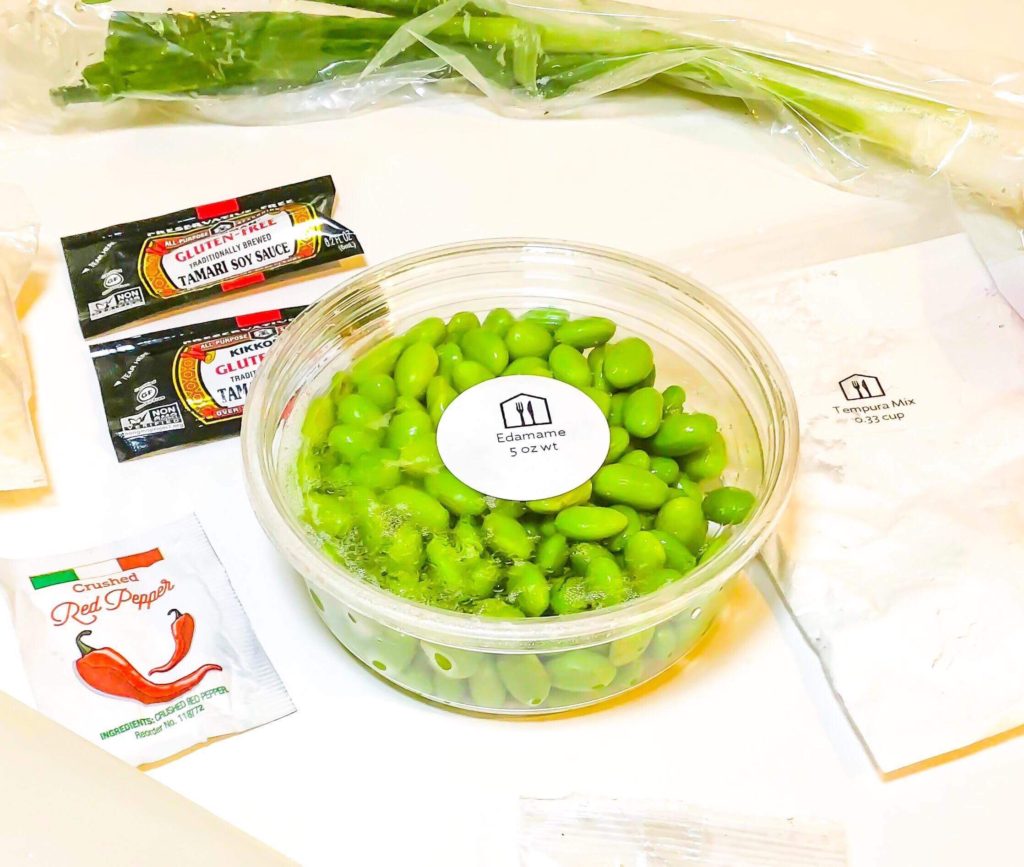
Both Hello Fresh & Home Chef portions are quite generous. In fact, our party of five only orders for four! Home Chef tends to send more fresh produce than their counterpart, putting them at the top of this category.
Winner: Home Chef
PREP
I was most drawn to meal services because they promote easy to follow recipes that anyone could cook. Both services were delicious in the end but ran at different paces. Hello Fresh was a little more difficult, leaving me rushed to finish the meals. Home Chef recipes give me time to check on the children whilst cooking, making mealtime more enjoyable from start to finish.
Winner: Home Chef

RECIPES
I was looking for a variety of meal choices each week, with clever combinations, and a chance to try new things. Home Chef meals had more of a variety of recipes, with flavors from regions all over the world. Hello Fresh is more simple with their recipe types, typically a burger, pork, or chicken as the staple with different sauces or toppings each week. Bonus, my children have yet to refuse any of their meals, making dinner time more joyful for me to say the least.
Winner: TIE
CUSTOMER SERVICE
Reaching both support teams have always been easy enough until one was not. Hello Fresh had a computing error, leaving us with three meals portioned for two people, not our family of five. The kicker, I was told they do not have more food to send to fix the issue. I was offered a measly $20 credit to remedy the situation but decided to cancel the service instead. For what I pay, I expect convenience and reliability. The services are supposed to make my life easier, not the reverse. We have continued to use Home Chef for months without a single issue.
Winner: Home Chef
OVERALL
The time I am saving in shopping and meal prep is fantastic. Enjoying new recipes is costing us less, no need to purchase whole jars for ingredients we use once. The selections are amazing, produce is fresh, and my kids are finishing their plates. While Hello Fresh has cute jars of name brand ingredients, Home Chef has proven to be consistent with quality and reliability. I would love to share these meals with you and hear which recipes you enjoy most! Click HERE to receive $30 off your first order, and be sure to share photos of your first box!
Happy Mealtime,
Chelsey
by richeychelsey | Jun 14, 2018 | BLOG POSTS, Uncategorized
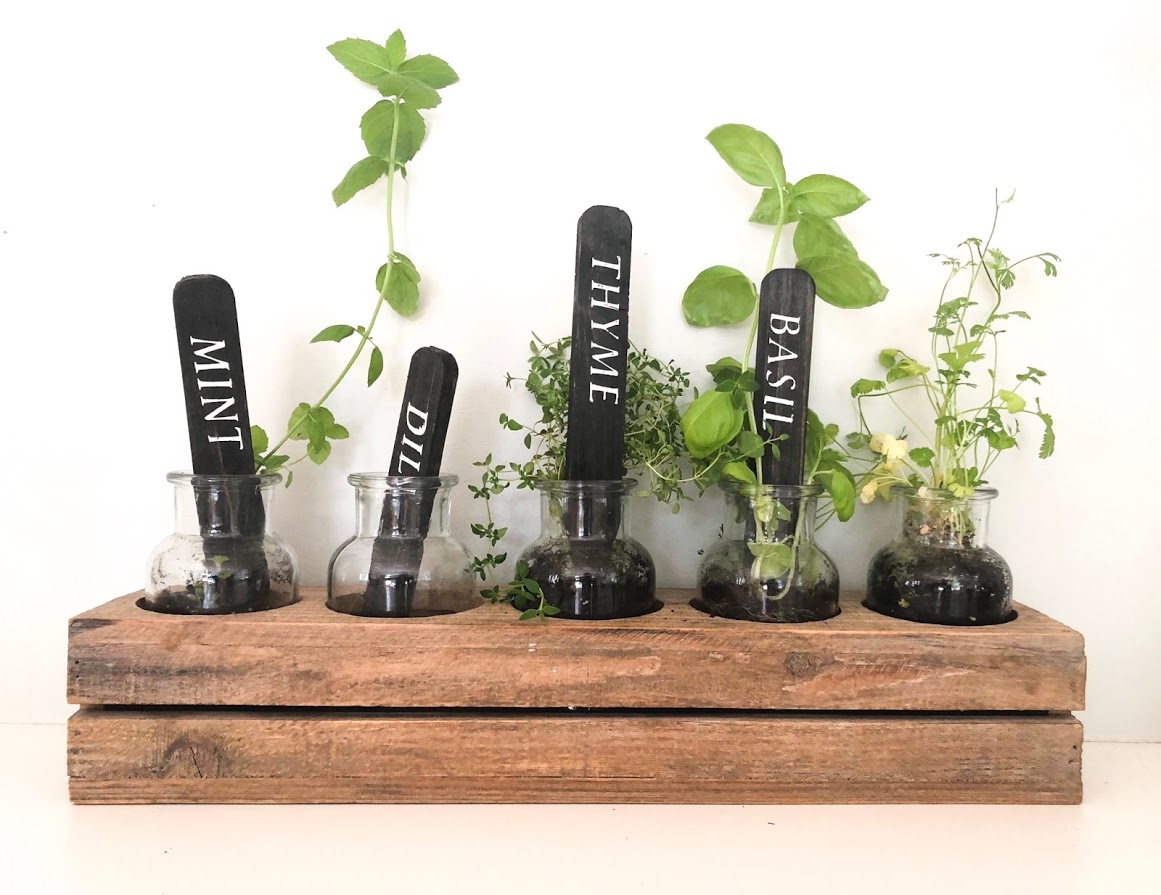
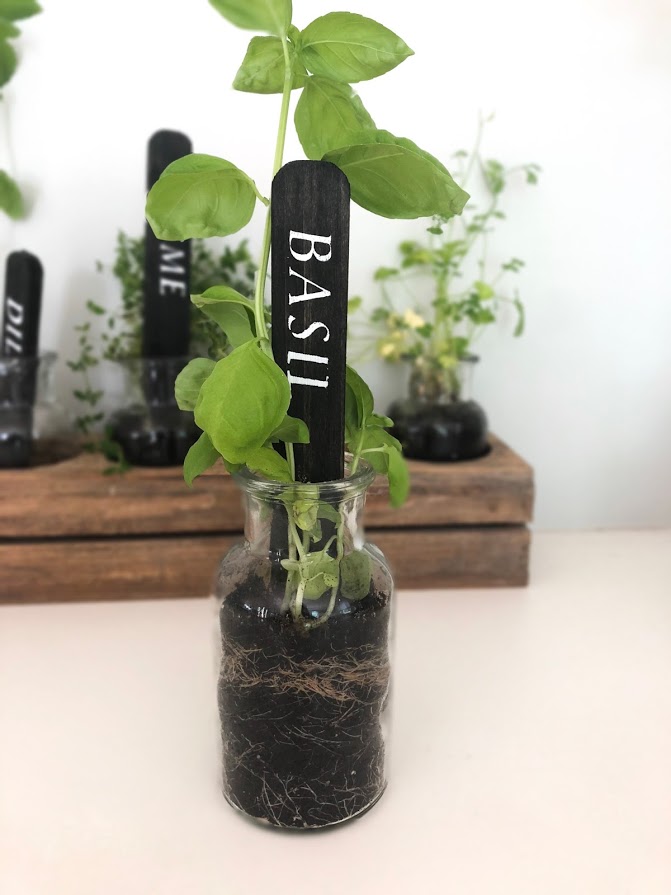
I love fresh herbs! They make everything taste like summer. From a light pasta with home cut basil to a sprig of mint for a summer spritzer, such a treat! Indoor herb gardens are so trendy, and a lovely way to warm up the home. Plus they’re economical and easier to keep than you would expect.
What You’ll Need
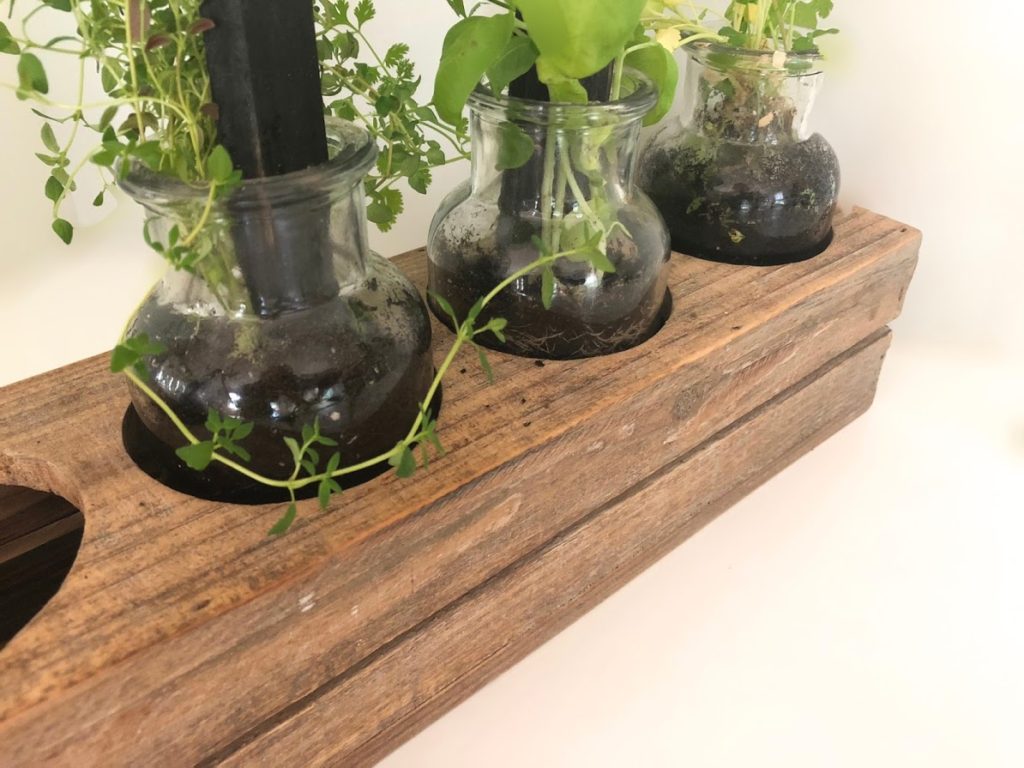
I found these cute medicine jars at a nearby farm and market. You can use any glass container or jar that is at least 3-4 inches deep for root growth. I am housing the jars in this stained box I also found at the market. Craft stores like Hobby Lobby have fantastic selections of both.
I won’t pretend to have a lot of time for shopping, I am a very loyal customer of Amazon. I did a quick search and chose this variety herb pack, inexpensive, and good quality seeds. I added the small bag of Miracle Grow’s seed starting mix to the cart as well. Such a simple project.
First We Plant
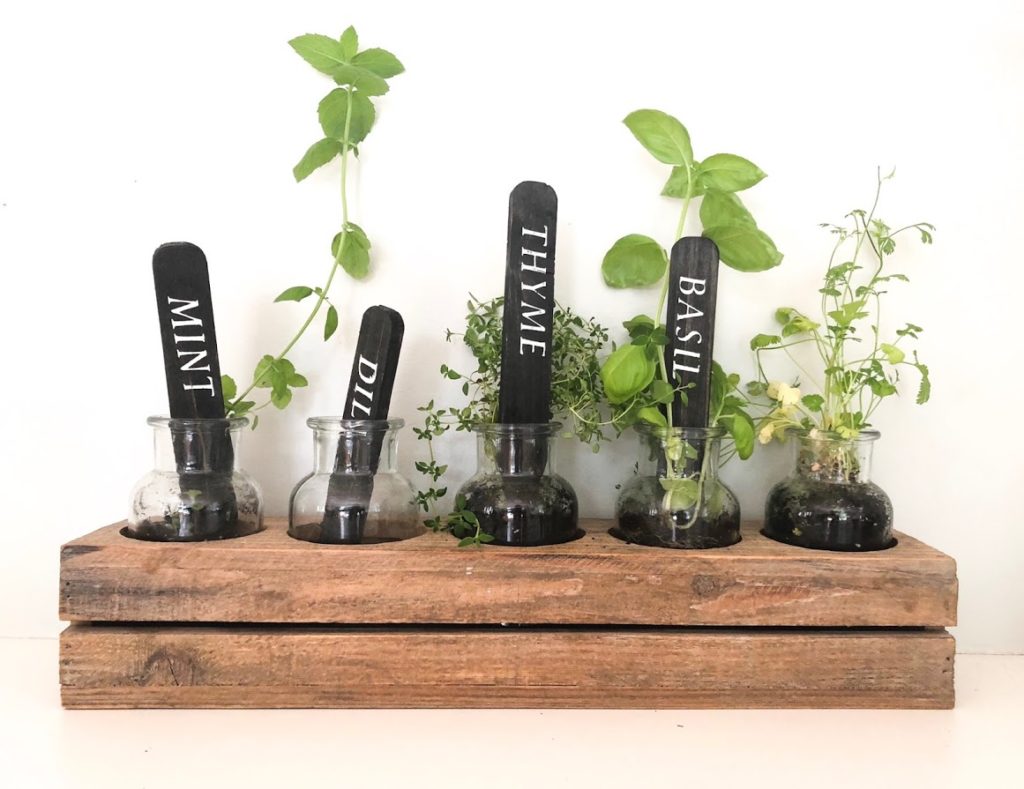
Fill your jars with potting mix, leaving at least an inch to spare for watering and growth. My jar does not have a hole for drainage at the bottom, which is fine, more on that later. Follow the directions on your seed packet for how deep to plant the seeds, etc. I always add a few more seeds than recommended just in case. To finish planting, I used plant markers to label the herbs, aren’t they cute?

Give Them A Drink
Watering is simple. The soil should always be visibly wet, but water should not pool at the bottom; a little goes a long way. This is also why I recommend a clear container, it is easier to keep an eye on. My garden only needs watering about once per week.
Now A Little Love
Keep your plants in a warm area until they sprout. If they are cold to the touch after a day, simply move them to a new place. Once you see their leaves coming up from the soil, they are ready for sunlight! I keep mine in my kitchen window sill, just a reach away for cooking!
Overview
I really love how my little herb garden turned out! It was so simple that you don’t need any gardening experience! They save me money my grocery bill and give my meals that farm-to-table taste. The best is being able to enjoy them every day, but only having to tend to them once a week.
I hope I inspired you to grow your very own favorites as well! Be sure to send me photos of how your gardens turn out!
Happy Planting!
———————-
Updated 2021