How To Make This Beautiful DIY Fall Wreath Your Neighbors Will Love
Don’t you just love Fall? All of nature’s bright, warm and welcoming tones. The set of mums I picked up for the porch last week inspired this fall wreath. To help you make your own, I created this step by step easy tutorial just for you. You can truly create whatever your heart desires, on an actual affordable budget. When comparing similar wreaths online, they ranged from $120-$240! This tutorial cost under $40. You’ll probably be driving to your hobby lobby in a few hours to make your own. Here is how to make your very own Pinterest worthy wreath, in just 30-40 minutes (even with a toddler).
What You Need
Let’s talk about what you will need, it isn’t much. I recommend shopping at A.C. Moore and Hobby Lobby for the best prices. Both of these stores have great coupons online, don’t go into the store without one. They pretty much price things to be used with their coupons. Just show them the coupon on your phone. At Hobby Lobby, their florals go on sale every other week, bonus savings!
- Hot Glue Gun
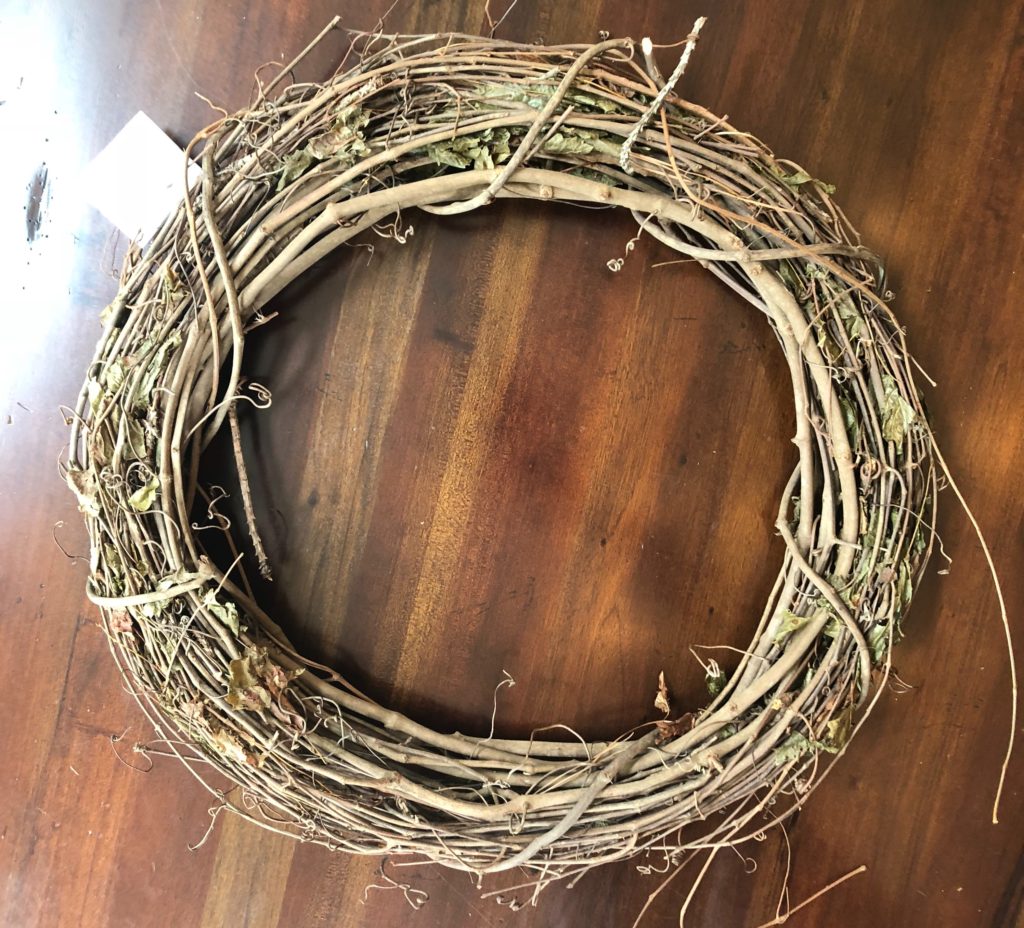
- 18″ Grapevine Wreath
- 24″ Ribbon – Jute Ribbon
- 10 Flowers – I used artificial Hydrangeas, Zinnias, and Dahlias
- Hot Glue Sticks – This project used ten 8 inch sticks
- Sharp Scissors or Wire Cutters
Prep
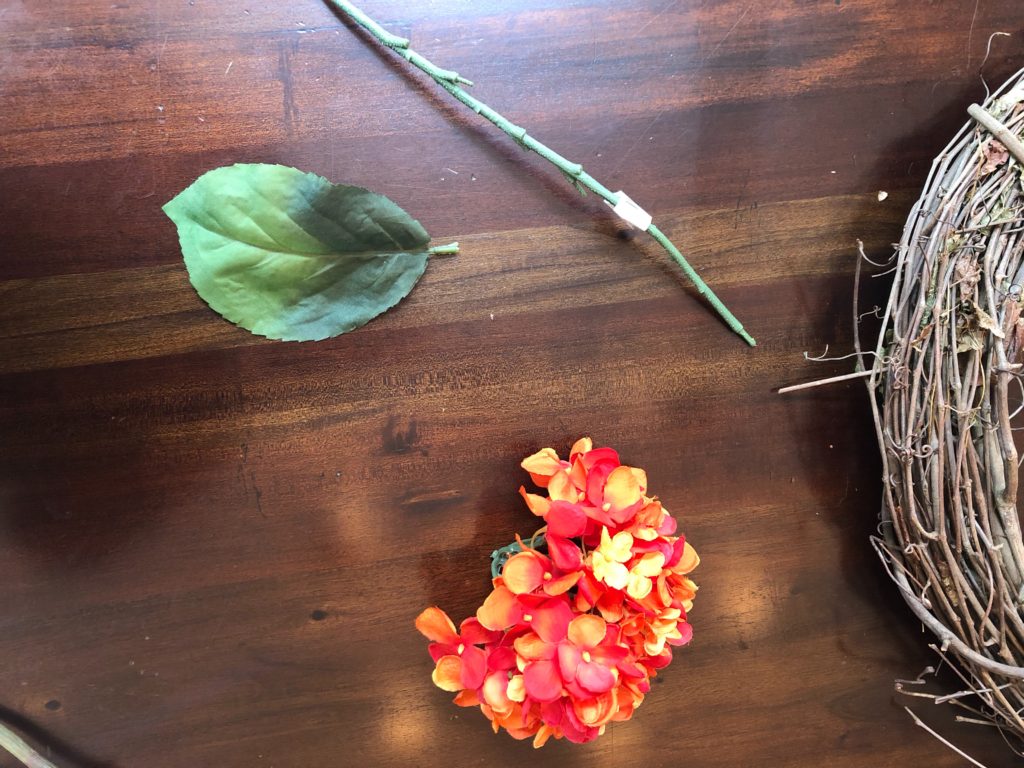
Pull the stems off your flowers, you won’t need them. Hydrangea flowers usually pop off too. Some are hard glued to the stems, cut them or they fall apart. Leave about three inches of stem to stick into the wreath, see below.
Plug in your hot glue gun, while it warms, work on placement. Before you glue anything, lay your flowers on the wreath and rearrange them until you fall in love with your design. Make note of the distance between flowers to ensure even placement as you glue your flowers to the wreath.

Plan & Design
When planning your design, keep in mind that odd numbers and groups of threes are more aesthetically pleasing to the eye. Choose colors in the same tones like warms or cools, or even color families like these sunset colors.
Pro Tip – Take a photo of your arrangement to reference before you start to glue. I came back to this photo about ten times as I secured the flowers to the wreath. It is easy to forget your planned placement, do yourself a favor and snap a pic.
Glue
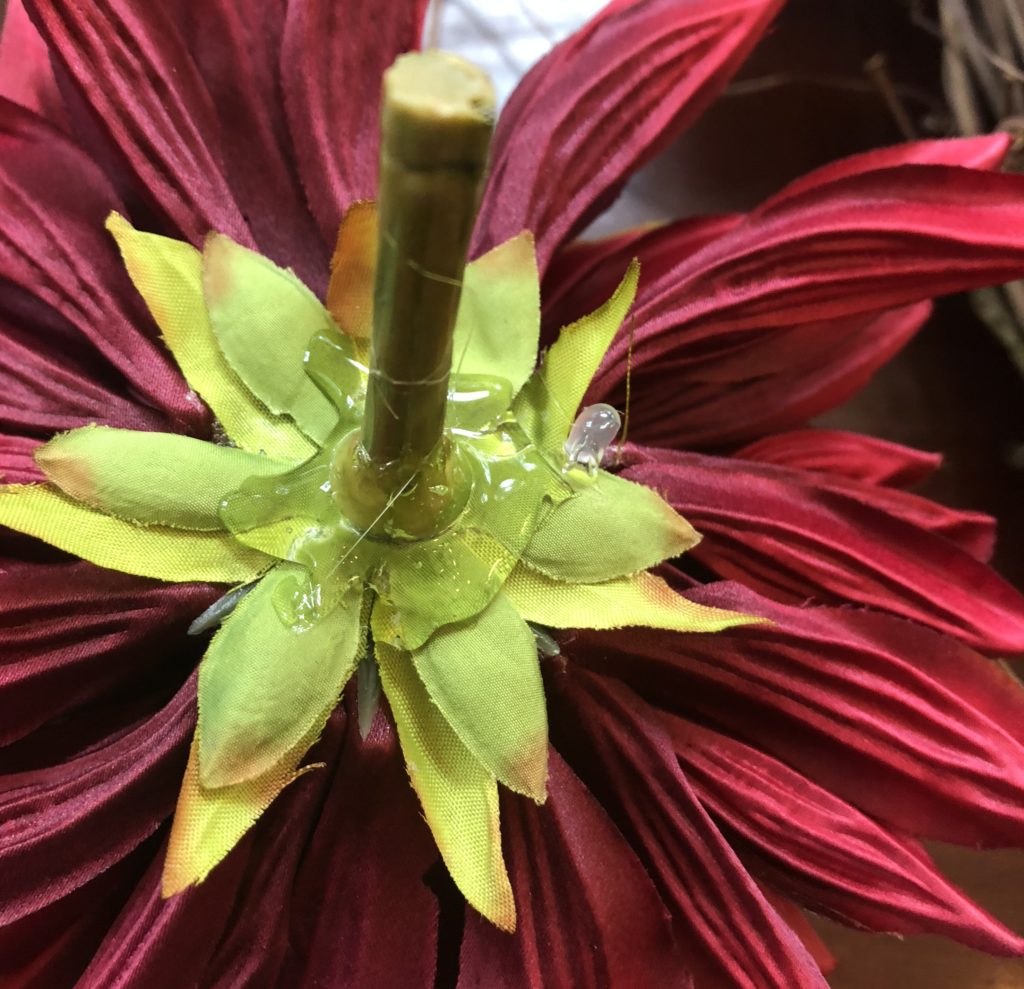
Add hot glue to the stem and base of the flower, like above, then quickly pop it into the wreath.
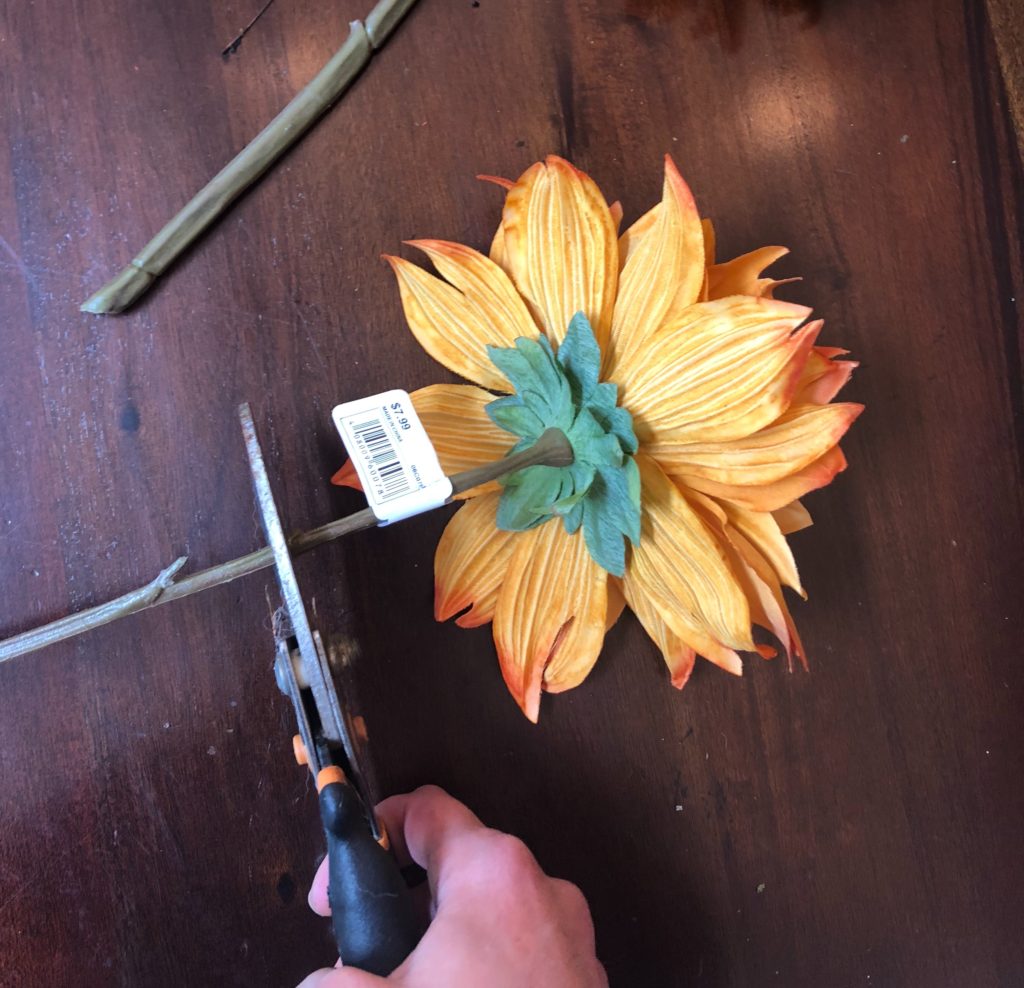
Insert the stem of the flower into the wreath, sometimes it needs a little wiggle to go through. I left a larger stem on this flower to show placement, but mine are usually shorter. If your stem is coming out through the back of the wreath, cut it to be flush so it doesn’t push the wreath off your wall or door. If needed, go through your flowers again and cut the stems so they do not come out the back, it is easier to cut them before they go into the wreath than after.
Finishing Touches
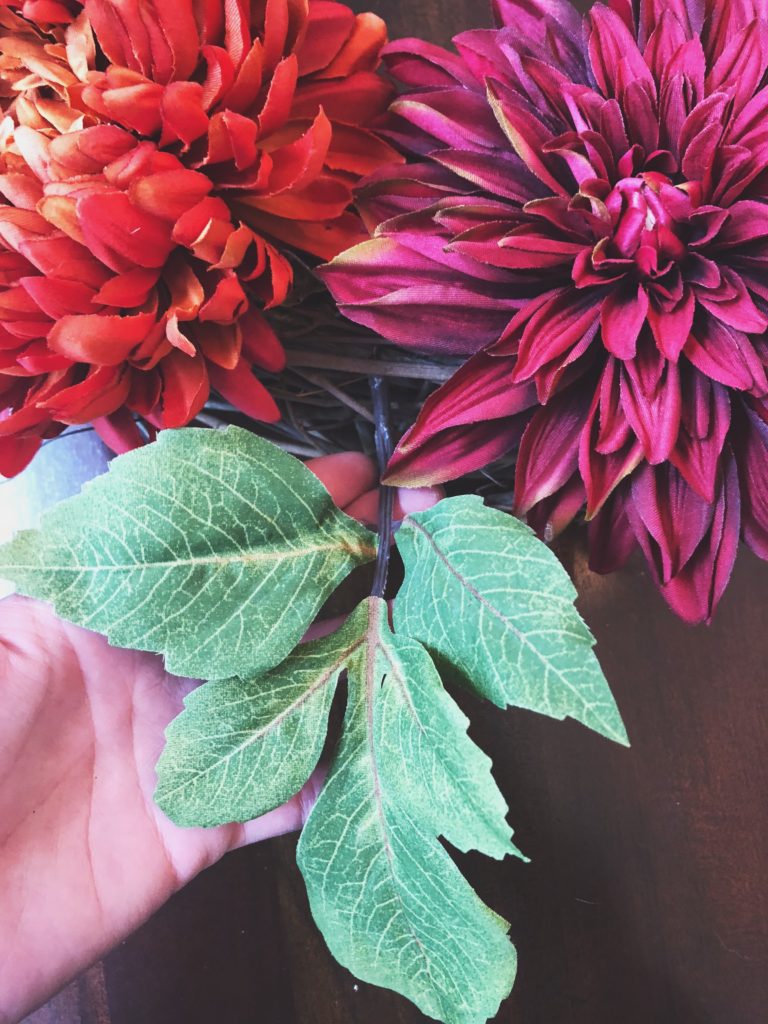
Use the leaves that we pulled from the floral stems to cover gaps between flowers. This wreath was given three leaf stems, just enough to add color without overpowering the reds and oranges. Add glue to the tips of the leaf stem and tuck it into the grapevine. Place them at an angle to flow with the curve of the wreath, instead of sticking straight out. I like to hide the stem of the leaves underneath the flower petals next to the space we are filling.
Tie A Bow
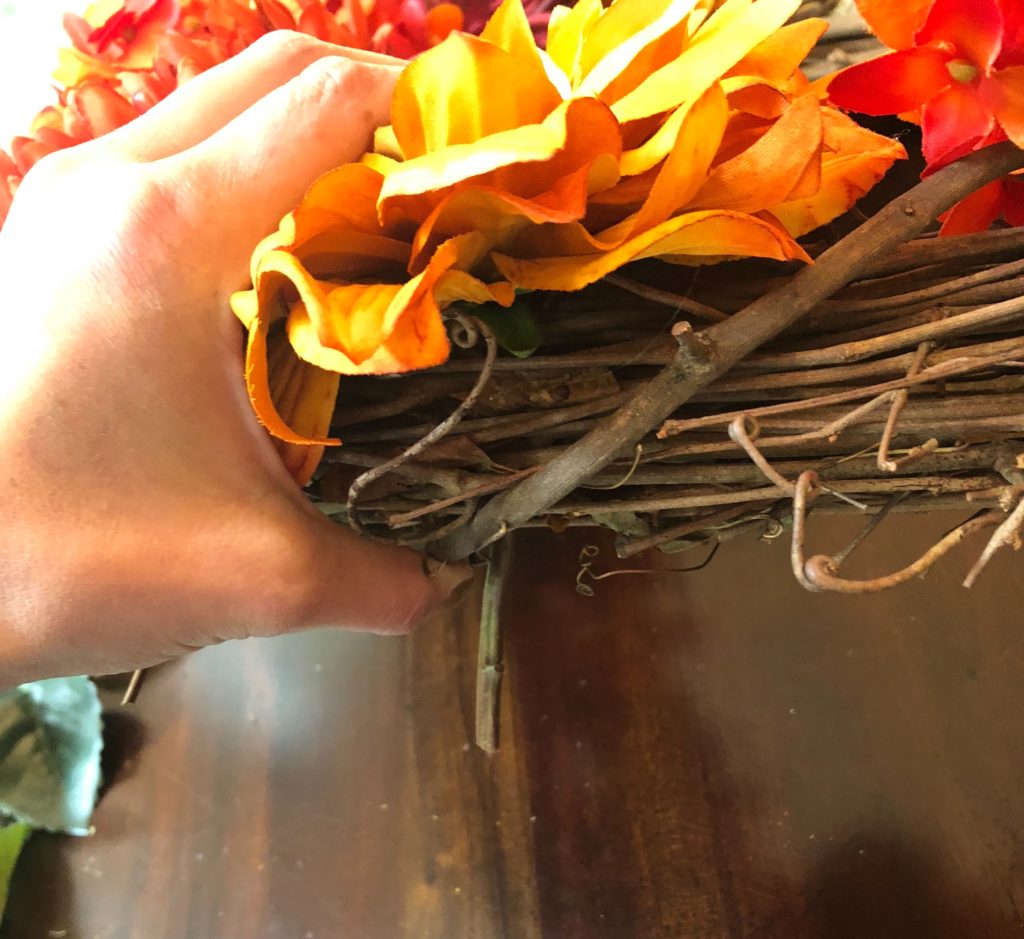
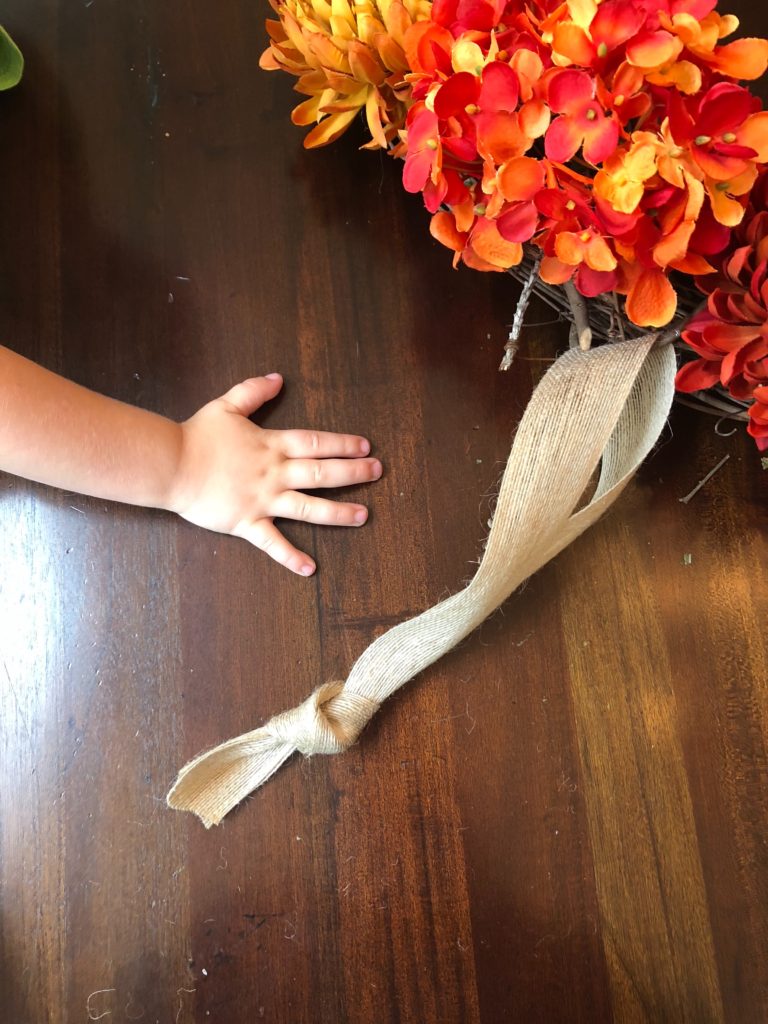
You’re almost ready to hang up your beautiful masterpiece for the whole neighborhood to see! Take the jute ribbon and attach it to a sturdy branch in the grapevine. There are usually larger branches that spiral through the wreath, find one of these. Measure the length for your door and tie off the ends. You can also add bows, I tied a separate quick bow and hot glued it to the top knot, nothing fancy.
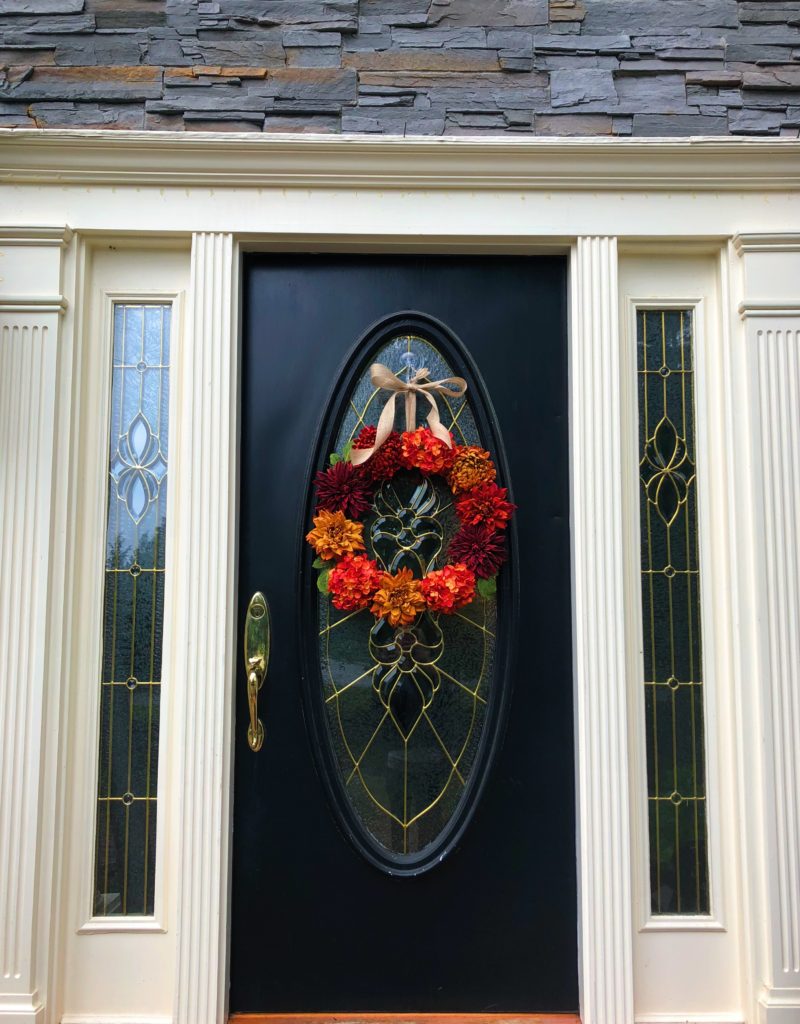
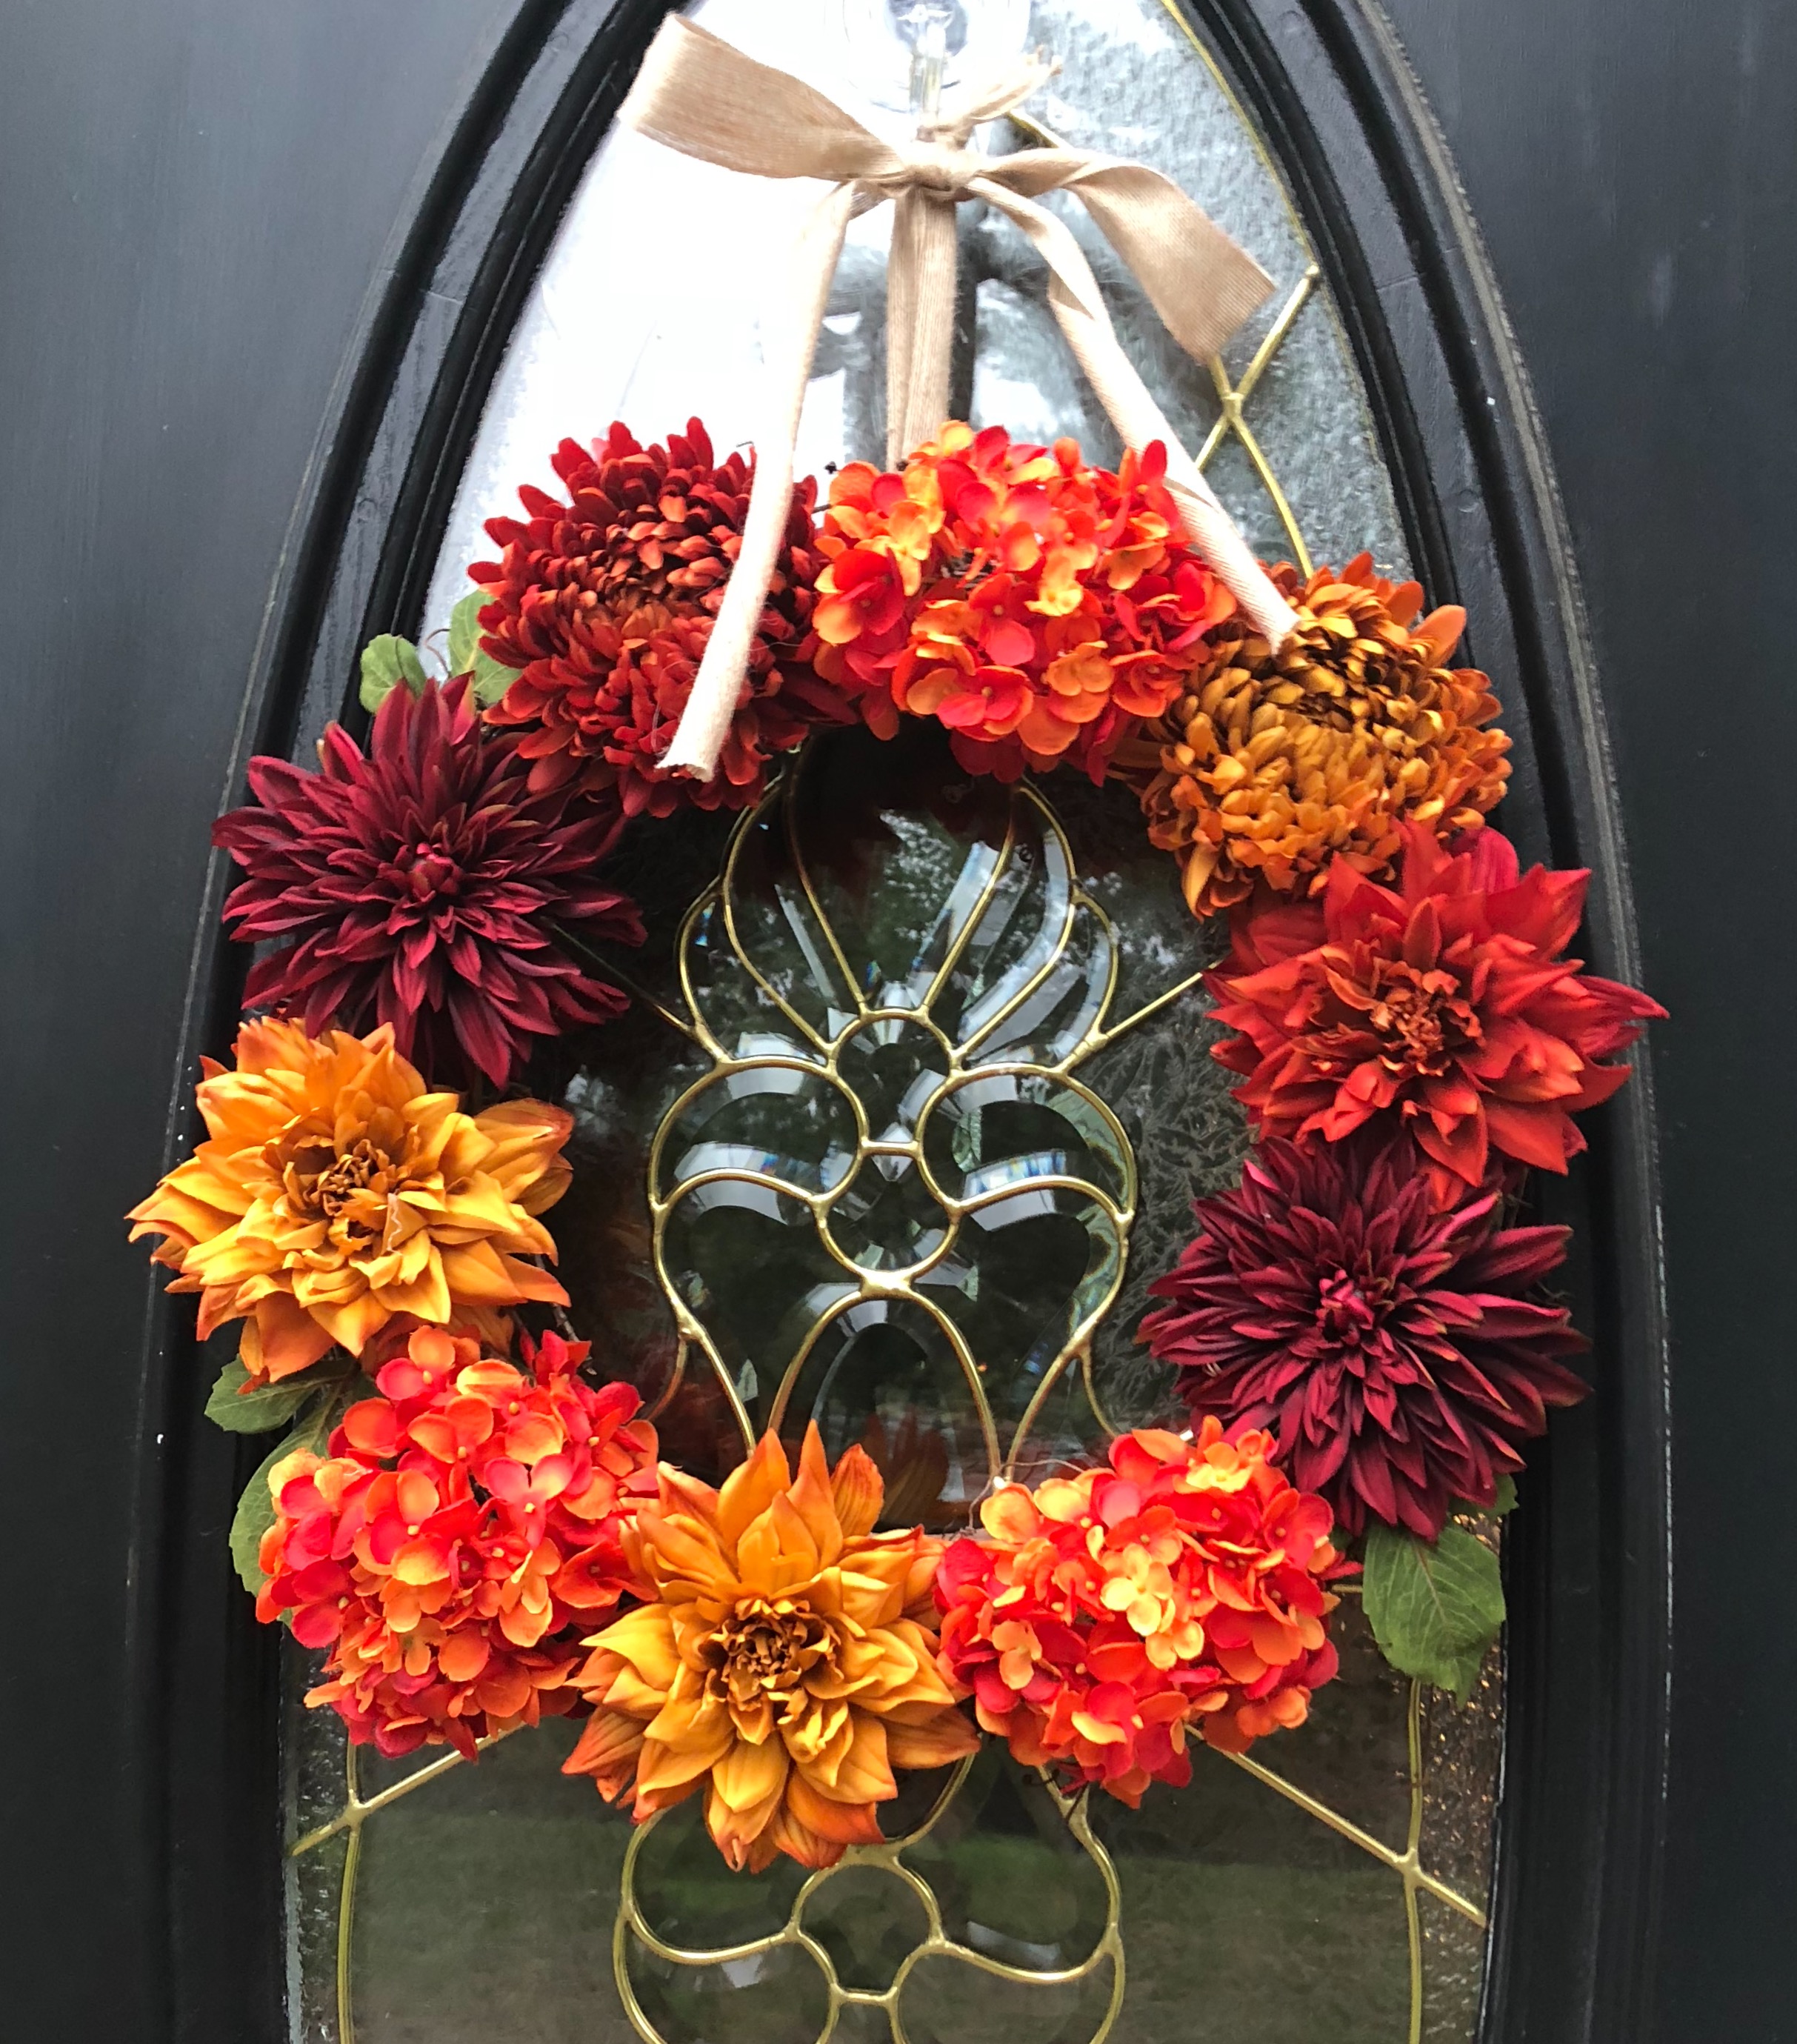
Hang It For Your Neighbors To Enjoy
Isn’t it gorgeous? You will never look at a wreath the same way again now that you know how easy it is to make your own. Especially when you see those price tags for $100+ and you can make the same one for under $40. If you’re wondering when you can set your fall wreath out, right away! The glue sets fast. I don’t recommend command hooks to hang them outside, mine always fall off. For metal doors, you can find magnetic hooks. For glass, these suction cup hooks are fantastic and about $3 from Joanns fabrics.
What colors would you use? Would you choose different flowers? Make sure to tag me on Facebook & Instagram with your creations at @chelseybychelsey or send me a pic of your creations to be featured! Stay posted for the full Fall Porch DIY On a Budget, I’ll teach you to make beautiful front door signs under $20 and more!Subscribe to the monthly newsletter and don’t forget about the giveaway to be announced soon! It’s not too late to sign up.
Happy wreath making!
Chelsey